Setup menu (continued), Clock setup menu, Setting the clock – Memorex MVDR2100 User Manual
Page 25
24
SETUP MENU (CONTINUED)
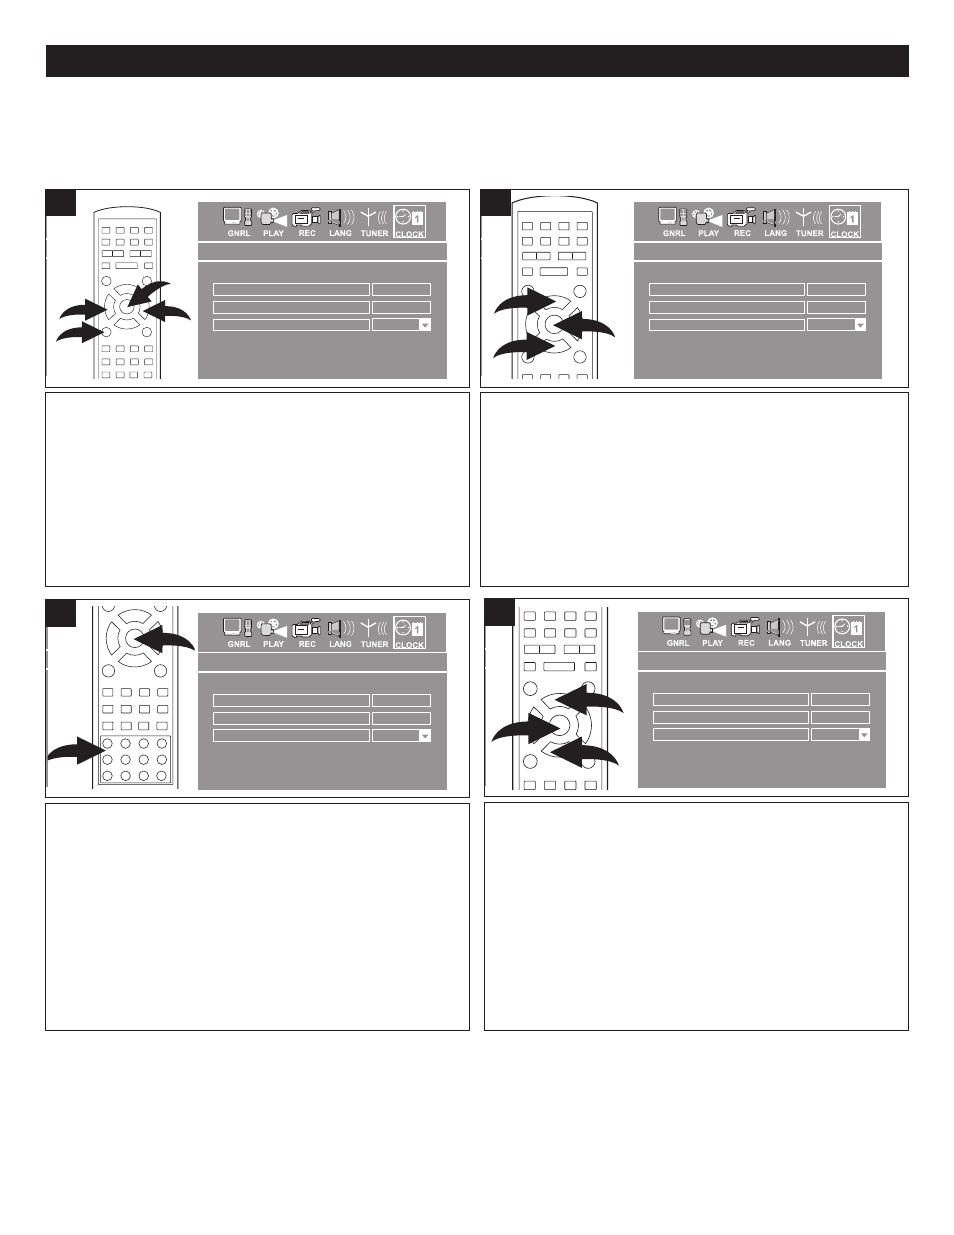
Press the SETUP button
❶
to enter the Setup Menu. Select
the CLOCK Setup icon at the top of the screen using the
Navigation (
➛
,
❿
) buttons
❷
, then press the ENTER button
3
to select it.
General setup
On
Screen saver
Interlace
Progressive/Interlace
OK
Restore factroy settings
General system setup
Playback setup
Pan Scan
TV aspect ratio
OFF
Rating level
RAW
Digital audio output
OFF
Closed caption
Record setup
ON
Auto chapter marker
R-SV
Default source
SEP
Default quality
Record setup
Language setup
Language setup
English
OSD Language
English
Menu Language
OFF
Subtitle Language
English
Audio Language
Start auto scan channel
TUNER
Air
CH
Skip
002
003
004
005
006
007
SCAN
Date & Time Setup
01/01/08
Date (mm/dd/yy)
12:15:25
Time (hh:mm:ss)
PM
AM/PM
Date and time setup
Select Date using the Navigation (
➐
,
❷
) buttons
1
, then
press the ENTER button
2
to select it.
General setup
On
Screen saver
Interlace
Progressive/Interlace
OK
Restore factroy settings
General system setup
Playback setup
Pan Scan
TV aspect ratio
OFF
Rating level
RAW
Digital audio output
OFF
Closed caption
Record setup
ON
Auto chapter marker
R-SV
Default source
SEP
Default quality
Record setup
Language setup
Language setup
English
OSD Language
English
Menu Language
OFF
Subtitle Language
English
Audio Language
Start auto scan channel
TUNER
Air
CH
Skip
002
003
004
005
006
007
SCAN
Date & Time Setup
01/01/08
Date (mm/dd/yy)
12:15:25
Time (hh:mm:ss)
PM
AM/PM
Date and time setup
CLOCK SETUP MENU:
Select CLOCK SETUP using the Navigation (
➛
,
❿
) buttons, then select/change the setup option as described on page 18.
SETTING THE CLOCK
Repeat steps 2 and 3 to set the current time, making sure to
enter six digits (two for the hours, two for the minutes and
two for the seconds).
Select the AM/PM pull-down menu using the Navigation
(
➐
,
❷
) buttons
1
, then press the ENTER button
2
to select
it. Select AM or PM using the Navigation (
➐
,
❷
) buttons
1
,
then press the ENTER button
2
to confirm; “TIME INPUT
SUCCESS” will appear at the top of the screen.
General setup
On
Screen saver
Interlace
Progressive/Interlace
OK
Restore factroy settings
General system setup
Playback setup
Pan Scan
TV aspect ratio
OFF
Rating level
RAW
Digital audio output
OFF
Closed caption
Record setup
ON
Auto chapter marker
R-SV
Default source
SEP
Default quality
Record setup
Language setup
Language setup
English
OSD Language
English
Menu Language
OFF
Subtitle Language
English
Audio Language
Start auto scan channel
TUNER
Air
CH
Skip
002
003
004
005
006
007
SCAN
Date & Time Setup
01/01/08
Date (mm/dd/yy)
12:15:25
Time (hh:mm:ss)
PM
AM/PM
Date and time setup
Select the two digits of the month, then the day, then the
year using the number buttons
1
.
NOTE: Two digits must be pressed for each, for a total of 6
digits.
Press the ENTER button
2
to confirm; if entered correctly,
“DATE INPUT SUCCESS” will appear at the top of the
screen.
General setup
On
Screen saver
Interlace
Progressive/Interlace
OK
Restore factroy settings
General system setup
Playback setup
Pan Scan
TV aspect ratio
OFF
Rating level
RAW
Digital audio output
OFF
Closed caption
Record setup
ON
Auto chapter marker
R-SV
Default source
SEP
Default quality
Record setup
Language setup
Language setup
English
OSD Language
English
Menu Language
OFF
Subtitle Language
English
Audio Language
Start auto scan channel
TUNER
Air
CH
Skip
002
003
004
005
006
007
SCAN
Date & Time Setup
01/01/08
Date (mm/dd/yy)
12:15:25
Time (hh:mm:ss)
PM
AM/PM
Date and time setup
2
3
2
1
1
1
2
2
1
1
2
1
1
2
3
4
☎
☎
☎
☎
☎
☎
☎
☎
☎
☎