Picture, continued – MITSUBISHI ELECTRIC LT-55154 User Manual
Page 48
48
4. TV Menus
For assistance call 1(800) 332-2119
Picture, continued
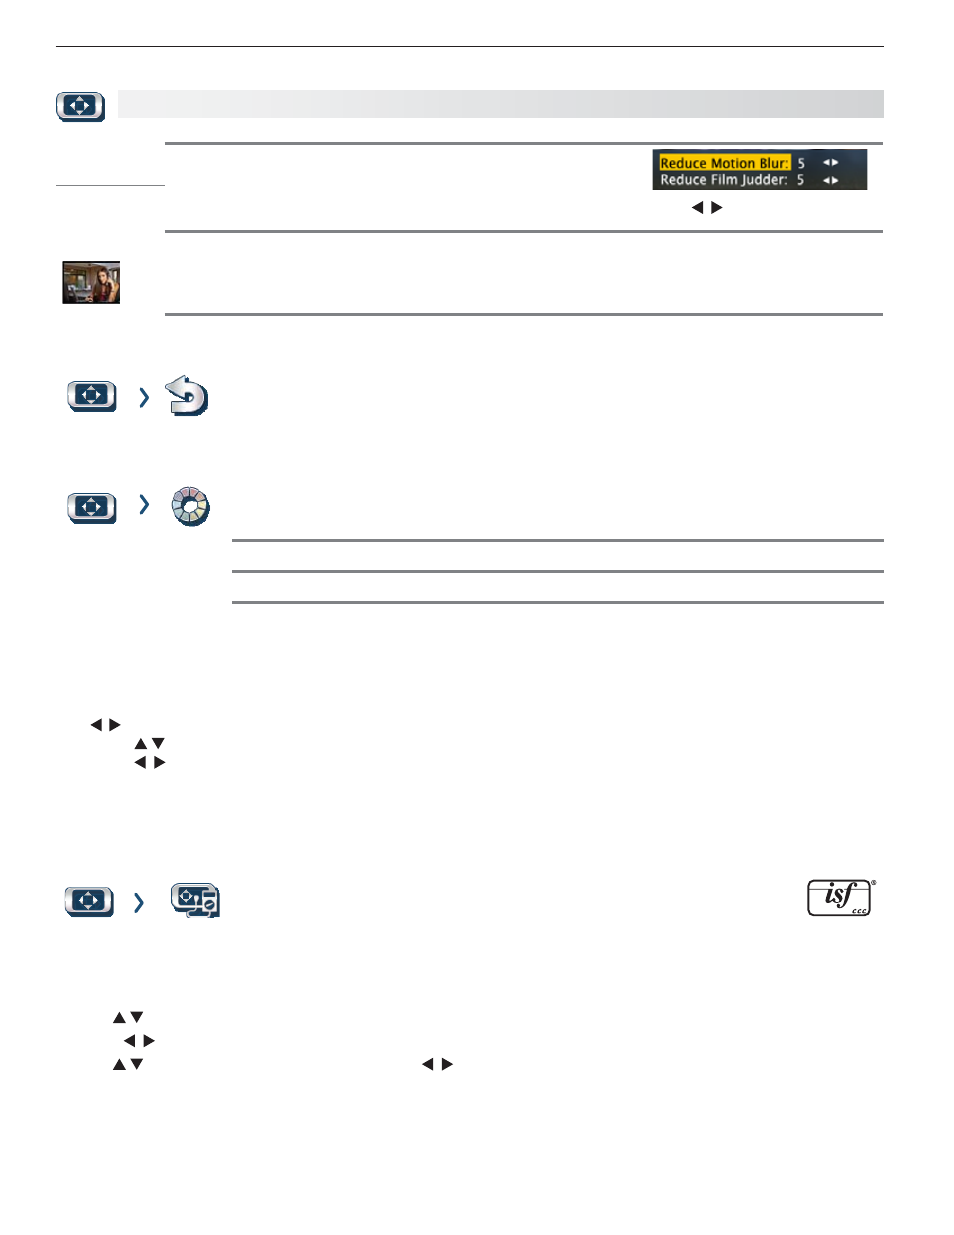
True 120 Hz
(154, 164 series)
When active, reduces motion blur in action scenes but may show pixel
structure during slower motion or in still images. Works in conjunction
with Film Mode. The adjustment side of the screen only shows changes
if the content was a film source shot at 24 frames per second.
Press to make adjustments.
True 240 Hz
(265 series)
Test Picture
Displays a test picture.
Picture
Reset
Resets sound and picture adjustments for the current input. Highlight the
•
Reset icon
and press
ENTER twice to perform reset.
Reset
•
has no effect on universal settings (
Balance, Listen To, Language) or on
Advanced picture settings.
Picture
Perfect
(PerfectColor, 265 series)
PerfectColor Sliders
Adjusts the saturation (intensity) of six colors for the current image source.
PerfecTint Sliders
Adjusts six hues for the current image source
Using PerfectColor:
Highlight the Perfect icon and press
ENTER to display the PerfectColor menu. Settings are retained independently
for each TV input.
Using PerfecTint:
• To switch between PerfectColor™ and PerfecTint™ adjustments, highlight
PerfectColor/PerfecTint and press
.
• Press to move from one color bar to the next.
• Press to change settings.
• Press
CANCEL to restore default settings.
• Press
MENU to return to the main menu.
Picture
Advanced
(164 and 265 series)
Picture > Advanced allows you to save highly customized picture adjust-
ments for each input.
Mitsubishi recommends these adjustments be
made only by a trained professional installer.
Press
1.
MENU. Under Picture, highlight the Advanced icon and press ENTER.
With
2.
Picture Mode (the first option) highlighted, press ENTER to change from blank (undefined) to ADV.
265 Series: Choose ADV1 (daytime settings) or ADV2 (nighttime settings).
Use
3.
to highlight an option you wish to change and press
ENTER to see the adjustment display.
Press
4.
to change settings.
Use
5.
to navigate to additional options and press to change settings.
Press
6.
MENU to return to the Picture > Advanced menu and save the adjustments for the current input. Press EXIT
to close the menu..
To use the custom Picture Mode at a later time
Press
MENU and go to Picture > Video > Picture Mode and: