Setup menu, continued, When you first connect a device – MITSUBISHI ELECTRIC WD-57831 User Manual
Page 38
38
Chapter 3. TV Setup
Set Day
Select the day or days that the TV will turn on automati-
cally. Press or to select
Daily, Mon-Fri (Monday
through Friday), or individual days of the week. Press to
move to the
Time box.
Set Time
With the hour highlighted in yellow characters, press
repeatedly to slowly increment the hour and associated
AM/PM indicator or press and hold to quickly increment
the hour. Press
ENTER to highlight the minutes. Press
to set the minutes. Press to move to the
Device box.
Device
Press or to select the device to use when the Timer
turns on the TV. If the TV is already on at the selected
time, the Timer will switch the TV to this device. Press
to move to the
Channel box.
Channel
When the selected device is an antenna, you can select a
channel for the TV to tune to when it comes on. Highlight
the
Channel box and
• press
CH / or to choose from memorized
channels.
• Enter a channel number from the remote control.
You can also enter sub-channel numbers for
digital channels by using the
—/CANCEL key.
Note: The POWER/TIMER indicator flashes green when the TV
is off to indicate the TV Timer has been set.
Energy Mode (Setup Menu)
The Energy Mode option lets you select the TV’s level of
power consumption while the TV is turned off. Choose
either
Low Power or Fast Power On. The Low Power
setting uses less energy, but TV power-on takes longer.
The default is
Fast Power On. Keep this setting at Fast
Power On if you:
• Expect to use the TV Timer function to turn on the
TV at a preselected time.
• Need the TV Clock to remain accurate for the TV
Timer and for scheduling NetCommand-controlled
recordings. With the
Low Power setting, you
must reset the TV Clock if the TV is left turned off
for over 48 hours.
• Wish to receive updates to the TV Guide On
Screen program listings.
• Need faster power on.
• Wish to turn off the TV while making a NetCom-
mand-controlled recording.
• Wish to schedule future NetCommand-controlled
recordings for a time when the TV will be off.
Setup Menu, continued
Note: CableCARD™ and TV Guide On Screen® re-
quire the
Fast Power On setting. If you insert a
CableCARD™ or activate TV Guide On Screen, the
TV will automatically override a
Low Power setting
and change to the
Fast Power On setting.
Demo Mode Off (Setup Menu)
If Demo Mode is active, highlight the
Demo Mode Off
button and press
ENTER.
Software Version (Setup Menu)
For servicing purposes, the TV’s software version is dis-
played at the upper right side of the Setup menu.
When You First Connect a Device
During the initial set-up process for a device, the TV will:
a. detect the connected device
b. prompt you to identify the device by name
c. prompt you to perform NetCommand set-up for
the device, if applicable
d. repeat the above steps for any additional newly
connected devices
ClearThought® Easy Connect Auto Input Sensing
This TV’s ClearThought® auto input sensing feature
detects most connections automatically. The first time
you connect to a ClearThought input, you are prompted to
select a name for the connected device. The table below
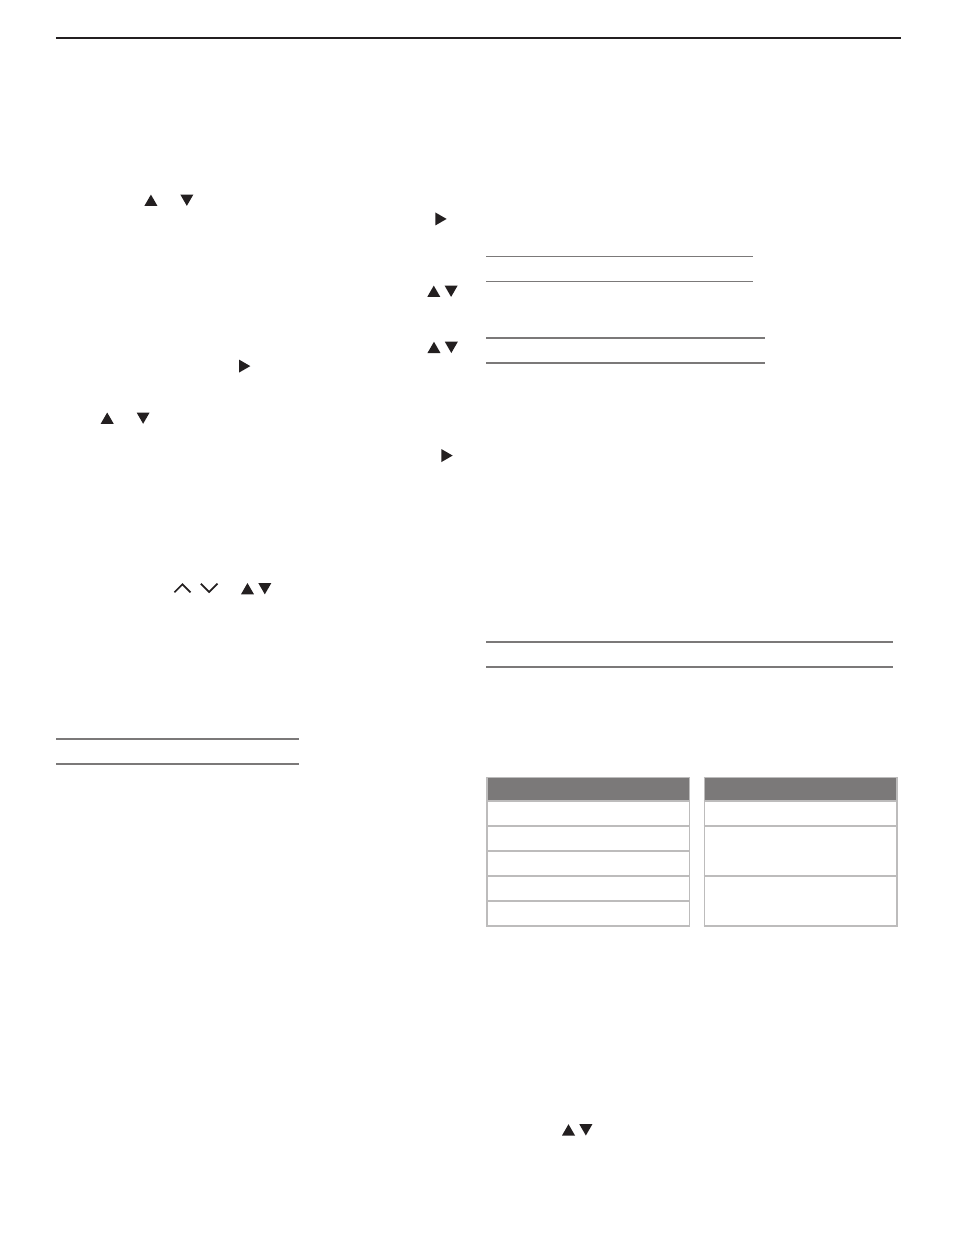
defines connections the TV can detect.
Auto Detection Active
No Auto Detection
INPUT 1, 2, 3 video jacks
ANT 1/ANT 2
COMPONENT video jacks
MONITOR OUT
(all jacks)
HDMI*
PC-DVI*
All
AUDIO jacks
IEEE 1394
*
If the device is powered off when connected, detec-
tion occurs when the device is next powered on.
1. Connect your devices to the TV, making note of which
TV input you have used for each device.
The TV and the devices can be either on or off when
connecting. If the TV is powered off, the detection
process will occur the next time you turn on the TV.
2. For most devices, the Auto Input Sensing screen
opens (see figure 6). With the text box highlighted,
press to select a name for the device from the
following list of names: