Taking your first still image – Microtek MV300 User Manual
Page 15
15
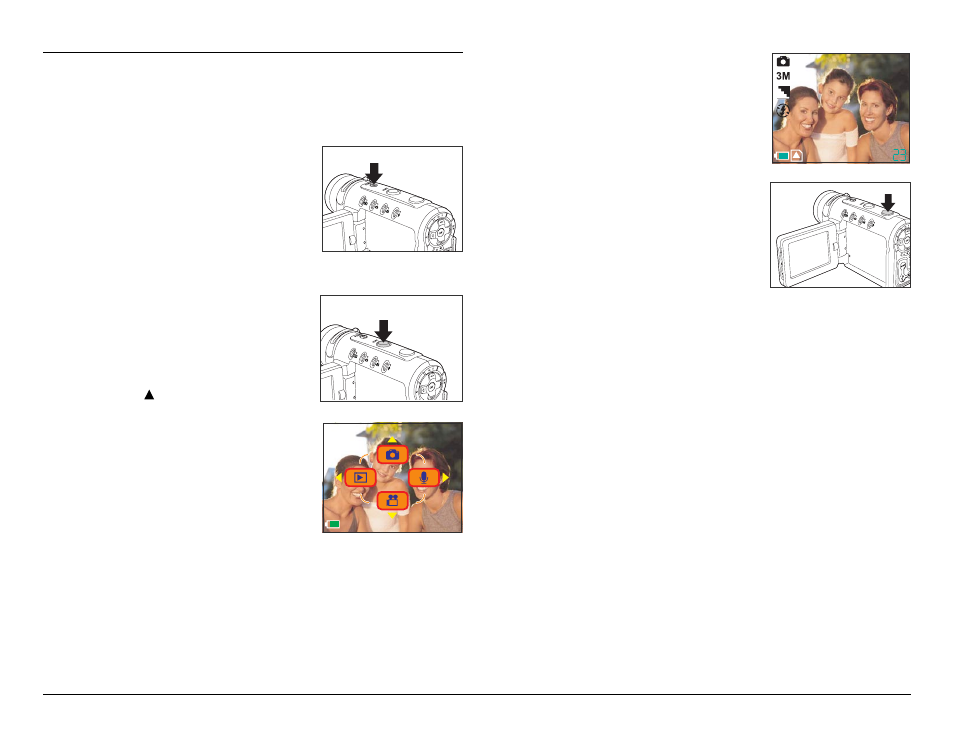
Taking Your First Still Image
Follow the instructions below to take your first still
photograph with your DV camera.
4. Use the LCD screen to compose
your still image.
1. Turn on the DV camera by
pressing the POWER button for
two seconds.
The DV camera may start up in
Video mode and you will need to
select Photo mode to take still
pictures.
2. Press the MODE button on the
top of the DV camera.
The LCD displays a graphic
showing four mode options.
3. Press the
button on the rear
of the DV camera to select
Photo mode.
The DV camera changes to Photo
mode. Check for the Photo mode
icon in the top left corner of the
screen to confirm this.
5. Press the Shutter button to
take the picture.
When you press the shutter you
will hear a sound to indicate that
the picture has been taken
(unless the sound has been
disabled), and the captured
picture will remain on the screen
for two seconds. You can review
your picture in Playback mode.
See Playback mode on page 18.
You can change various settings on the DV camera that
will affect the quality and appearance of the pictures
you take. You can adjust the exposure, size, and
resolution of the image, white balance, and other
settings. See Photo Menu on page 21.