Step 5, connect electrical, Step 6, slide range into position, Step 7, replace oven doors – GE Monogram ZDP48N6D User Manual
Page 12: Caution, Mise en garde, Installation
12
CONNECT ELECTRICAL
Plug power cord into properly grounded receptacle.
STEP 5
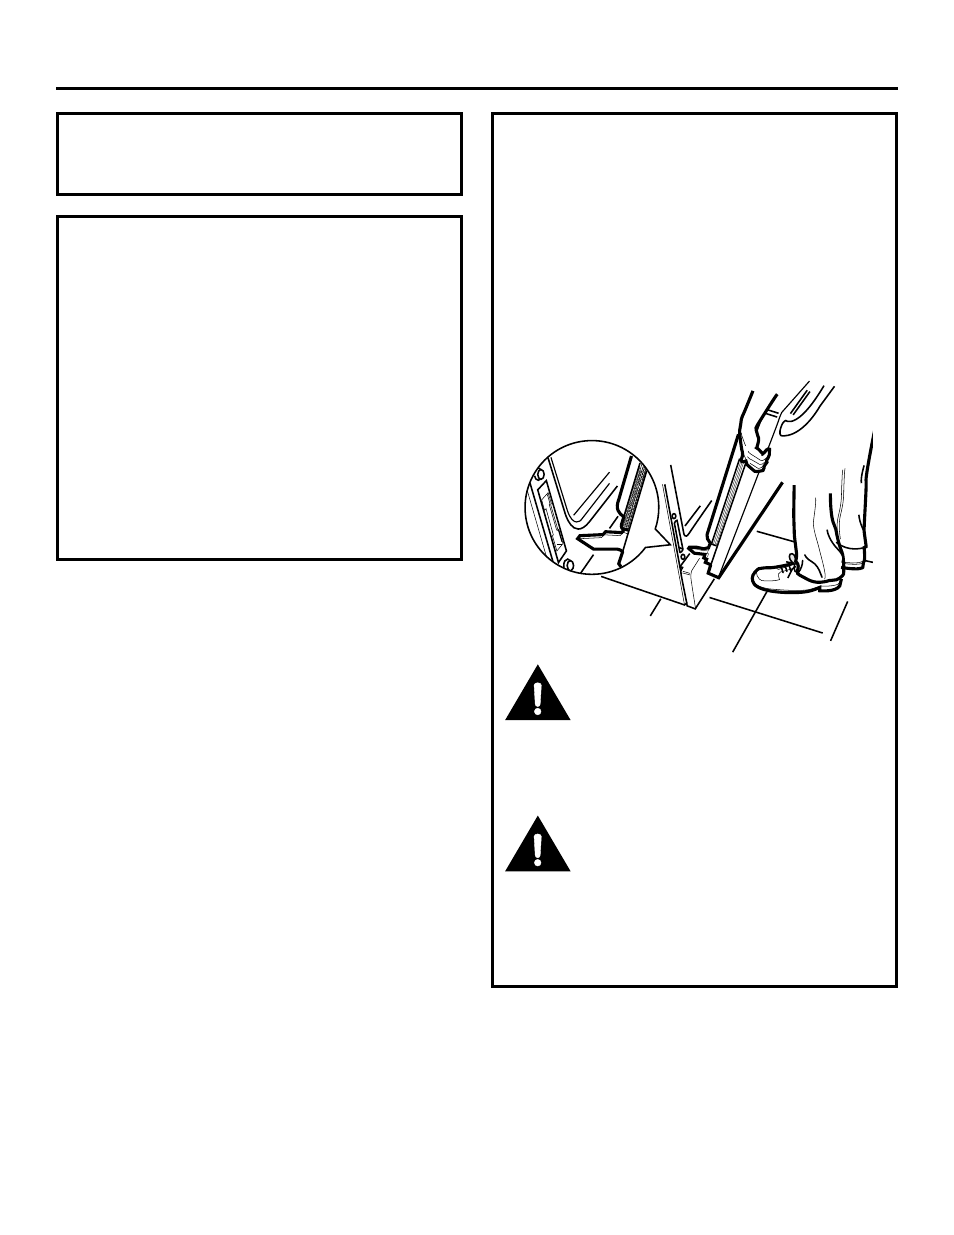
SLIDE RANGE INTO
POSITION
• Carefully, slide the range into position.
– Be careful not to entangle power cord and gas
flexible tubing.
• Be sure the right rear leg is engaged in the slot of the
installed anti-tip bracket.
• Check for proper installation by grasping the range
at the top front edge and carefully attempt to tilt the
range forward.
• Check to be sure the front of the range is level.
Adjust front leveling legs accordingly.
• Replace the front kick panel by reversing the
procedure described in Step 1.
STEP 6
REPLACE OVEN DOOR(S)
IMPORTANT: Do not lift the door by the handle.
To replace the oven doors:
• Firmly grasp the door at the top sides. This is critical.
• Approach the range with the door angled in a vertical
position.
• Guide the hinges into the slots.
• Push the door in firmly while opening.
• Once in position, open the door completely. Push the
hinge locks back in and towards the front frame.
CAUTION:
Take care when replacing the oven doors.
If the hinge latch is not securely locked,
the hinge may snap back and separate. If the hinge
separates, you must apply pressure (possibly with
your foot) to press it back together and then engage
the hinge latch.
MISE EN GARDE :
Soyez prudent lorsque vous remettez en
place les portes du four. Si le loquet de
charnière n’est pas verrouillé correctement, la
charnière peut se dégager brusquement et se séparer.
Si c’est le cas, vous devez exercer une pression
(par exemple avec le pied) pour la remettre en place,
puis enclencher le loquet.
STEP 7
Installation