Igure, Etwork, Ettings – Freedom9 4020 User Manual
Page 22: Onfiguration
15
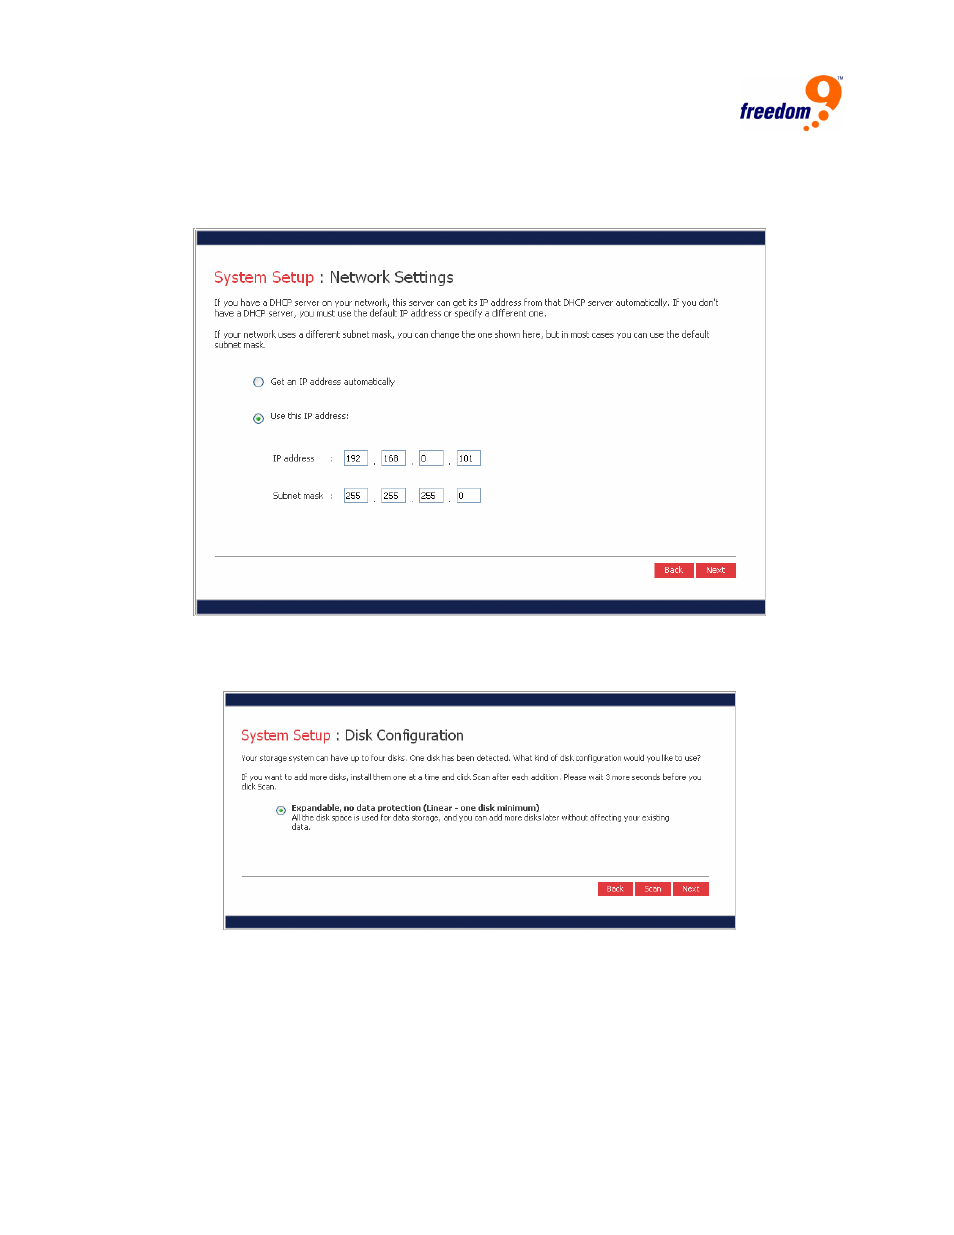
14. On the next page, enter the network settings of the freeStor 4020 (Figure 2-16). If the
network has an existing DHCP server, select “Get an IP address automatically”. Otherwise,
select “Use this IP address” and enter the desired IP address below. After entering the
network settings, click “Next”.
Figure 2-16: Network Settings
15. The next page will ask for the disk configuration to use for the freeStor 4020 (Figure 2-17).
The options presented on the page vary depending on the number of hard drives in the unit.
Figure 2-17: Disk Configuration
16. To add or remove hard drives from the freeStor 4020 at this time, add or remove one drive at
a time, and click “Scan” before adding or removing the next drive.
Note: It is strongly recommended that all of the drives that you want to use in the
final configuration be installed at this time. Adding or removing drives after this
step could require drive reconfiguration and data loss.
17. To accept the default disk configuration (which will provide the best level of data protection
available for the number of hard disks currently installed), click “Next”. By default, a linear