Track bounce (ping-pong recording), 73 advanced operations, On/off of bounce mode – Fostex VF80 User Manual
Page 73: Setting pan positions, Setting level of each track, Performing the track bounce
73
Advanced Operations
1
1
2
1
2
3
4
1
2
Track bounce (Ping-pong recording)
When the number of empty tracks is short in the recording process, you can solve the problem by transferring
audio on the multiple already-recorded tracks to a different track or tracks.
This operation is called "
Track bounce
" or "
Ping-pong recording
". With the VF80, you can do this operation simply
by using the
[BOUNCE]
key.
When the Bounce mode is active, Tracks 7/8 are automatically armed and the materials recorded on Tracks 1
through 6 are ready to be bounced to Tracks 7/8.
In the following description for track bouncing operation, we assume that mono materials are recorded on Tracks
1 through 4, while a stereo material is recorded on Tracks 5 and 6.
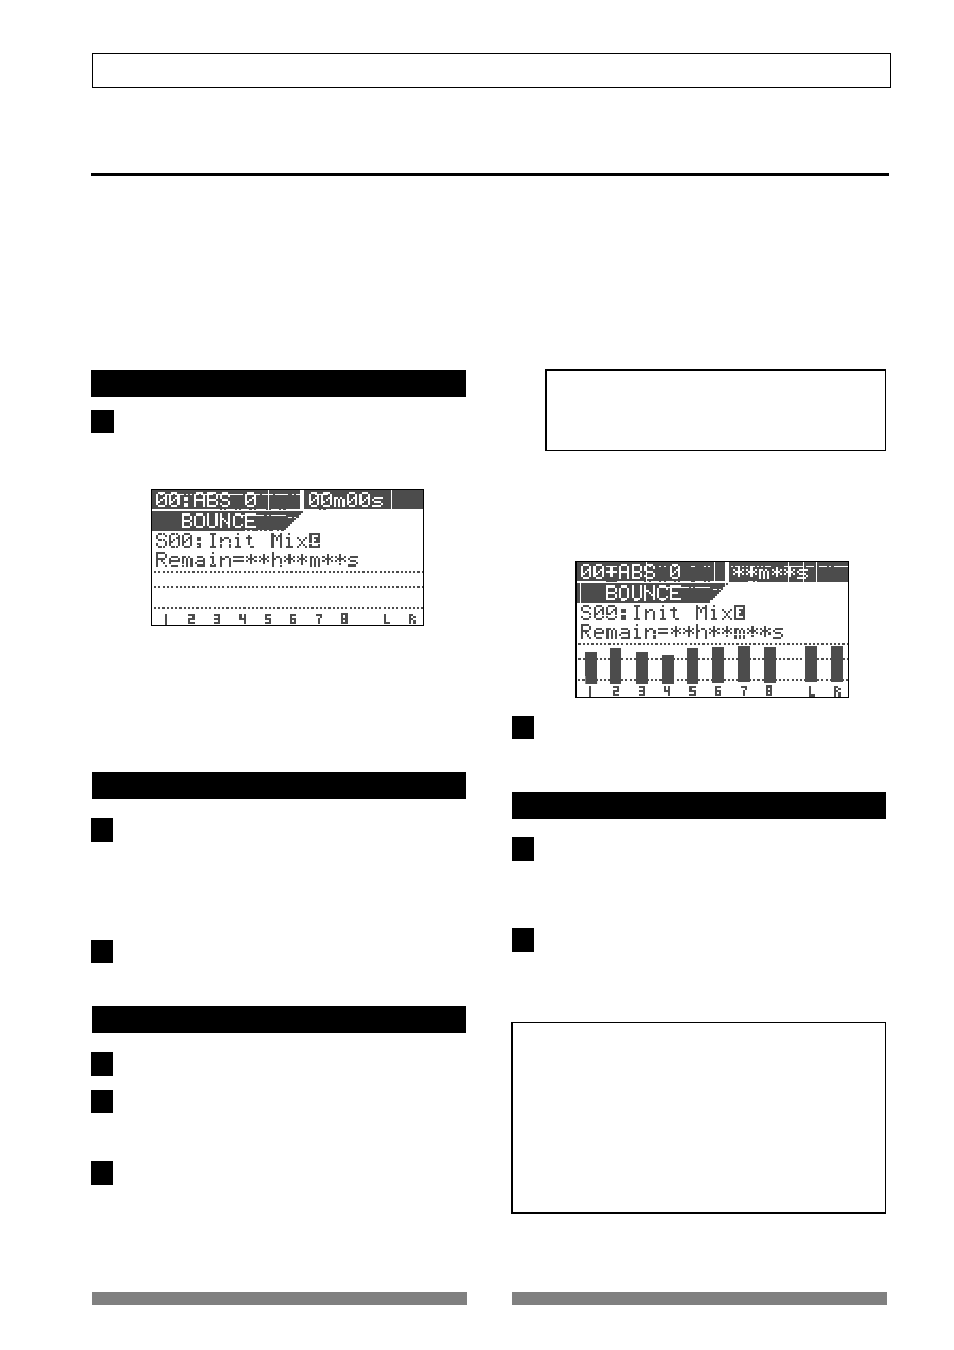
On/off of bounce mode
Press the [BOUNCE] key.
Each press of the key alternates "
On
" and "
Off
."
When set to "
On
", the key is illuminated, while the
Bounce screen appears where "
Remain
" is displayed.
Tracks 7/8 are automatically armed and the corre-
sponding
[TRACK STATUS/TRACK SEL]
key flashes in red.
When the Bounce mode is active, you cannot arm the
other tracks (1 through 6).
Setting pan positions
Press the [PAN] key to set the pan position for each
track.
Set the pan positions at the desired points for Tracks 1
through 4, fully left for Track 5 and fully right for Track
6. See "
Mixer Functions
" for details about the pan set-
ting.
After setting all pan positions, press the [EXIT/NO] key.
The balance mode screen appears.
Setting level of each track
Set the [MASTER] fader to the "0" position.
Press the [RECORD] key only.
The
[RECORD]
key starts flashing, while Tracks 7/8 enter
the input monitor mode.
Press the [PLAY] key to start playback and adjust play-
back levels of Tracks 1 through 6 using the track fad-
ers.
Be careful not to light up the peak indicator when ad-
justing the playback level of each track.
If the peak indicator lights up, the recorded sound
will be distorted. Adjust the playback level of each
track appropriately.
You can see the playback levels on Tracks 1 through 6,
input levels on Track 7/8 and output levels of the Ste-
reo busses (L and R) via the meters on the screen.
By raising the
[PHONES]
knob, you can monitor the
sound.
After adjusting the levels, stop the recorder and then
locate the beginning position of track bouncing.
Performing the track bounce
Press the [PLAY] key while holding down the
[RECORD] key to start track bouncing.
The recorder starts recording of mixed audio from
Tracks 1 through 6 to Tracks 7/8.
After finishing the track bounce, press the [STOP] key
to stop the recorder.
Now you can use Tracks
1
through
6
to record new
materials.
• You can also apply EQ and/or effects to audio signals
on Tracks 1 through 6 to be bounce to Track 7/8.
See "
Mixer Function
" for details about how to apply EQ
and effects.
• When the Bounce mode is active, you can use any of
effect types
L01
through
L38
. Note that, if you enter
the Bounce mode when any of insert effect types is
selected, “
L01: Norm HALL
” will be automatically
selected.