Starting for destination, 1 setting destination – Furuno BACK GP-80 User Manual
Page 37
5 – 1
5. STARTING FOR
DESTINATION
5.1 Setting Destination
There are four ways by which you can set
destination:
• By cursor
• By MOB position or event position
• By waypoint, and
• By route.
Note 1: Destination cannot be set when there is
no GPS position data. When there is no position
data, the buzzer sounds and the message shown
in Figure 5-1 appears.
Figure 5-1
Note 2: Previous destination is cancelled when-
ever a destination is set.
Setting destination by cursor
Using the cursor you may set a destination
consisting of 30 points. When all 30 points
are entered, the GP-80 automatically disables
further entry.
Setting single destination
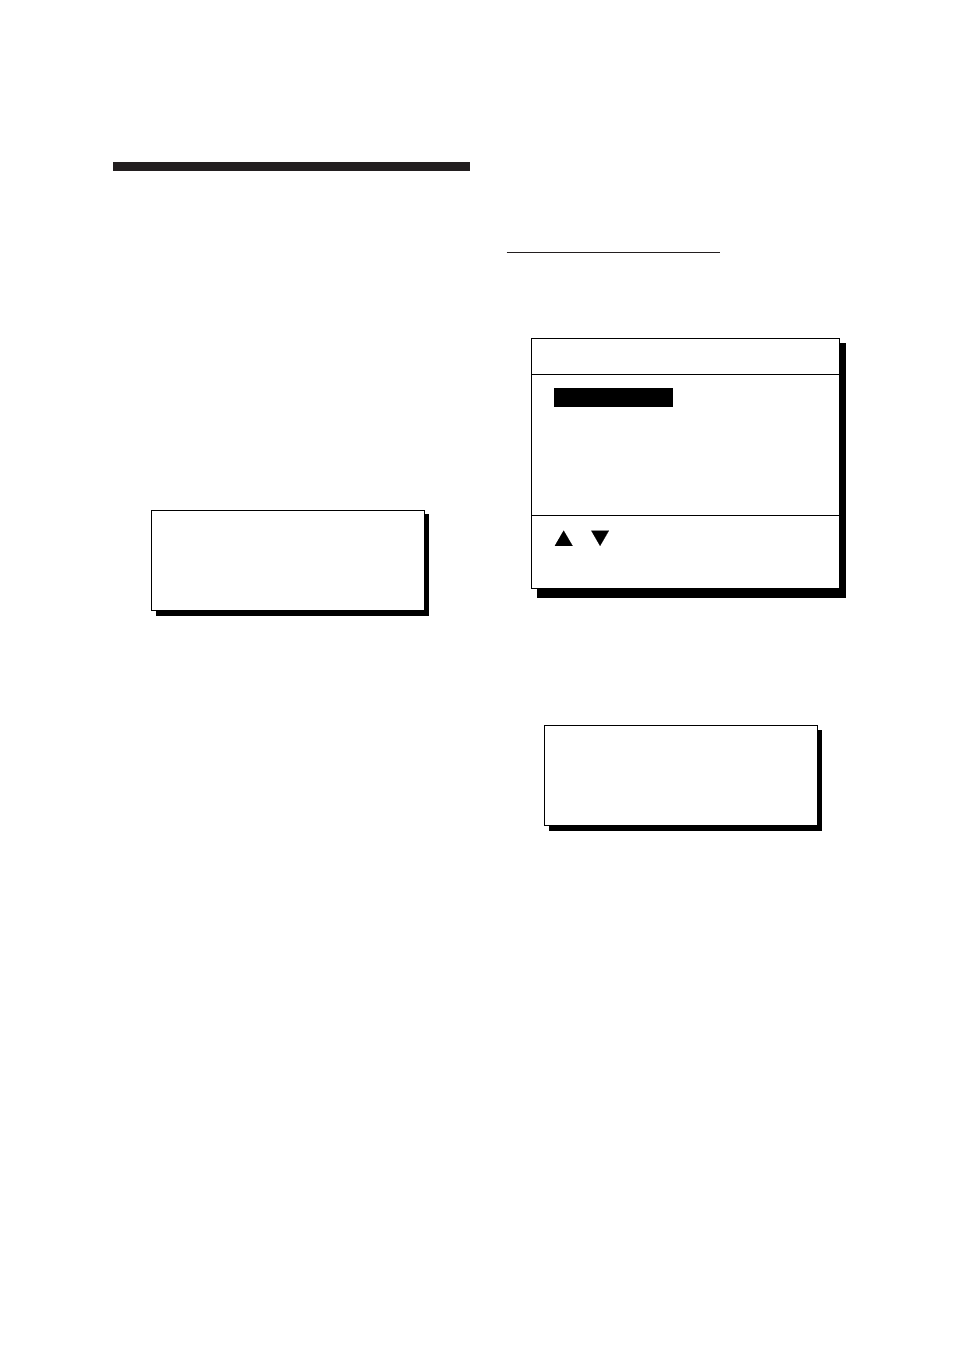
1) Press the [GOTO] key. The menu shown
in Figure 5-2 appears.
Figure 5-2 GOTO setting menu
2) Press [1] to select Cursor. The display
shown in Figure 5-3 appears.
Figure 5-3
If the display in use is other than Plotter
1, the Plotter 2 display is automatically
selected.
3) Place the cursor on the location desired
for destination.
4) Press the [NU/CU ENT] key.
Note: To clear selection, press the [CLEAR]
key.
5) Press the [NU/CU ENT] key to finish.
Control is returned to the display mode in use
before you set destination. A dashed line con-
nects own ship and the destination, which is
marked with a flag, as shown in Figure 5-4.
No position data
1. Cursor
2. MOB/Event Position
3. Waypoint List
4. Route List
5. Cancel
GOTO Setting
1. Cursor
ENT : Enter
: Cursor
MENU : Escape
Place cursor on desired location
Press ENT twice to finish
ENT:Enter CLR:Clear MENU:Escape