4 diagnostic test – Furuno FCV-1100L User Manual
Page 67
5. MAINTENANCE, TROUBLESHOOTING
5-3
5.4 Diagnostic
Test
The diagnostic test checks the equipment for proper operation.
1. Rotate the [FUNCTION] switch fully clockwise to select MENU.
2. Press the [▲] key to select the menu title area at the top of screen.
3. Press the [+] key to select SYSTEM.
4. Press the [▲] or [▼] key to select TEST MODE.
5. Press the [+] key to open the TEST menu.
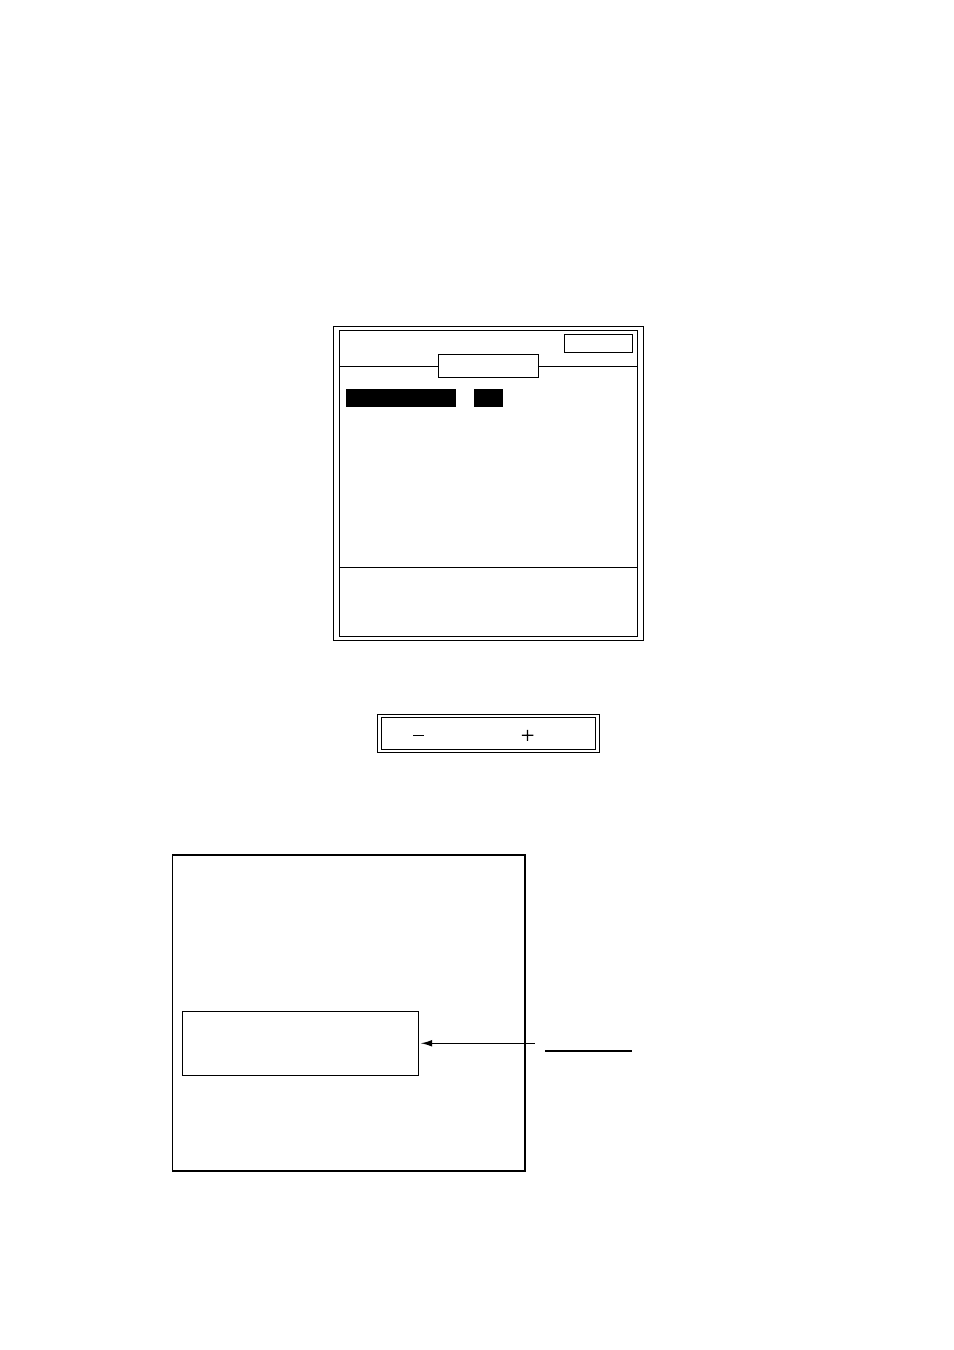
DISP ALM TX/RX E/S
SYSTEM
Menu for diagnostics.
[-/+]: Change set, [EXIT]: Exit
TEST MODE
DIAGNOSTICS
:
NO
TEST PATTERN : NO
HI FREQ
HI FREQ
: 200 kHz
: 200 kHz
LOW FREQ
LOW FREQ
: 50 kHz
: 50 kHz
Press and hold [MARKER] key more than
3 sec to exit from TEST MODE.
Test menu
6. Press the [+] key twice to select YES in the setting window.
[ ] : YES
[ ] : NO
Test setting window
7. The ROM, SRAM, DRAM and NMEA check results appear. Water
temperature and speed also appear if appropriate sensor is connected.
Program No.
0252307-03.XX
R O M
OK
S R A M
OK
D R A M
OK
N M E A
OK*
Temp. SENSOR
+85.5˚F
Speed SENSOR 8.0 kt
Press and hold [MARKER] key more than 3 sec to exit.
XX: Version No.
*: Requires special cable to check.
O O O 238
O 8 O 6
* O O O 255
ROM, SRAM, DRAM and NMEA test
results are shown as OK or NG (No Good).
Panel window
For testing controls.
See next page.
Diagnostic test results