Select all photos – HP Photosmart 140 series User Manual
Page 32
hp photosmart 140 series
chapter 2
28
4
Press the OK button.
The selected range of photos appears in the Selected Photos section of the
printer’s LCD screen. For example, the range 12–16 appears on the LCD
screen following the index numbers of the photos that were previously
selected.
If you print multiple copies of a range, they print as sets: 1-2-3, 1-2-3.
To clear a range setting:
`
Press the C
ANCEL
button until the range hyphen is deleted.
select all photos
1
Insert a memory card into the printer’s memory card slot. For more
information, see insert a memory card on page 18.
The message P
RINT
INDEX
? OK
OR
C
ANCEL
. appears on the printer’s LCD
screen.
2
If you already printed a photo index, press the C
ANCEL
button. To print a
photo index, load paper in the paper tray and press the OK or P
RINT
button. For more information, see print a photo index on page 22.
3
When the message S
ELECT
:# appears on the printer’s LCD screen, press the
S
ELECT
P
HOTOS
button until S
ELECT
:A
LL
appears on the printer’s LCD
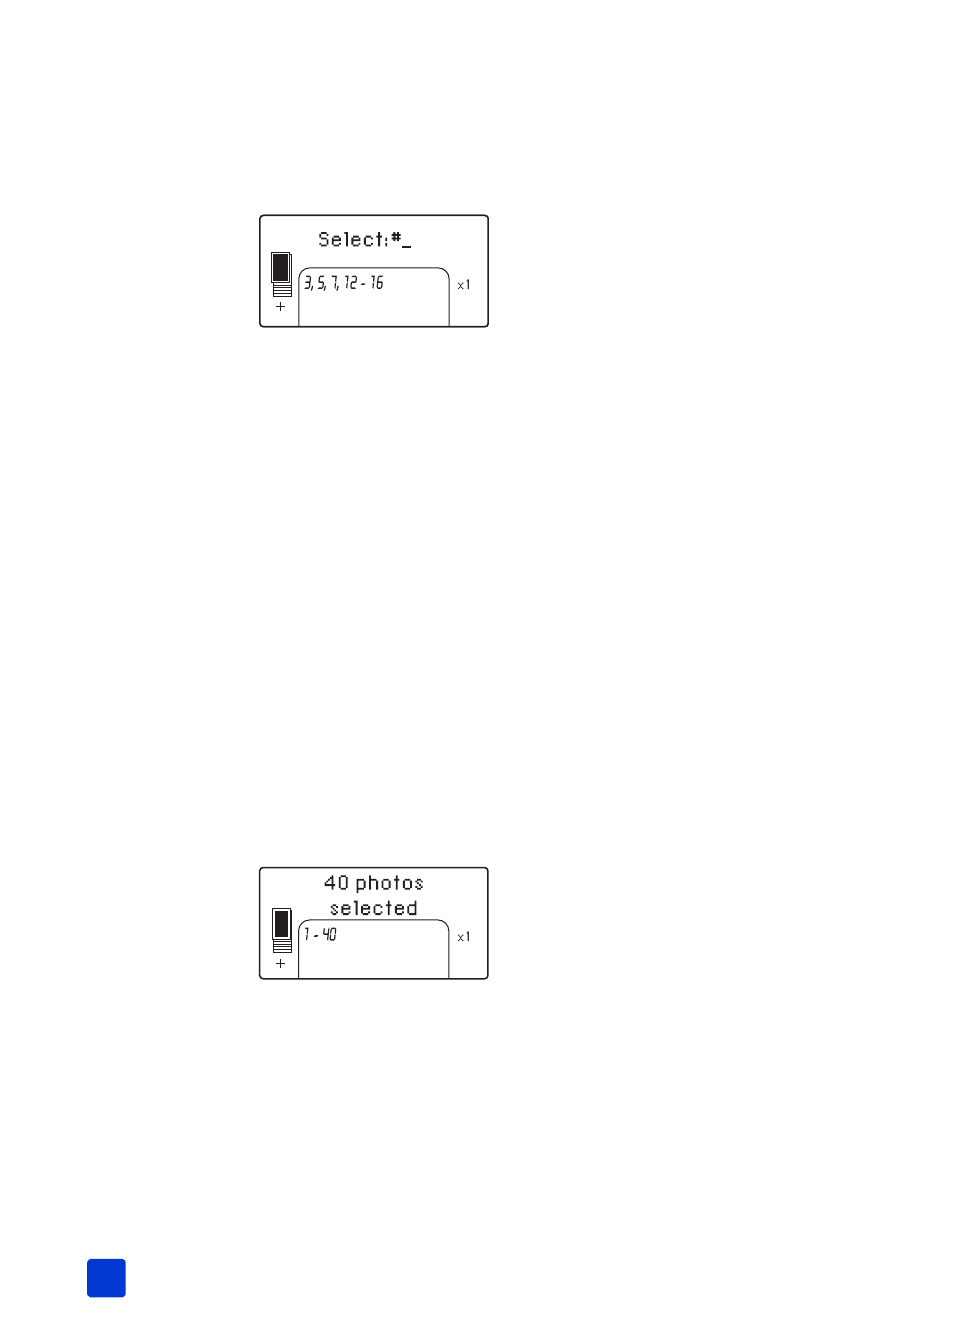
screen. Press the OK button.
The index numbers of all photos found on the memory card appear as a
range in the Selected Photos section at the bottom of the printer’s LCD
screen.
Once you select a single photo or range of photos, the S
ELECT
:A
LL
option
will no longer appear. If you have already selected photos, you must print
or clear them before you can use S
ELECT
:A
LL
to select all photos on the
memory card. For information about printing the selected photos, see print
photos on page 31. For information about clearing the selected photos,