Porter-Cable PCG6500 User Manual
Page 24
24- ENG
8. Replace dipstick and tighten
securely.
9. Reconnect spark plug cap.
10. Dispose of oil according to local or
national laws and regulations.
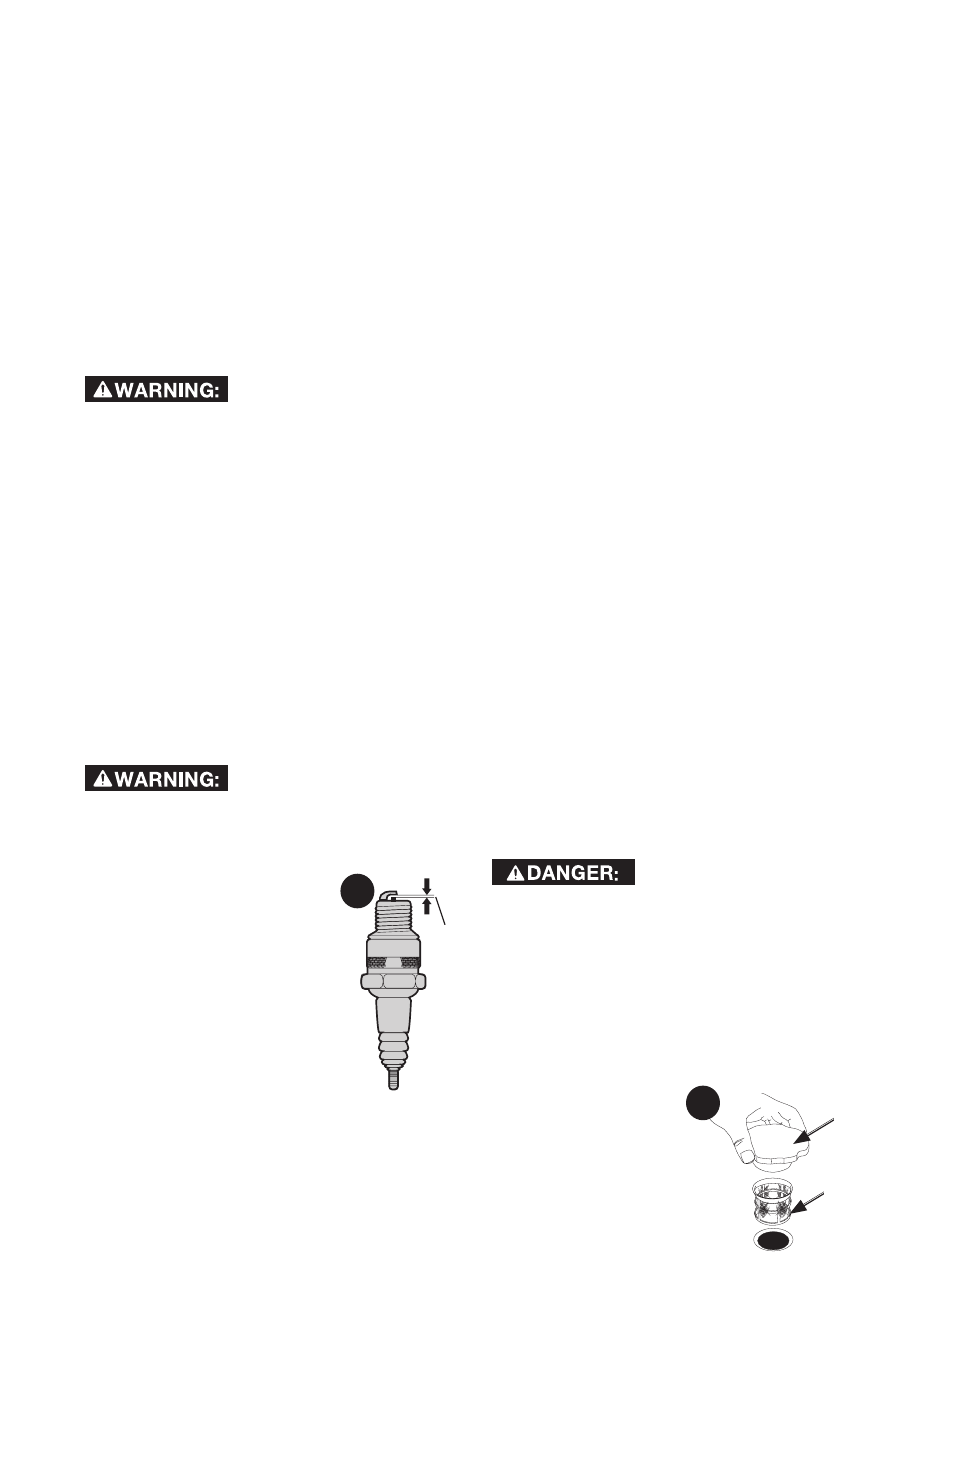
SpArK pLUG
(FIG. 2, 13)
Use recommended spark plugs, see
product Specifications for correct
spark plug. To ensure proper engine
operation, the spark plug must be
properly gapped and free of deposits.
If the engine has been
running, the muffler will be very hot. To
reduce the risk of injury, allow cooling
before proceeding.
1. Remove the spark plug cap.
2. Clean any dirt from around the
spark plug base.
3. Use a spark plug wrench (not
supplied) to remove the spark
plug.
4. Visually inspect the spark plug.
Replace it if the insulator is cracked
or chipped. Clean the spark plug
with a wire brush if it is going to be
reused.
Risk of unsafe
operation. Always wear certified safety
equipment: ANSI Z87.1 eye protection
(CAN/CSA Z94.3) with side shields.
5. Measure the plug
V V
13
gap with a feeler
gauge (V V). Correct
as necessary by
carefully bending the
side electrode. See
p r o d u c t
Specifications for
correct gap.
6. Make sure the spark
plug washer is in good condition.
Thread the spark plug in by hand
to prevent cross threading.
7. After the spark plug is seated,
tighten with a spark plug wrench to
compress the washer. If installing
a new spark plug, tighten the
spark plug 1/2 turn after it seats to
compress the washer. If reinstalling
a used spark plug, tighten 1/8–1/4
turn after the spark plug seats
to compress the washer. Do not
overtighten.
8. Securely replace spark plug cap.
NOTE: The spark plug must be
securely tightened. An improperly
tightened spark plug can become
very hot and could damage the
engine. Never use spark plugs
which have an improper heat
range. Use only the recommended
spark plugs or equivalent.
DrAIN cArBUrETOr BOWL
(FIG. 1, 2)
1. Place the fuel shut off valve (G) in
the closed position (horizontal to
ground).
2. Place an OSHA-ap proved con tain er
suitable for fuel under the carburetor
bowl (P).
NOTE: Using a funnel
will allow the fuel to flow into the
container with less spillage.
3. Remove the carburetor bowl drain
(M).
4. Fuel will drain from carburetor
bowl.
5. When drained, replace carburetor
bowl drain.
cLEANING DEBrIS ScrEEN
(FIG. 1, 14)
Risk of explosion or
fire. Gasoline vapor is highly flammable.
Refuel outdoors only in well-ventilated
areas. Do not refuel or check gasoline
level while the engine is running. Do
not store, spill or use gasoline near an
open flame, a source of sparks (such
as welding), or near operating electrical
equipment.
1. Remove fuel
14
D
cap (D).
2. Remove debris
screen (QQ).
3. Clean debris
screen. Use
compressed
air to blow off
debris.