Henny Penny DCW-2 User Manual
Page 9
2-3. LOCATION
Place the unit on a table, preferably with a cut-out opening below
the cabinet to allow easy service connections and serviceability.
When setting up the Henny Penny Heated Display Cabinet, be
sure to level the table.
2-4. ELECTRIC DATA TABLE
Model Volts Phase Watts Amps
DCW-2 120/230 1 760 4.7
2-5. LIGHT BULBS AND
GLASS
PANELS
1. Cut the tape holding the doors shut and remove all boxes and
boxes and packing. One carton contains the glass panels and
the other contains the light bulbs.
2.
Install
the
light
bulbs and glass panels.
3. The unit is now ready to be cleaned per instructions in the
Operations section of this manual.
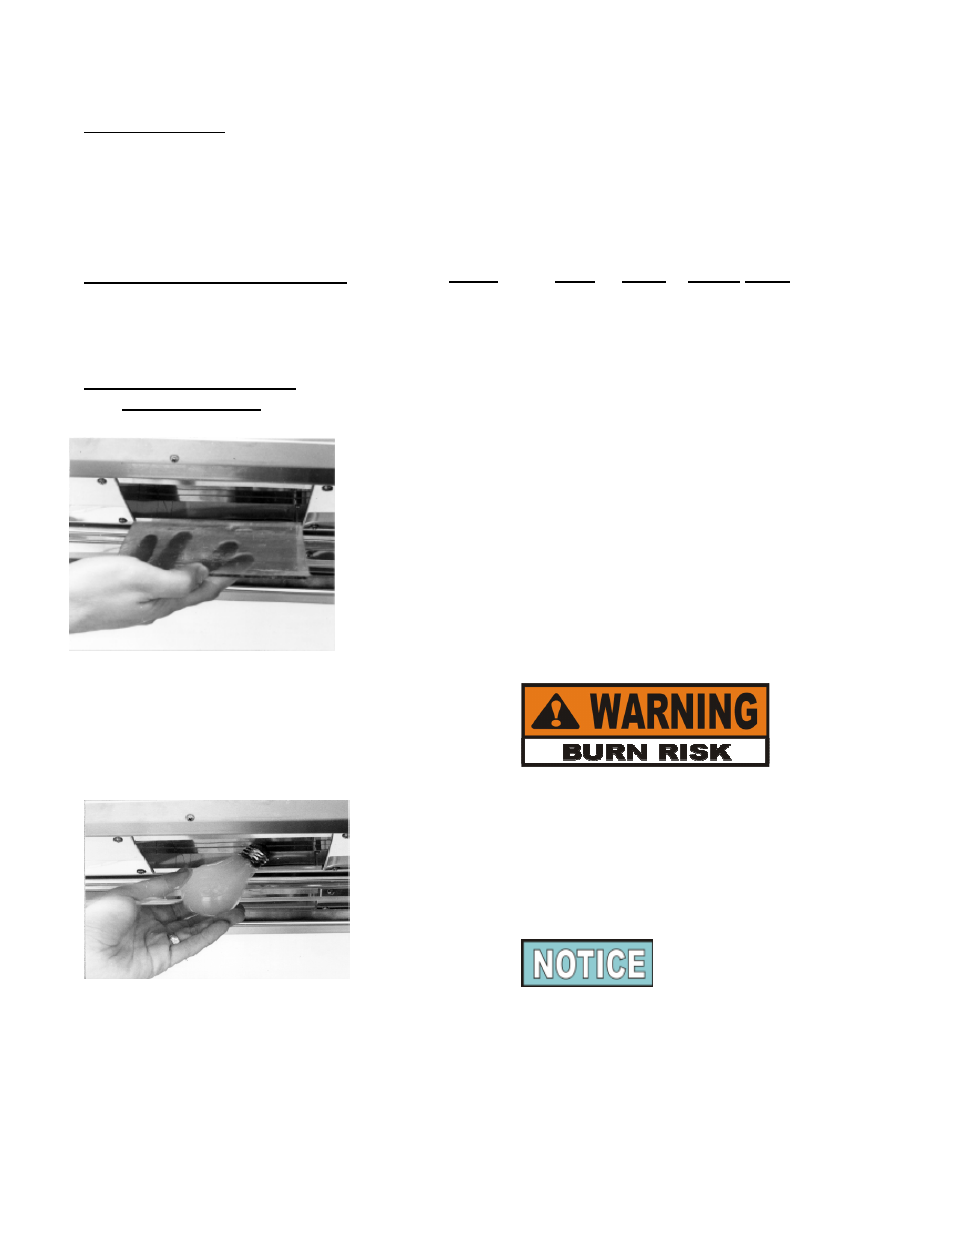
Step 1
Replacing Light Bulbs
Light bulbs and glass may be hot. Severe burns could result.
1. Remove the glass panel by carefully pushing up on back of
panel and sliding away from you. The panel will fall into
your hand. See photo at left.
2. Remove the light bulb.
3. Replace the light bulb Henny Penny offered.
Step 2
If this bulb is not available, a standard 60 watt bulb will work
until a long life bulb can be obtained.
4. Replace the glass panel.
5