Using your steam system ii – Haan MS-30 User Manual
Page 19
www.haanusa.com 877-HAAN DIRECT / 877-422-6347
pg 17
Using Your STEAM SYSTEM II
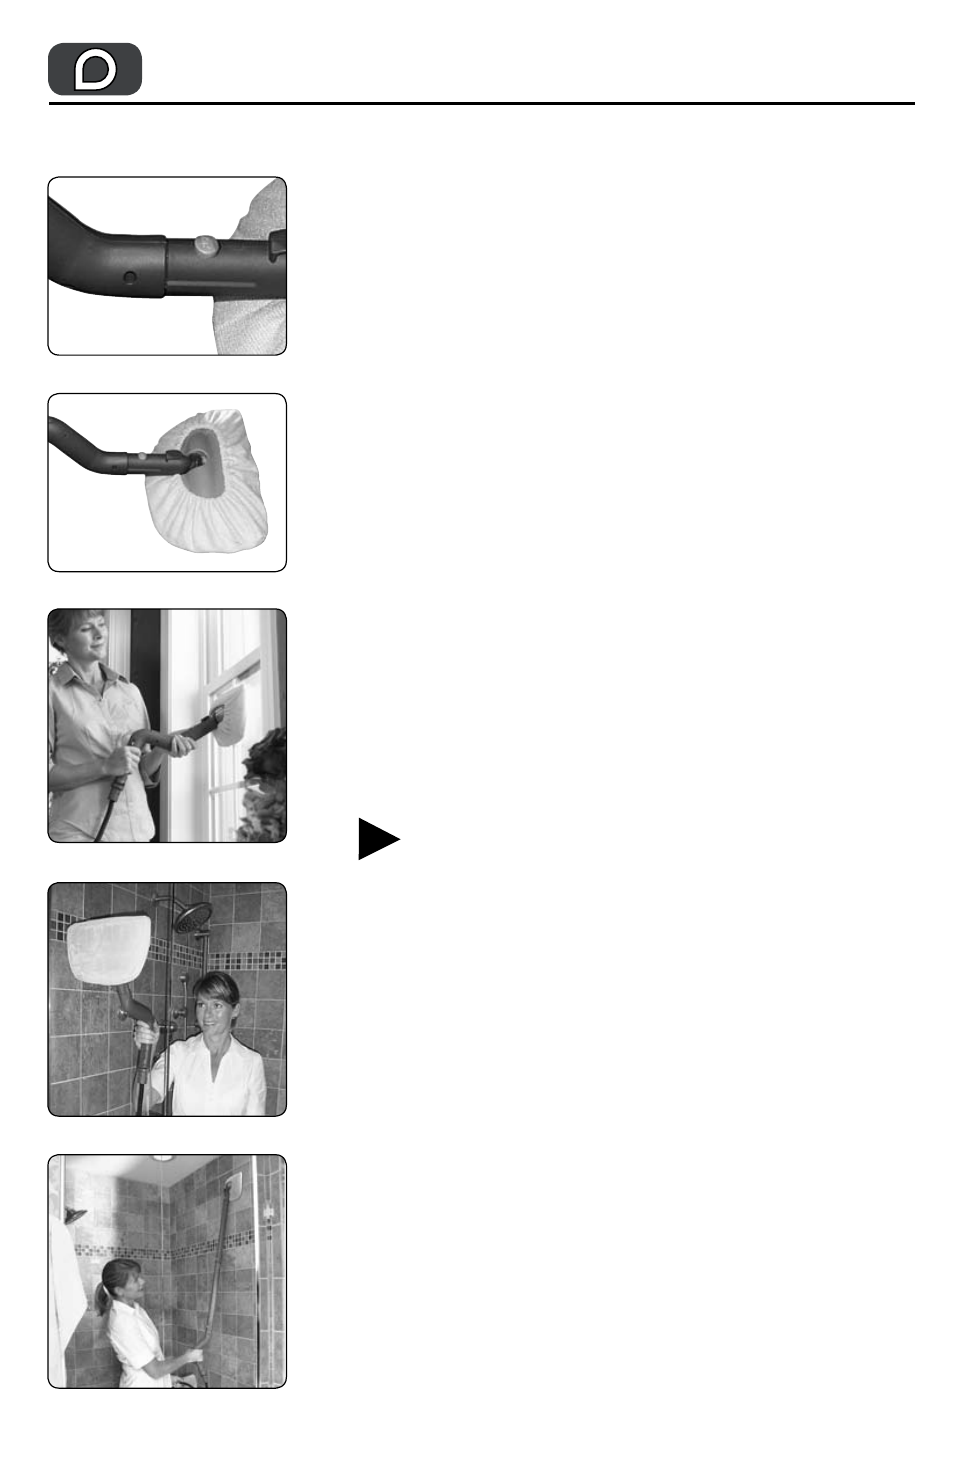
Fig 23
over the button and onto the handle until the
button pops into place (Fig 21).
4) The Multilayer Glass & Mirror Bonnet is used
without the Ultra-Microfiber Pad. Be sure the
unit is OFF, unplugged and cool. It attaches
directly to the unit by slipping it onto the steam
head. Match the shape of the pad to the steam
head and expand the gathered edge of the pad.
Slip it over the edge and guide it into place.
The pad is shaped to fit the steam head snuggly
(Fig. 22).
5) Depending on prior use, you may need to add
water to the internal Water Tank (see instructions
for this on pg 11-12, steps 11-14). Be careful not
to over-fill the tank.
6) Plug the MS-30 into a grounded plug and press
the ON/OFF switch to start the heat cycle. The
GREEN Power ON light and the ORANGE READY
Light will illuminate. It takes approximately 3-4
minutes for the STEAM SYSTEM II to heat up and
generate steam. The READY light will deactivate
once the unit is heated and ready to begin.
7) You are now ready to use the MS-30 with the
Multilayer Microfiber Glass & Mirror Bonnet.
Use it to clean and sanitize windows, (Fig 23)
mirrors, glass shower stalls/doors (Fig 24),
countertops, large appliance surfaces including
doors, fronts and ceramic stovetops and even car
windshields. With its padded ultra-absorbent
microfiber surface it not only protects the surface
while it cleans but it sanitizes the surface with
steam killing 99.9% of germs and bacteria.
8) On the occasions when you wish to clean and
sanitize an area out of normal reach, the Multi-
layer Microfiber Glass & Mirror Bonnet can be
attached to the Steam Head while still at the end
of the Extension Poles. Slip the bonnet onto the
cooled Steam Head as described in step 4 above;
Follow steps 5 & 6 to power and heat up the unit
and you are prepared to sanitize an area out of
normal reach (Fig 25).
9) When you have finished, follow the directions given
for cooling down the unit (step 6, page 15)
and
remove the used Bonnet. Clean the Bonnet the same
as you would the Microfiber pads (see page 14).
Fig 21
Fig 22
Fig 24
Fig 25