HP CheXpress CX30 User Manual
Page 10
CheXpress® CX30 User’s Manual_Rev 020309
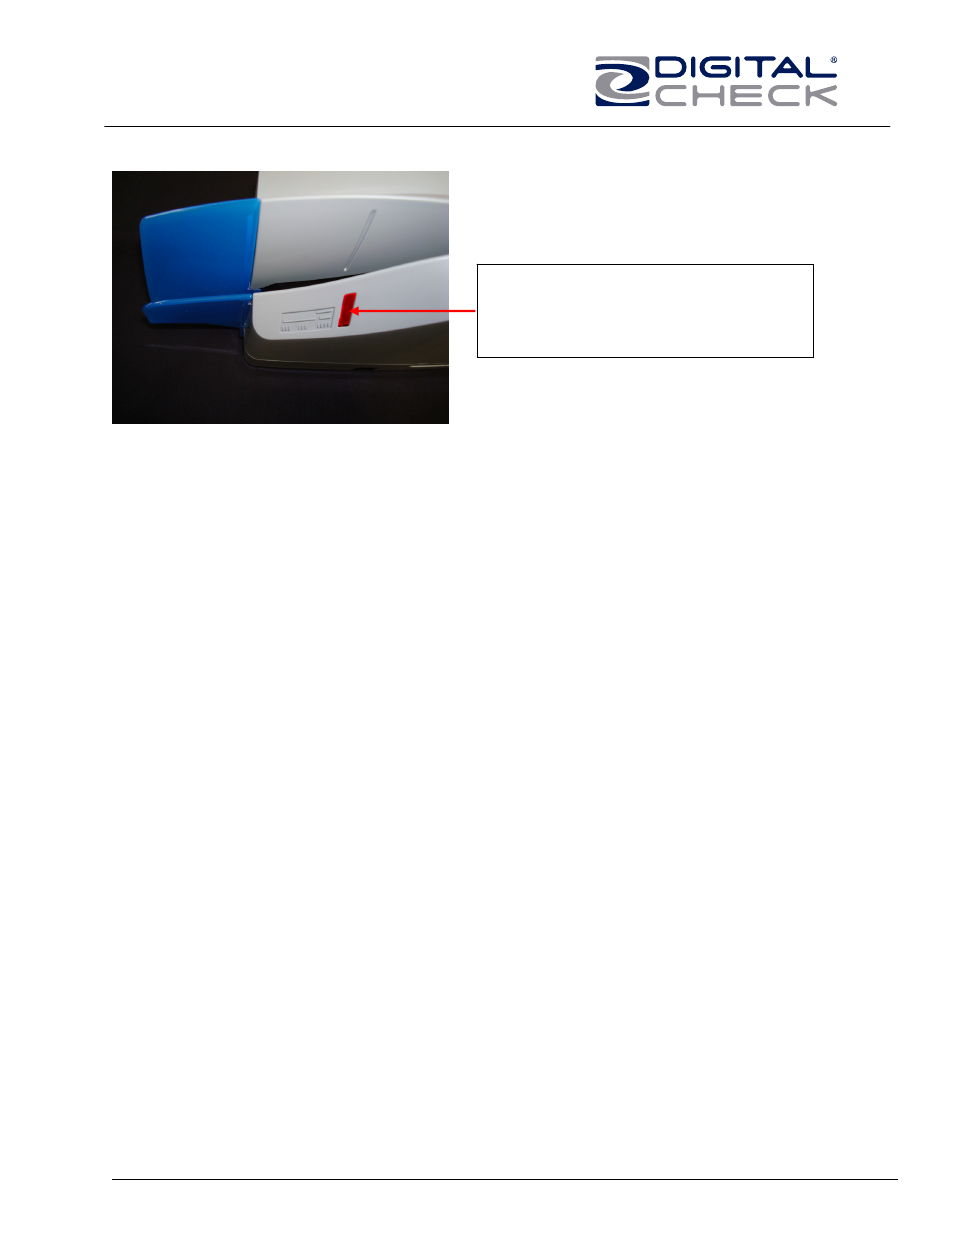
Fig. 7
The status LED with the ‘Red’ light on.
This is the normal state when waiting to
be acquired and indicates a good USB
and power connection.
The standard sequence for the status LED is:
1. When the scanner is powered on and the USB cable is connected, the LED will
light up ‘Red’. This indicates initial power and a PC connection to the scanner.
2. Note: Both ends of the USB cable must be plugged in for the LED light to turn
‘Red’. If the LED does not turn ‘Red’, check and reseat the end of the USB cable
going into the PC and into the scanner and that the PC is turned on. Then check
to make sure your power source is live.
3. If the firmware and drivers have been properly loaded, once the application
launches and acquires the scanner, the right LED will now turn ‘Green’.
4. After the CheXpress® CX30 is synchronized with the application; the LED is
used to detect the presence of documents in the entry pocket and will turn
‘Orange’ once a document is loaded.
5. After a document scan using the Scan & Return mode, the check will stop in the
entry pocket and show a flashing ‘Orange’ light. This indicates the document has
been scanned and it can be removed.
6. A flashing ‘Red’ LED indicates an error. Select an eject option within the
application, if available, or look for a document in the path and press and release
the ‘reset button’ on the side of the scanner.
10