English – HP 79XXY User Manual
Page 13
upgrading and servicing the pc
9
Filename: ma1rwtc.doc Title: HP-Print2k.dot
Template: HP-Print2K.dot Author: WASSER, Inc. Last Saved By: WASSER, Inc.
Revision #: 161 Page: 9 of 46 Printed: 04/26/01 09:20 AM
English
3
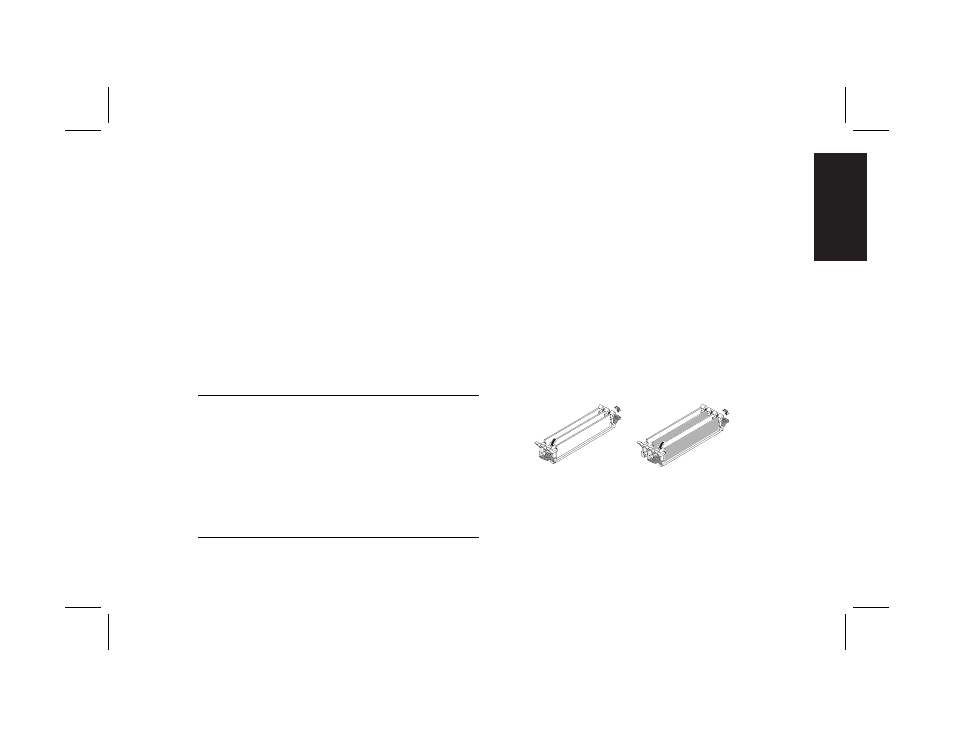
RIMMs work in identical pairs, so they must be
from the same vendor, have the same speed,
and memory size density within each channel
(see the memory table).
3
When C-RIMMs are used to fill empty sockets,
they must be placed in the RIMM A2 and
RIMM B2 sockets. The RIMMs must be inserted
in the RIMM A1 and RIMM B1 sockets.
The following table illustrates the initial
combinations of RIMMs you can use and the
insertion sequence.
Channel 1
Channel 2
Total
Memory
RIMM A1
socket
RIMM A2
socket
RIMM B1
socket
RIMM B2
socket
128 MB
64 MB
RIMM
C-RIMM
64 MB
RIMM
C-RIMM
256 MB
64 MB
RIMM
64 MB
RIMM
64 MB
RIMM
64 MB
RIMM
256 MB
128 MB
RIMM
C-RIMM
128 MB
RIMM
C-RIMM
384 MB
128 MB
RIMM
64 MB
RIMM
128 MB
RIMM
64 MB
RIMM
512 MB
128 MB
RIMM
128 MB
RIMM
128 MB
RIMM
128 MB
RIMM
512 MB
256 MB
RIMM
C-RIMM
256 MB
RIMM
C-RIMM
Installing a Memory Module
1 Turn off the computer and all peripherals.
2 Disconnect the modem/phone cable.
3 Disconnect the power cord and all other
attached cables (such as the keyboard, mouse,
and monitor).
4 Remove the side panel and the fan duct (see
“Removing the Side Panel” on page 4 and
“Removing the Fan Duct” on page 5).
5 Locate the memory sockets on the
motherboard.
DIMM and
RIMM
DDR DIMM
Note:
If all of the memory sockets are filled, you need
to remove one of the memory modules (see
“Removing a Memory Module” on page 11).
6 Move any cabling out of the way, if necessary.