Philips P-Line 43" UHD 4K Digital Signage Display User Manual
Page 34
43BDL3117P/50BDL3117P/55BDL3117P
32
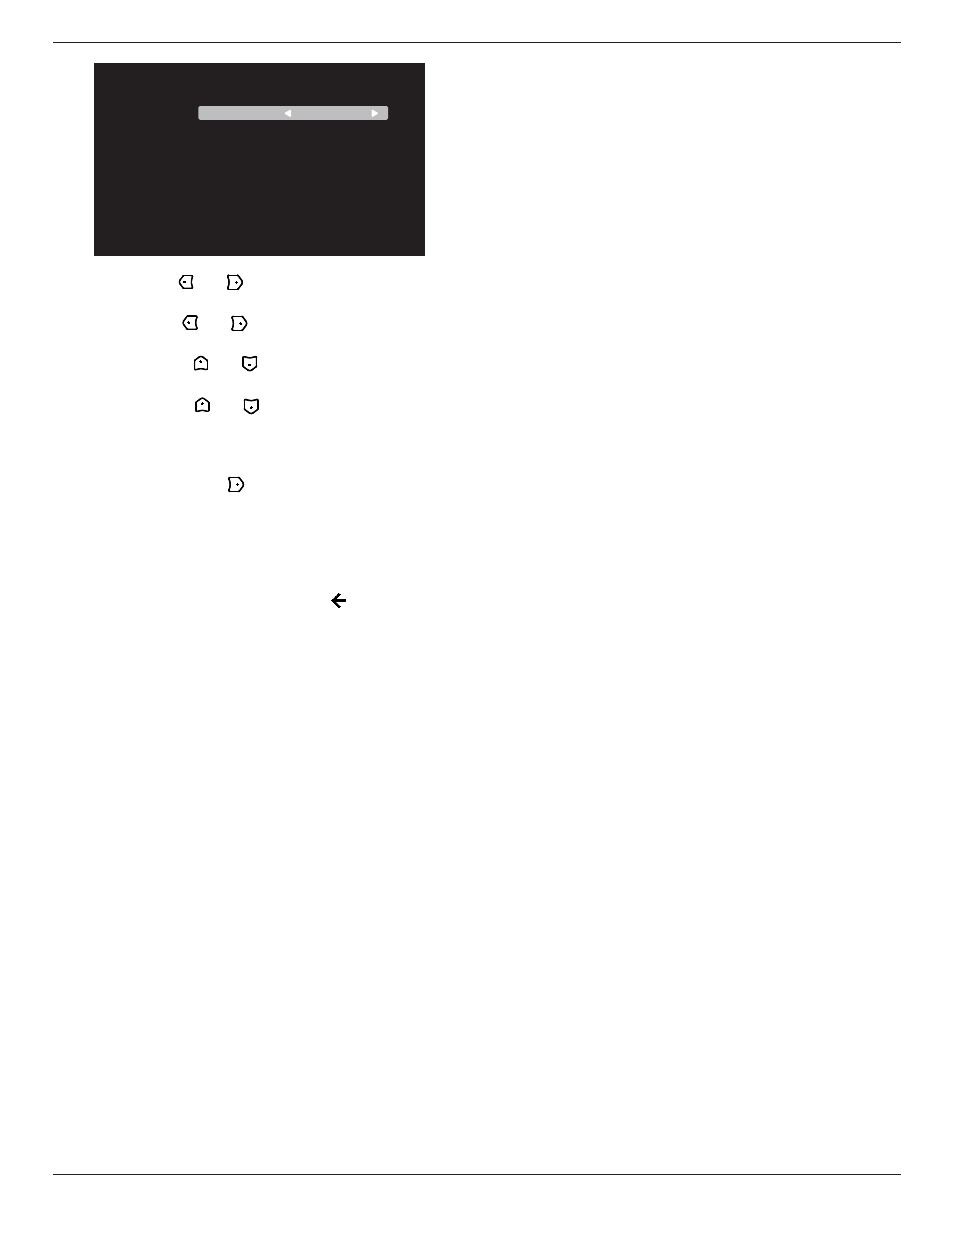
Schedule 1
Schedule 2
Schedule 3
Schedule 4
Schedule 5
Schedule 6
Schedule 7
Schedule
Status
Source
On Time
Off Time
Repeat modes
USB Play List
Off
HDMI1
-- : --
-- : --
None
• {
Status
}
- Press
[ ]
or
[ ]
button to select the status On or
Off.
• {
Source
}
- Press
[ ]
or
[ ]
button to select the input
source.
• {
On Time
}
- Press
[ ]
or
[ ]
button to adjust and the
display will turn on at the specified time.
• {
Off Time
}
- Press
[ ]
or
[ ]
button to adjust and the
display will turn off at the specified time.
Leave hour and minute options empty if you do not want to
use the function of power-on or power-off schedule.
• {
Repeat modes
}
-Press
[ ]
button to select which day in a
week this schedule item will take effect, and then press the
[
OK
] button.
NOTE:
The scheduler cannot work cross midnight in one schedule
with no repeats or only one schedule day is selected.
3. For additional schedule settings, press [ ], then repeat the
steps above. A check mark in the box next to the number of
the schedule item indicates that the selected schedule is in
effect.
NOTES:
• If the schedules overlap, the scheduled power-on time takes
priority over scheduled power-off time.
• If there are two schedule items programmed for the same
time, the highest numbered schedule takes priority. For
example, if schedule items #1 and #2 both set the display to
power on at 7:00 AM and off at 5:00 PM, then only schedule
item # 2 will take effect.
HDMI with One Wire
CEC control.
• {
Off
}
- Disable CEC.(Default)
• {
On
} - Enable CEC.
Auto signal detection
This function allows the display to detect and display available
signal sources automatically.
• {
Off
} - Once an input is connected, it can only be selected
manually.
If the selected input has signal, set the system to display the
image automatically according to the search order of each
option.
The options are: {
Auto
}
/
{
Failover
}
• {
Auto
}: Dispalyport->VGA->DVI-I->HDMI1->HDMI2-
>HDMI3->Media Player
• {
Failover
}
-
Failover 1: User-defined setting. Default:HDMI 1.
-
Failover 2: User-defined setting. Default:HDMI 1.
-
Failover 3: User-defined setting. Default:HDMI 1.
-
Failover 4: User-defined setting. Default:HDMI 1.
-
Failover 5: User-defined setting. Default:HDMI 1.
-
Failover 6: User-defined setting. Default:HDMI 1.
-
Failover 7: User-defined setting. Default:HDMI 1.
If the primary signal is lost then the display begin failover
by searching the next available source that is defined in the
priority list.
Please note that failover will suspend under the following
conditions and failover will resume when signal is lost again.
-
Boot On Source : When the display is powered on, it will
go to the source defined in this OSD option.
-
Scheduler: When the display is powered on by
scheduler, it will go to the corresponding source
according to the current time.
-
User operation: No matter what current source it is,
when user manually changes source, the failover will
suspend.
To make sure failover starts from the 1st priority source after
powering on, please set the 1st priority source as boot on
source too.
Power Save
Mode 1 [TCP off, WOL on, auto off]
Mode 2 [TCP off, WOL on, auto on/off]
Mode 3 [TCP on, WOL off, auto on/off]
Mode 4 [TCP on, WOL off, no auto on/off]
Autoplay
Choose to play source type. The options are: {Off} / {SD}/ {USB}.
NOTE:
To use USB Autoplay
1. Create a folder which should be named as “autoplay” in the
USB disk.
2. Put the sources(PHOTO/Movie) which should be named as
alphabet and digital in the autoplay folder.
3. After boot on or inserting USB on the system, USB Autoplay
function starts automatically.
Slideshow Duration
Duration of each picture for autoplay and Play List.
Play List
Choose 1 playlist to play, support up to 7 playlists.
NOTE:
To use USB Playlist
1. Create a folder which should be named as “playlistN” in the
USB disk.
(N means playlist number1~7, ex: USB Play List 1: “playlist1”
folder in USB)
2. Put the sources(PHOTO/Movie) which should be named as
alphabet and digital in the “playlistN” folder