HP P22 G5 21.5" Monitor User Manual
Page 32
●
Phase–Increases or decreases the value to minimize video flickering or blurring.
NOTE:
When you use the controls, you will obtain the best results by using the auto-adjustment pattern
software utility. You can download this utility fr
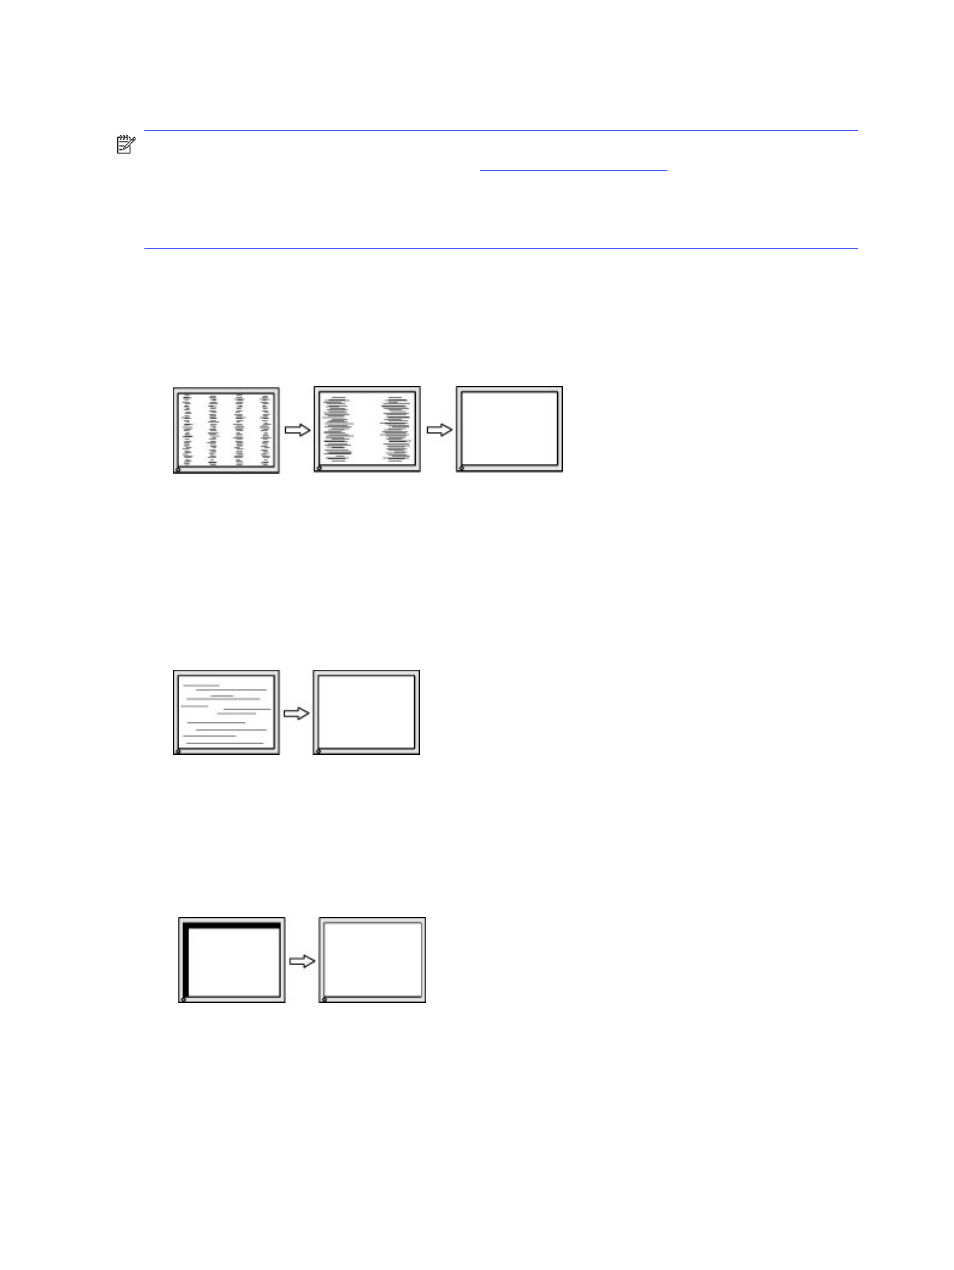
When adjusting the Clock and Phase values, if the monitor images become distorted, continue adjusting the
values until the distortion disappears. To restore the factory settings, press the
Menu
button to open the
OSD menu, then select Management, select Factory Reset, and select Yes.
To eliminate vertical bars (Clock):
1.
Press the
Menu
button to open the OSD menu, select Image, and then select Clock and Phase.
2.
Select Clock, and then use the OSD buttons on the monitor that display up and down arrow icons to
eliminate vertical bars. Press the buttons slowly so that you do not miss the optimum adjustment point.
3.
After adjusting the Clock, if flickering, blurring, or bars appear on the screen, proceed to adjust the Phase.
To remove flickering or blurring (Phase):
1.
Press the
Menu
button to open the OSD menu, select Image, and then select Clock and Phase.
2.
Select Phase, and then use the OSD buttons on the monitor that display up and down arrow icons to
eliminate flickering or blurring. Flickering or blurring might not be eliminated, depending on the computer
or graphics controller card installed.
To correct screen position (Horizontal Position or Vertical Position):
1.
Press the
Menu
button to open the OSD menu, select Image, and then select Image Position.
2.
Press the OSD buttons on the monitor that display up and down arrow icons to properly adjust the
position of the image in the display area of the monitor. The Horizontal Position shifts the image left or
right; the Vertical Position shifts the image up or down.
26
Chapter 3 Support and troubleshooting