Initializing the spectroproofer – Epson Printer Accessories User Manual
Page 19
19
Setting Up the SpectroProofer
|
19
Initializing the SpectroProofer
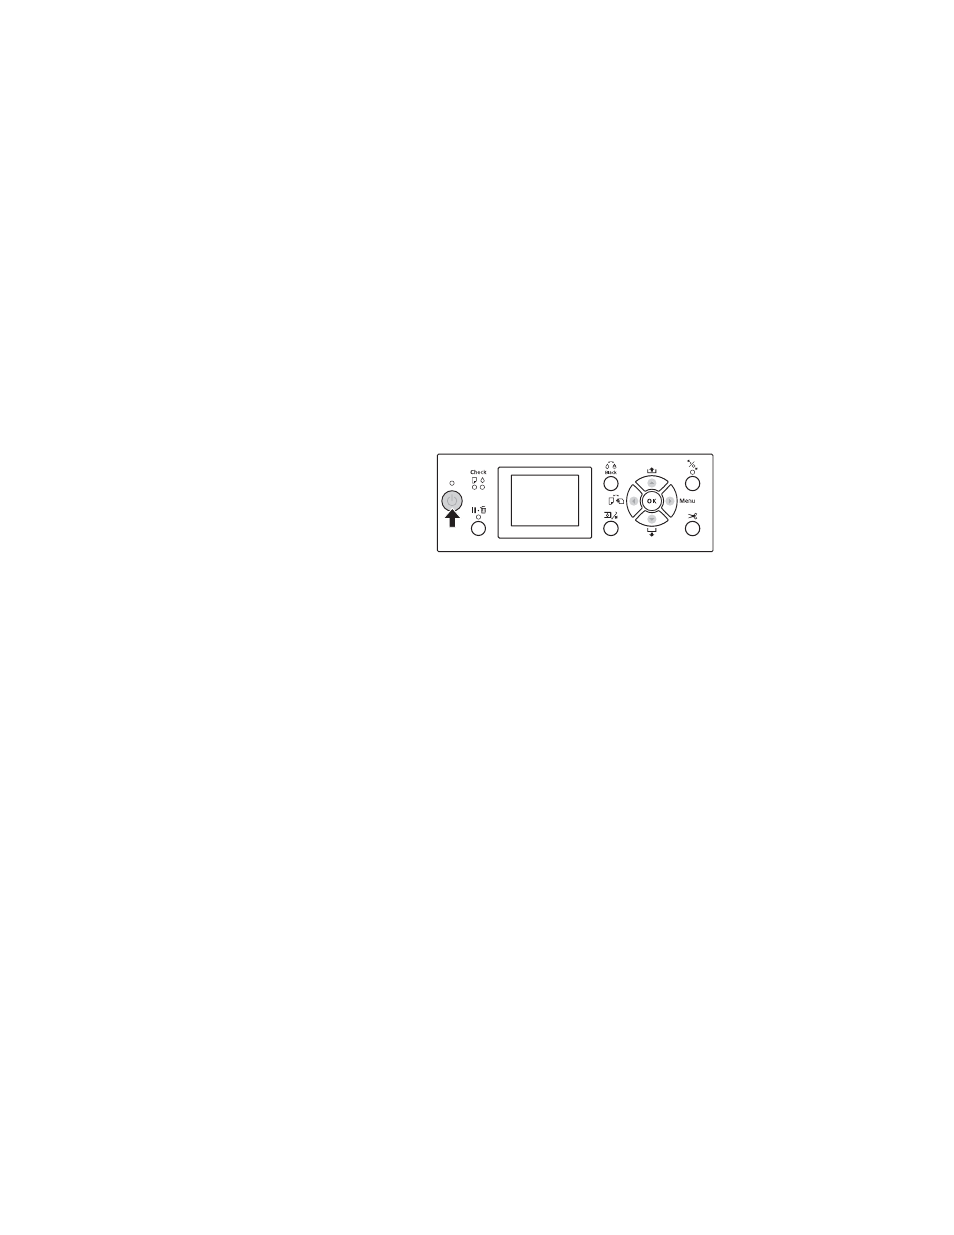
The SpectroProofer must be aligned before you use it for the first time. You
only need to perform this procedure once. You don’t need to repeat the
alignment if you remove and re-install the SpectroProofer.
1. Confirm that the SpectroProofer is powered on by checking its green
status light. The SpectroProofer must be powered on before you turn on
the printer, or it won’t be recognized.
2. Turn on the printer.
3. Load 24-inch or 44-inch roll paper in your printer, depending your
model. Follow the paper loading instructions in your User’s Guide or
Printer Guide.
4. Select
OPTIONS SETUP
,
SpectroProofer
,
DEVICE ALIGNMENT
and
EXECUTE
, and then press the
OK
button on the printer’s control
panel.
The printer automatically prints out and measures an adjustment
pattern. This process takes about one minute to complete.
5. When the alignment is complete,
READY
is displayed on the printer’s
control panel.
6. Confirm that the control panel displays
White
(or
Black
) for the
Backing Color and
Successful
for the Calibration Status. If not, then
repeat the installation steps to make sure that the spectrometer ILS head
is correctly connected to its cables and properly seated flat in its holder.
Your SpectroProofer is now properly installed. See the manual that came
with your RIP or color measuring software for instructions on using the
SpectroProofer.
Note:
The SpectroProofer does
not have a power switch. It
is on when it is plugged in
and receiving power.
The first time you turn on
the printer with a new
SpectroProofer attached, a
"Device not Aligned"
message will display on
the printer's LCD screen.
Note:
It is important that the
media specified on the
printer's LCD screen
matches the media
installed in the printer
before initiating the
SpectroProofer device
alignment. See the User’s
Guide or Printer Guide for
recommended media and
settings.