Printing images one at a time, Use hi to select copies and press the k button, Select paper size and press the k button – Nikon Coolpix A100 User Manual
Page 110: Select start print and press the k button
94
C
o
nnec
tin
g the C
a
mera
to
a
T
V
, P
rin
ter, o
r C
o
mpu
ter
B
If the PictBridge Startup Screen Is Not Displayed
When Auto is selected for Charge by computer (
A88), it may be impossible to
print images with direct connection of the camera to some printers. If the PictBridge
startup screen is not displayed after the camera is turned on, turn the camera off and
disconnect the USB cable. Set Charge by computer to Off and reconnect the
camera to the printer.
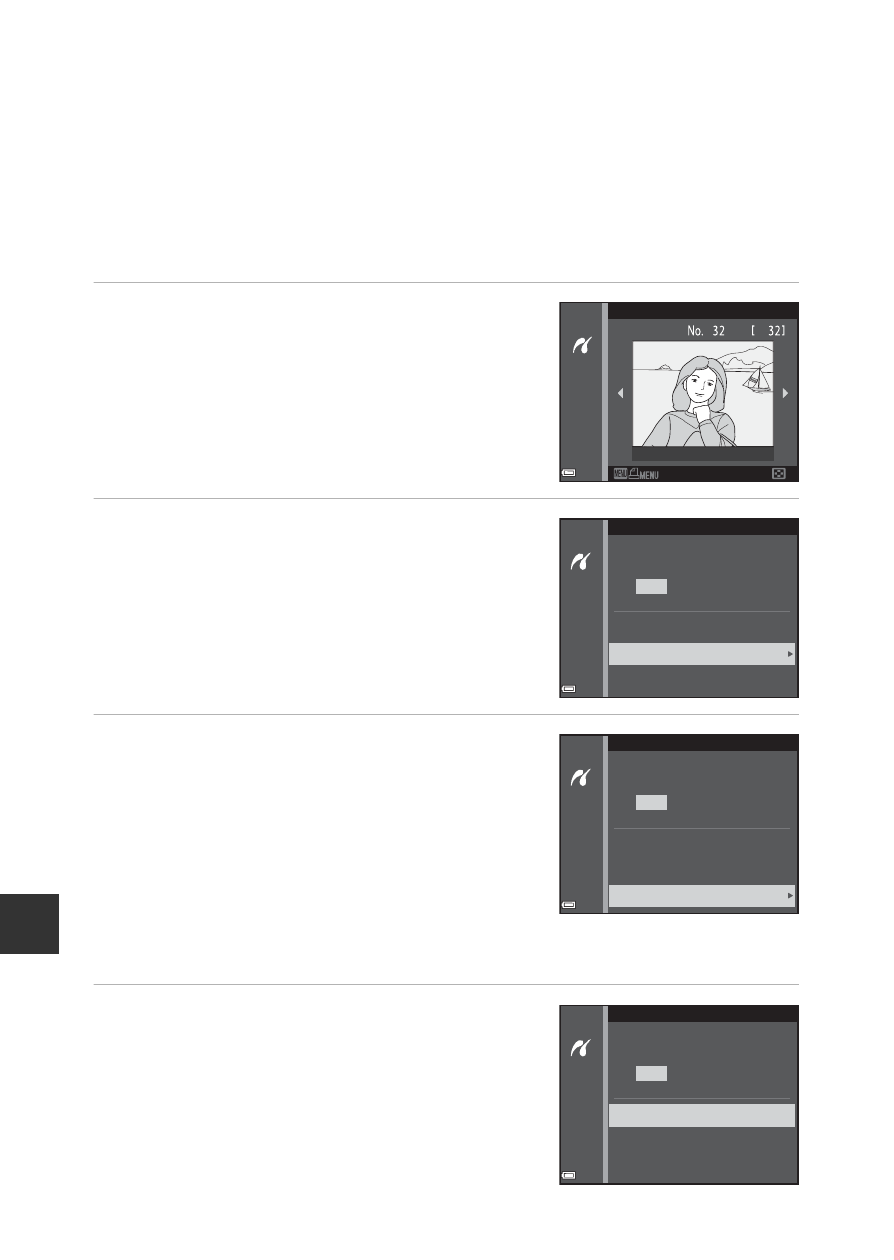
Printing Images One at a Time
1
Use the multi selector
JK to
select the desired image and press
the
k button.
• Move the zoom control toward f (h) to
switch to thumbnail playback or
g (i) to
switch to full-frame playback.
2
Use
HI to select Copies and
press the
k button.
• Use HI to set the desired number of
copies (up to nine) and press the
k button.
3
Select Paper size and press the
k
button.
• Select the desired paper size and press the
k button.
• To print with the paper size setting
configured on the printer, select Default.
• The paper size options available on the
camera vary depending on the printer that
you use.
4
Select Start print and press the
k
button.
• Printing starts.
Print selection
15/11/2016
PictBridge
1
Copies
Paper size
Start print
prints
PictBridge
4
Copies
Paper size
Start print
prints
PictBridge
4
Copies
Paper size
Start print
prints