For wireless (wifi) network (models dm42 and dm52) – Retrotec DM32 User Manual
Page 14
Page 14 of 16
©Retrotec Inc. 2013
3. Tap the [Status] key at the top of the screen to cycle Network Status choices, until it says
"Wired".
4. Verify that the gauge has obtained a network address by checking the [IP address] key for an IP
address that is valid on your network.
5. Tap the [Home] key to get out of the “Network settings” screen.
7.2
For Wireless (WiFi) Network (models DM42 and DM52)
1. Connect your gauge to your Windows-based PC via USB cable.
2. Start DM32 Configurator on the PC.
3. Wait until your gauge shows up on list
4. Highlight your gauge by clicking on the name.
5. Click on the “Network” tab (one of the keys along the bottom)
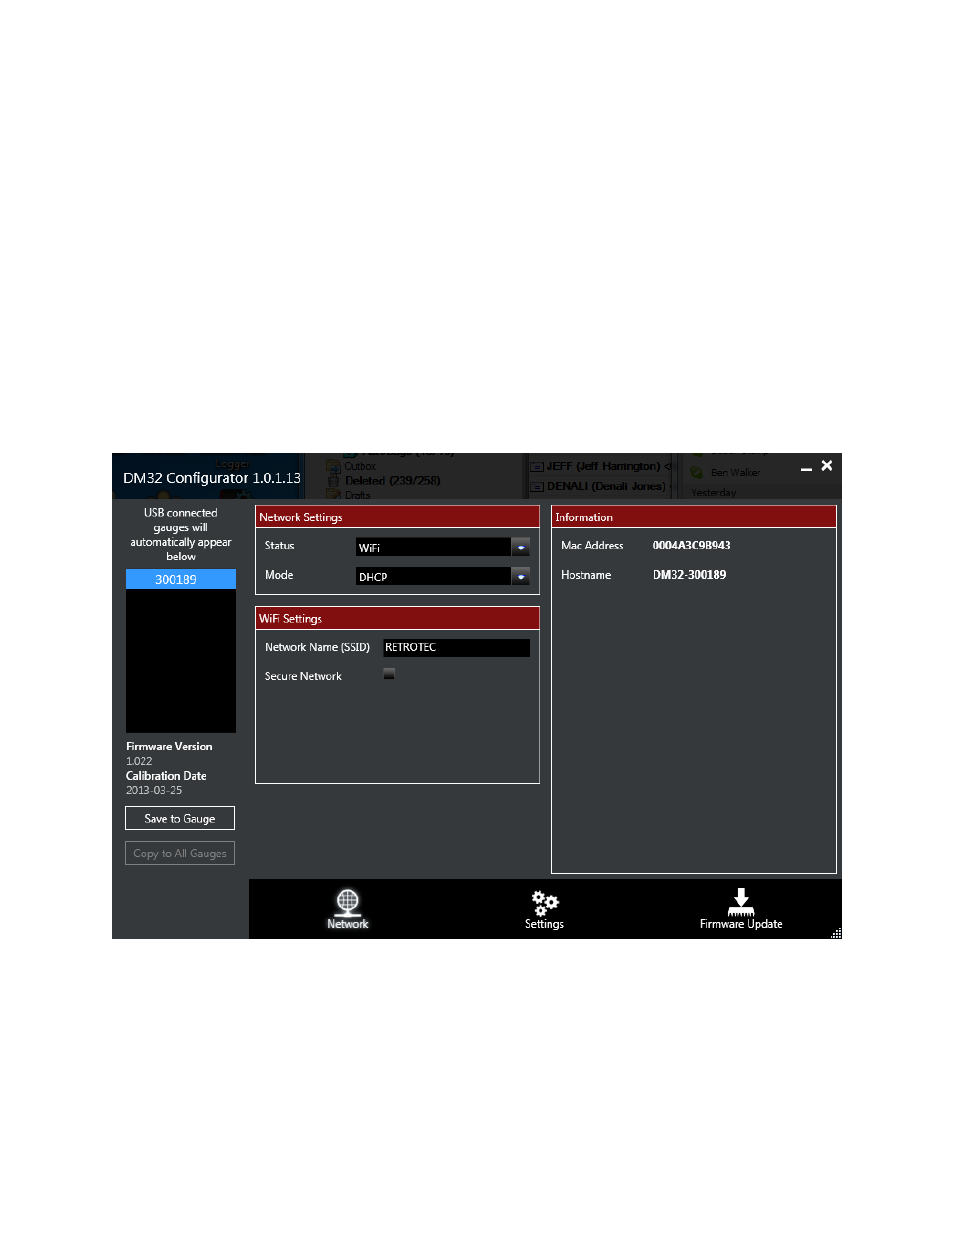
6. Select “WiFi” from the dropdown called “Status” and the Configurator will look like Figure 18.
Figure 18: Non-secure WiFi needs DHCP and Network name entered
7. Select “DHCP” from the dropdown called “Mode”.
8. Enter your WiFi network’s name (also called an SSID) in the form on the "Network" tab.
9. If you have a secure WiFi network, click on the “Secure network” button and more information
is shown to be entered as in Figure 19