Assembly procedure, Connecting elements – Florabest 1226 User Manual
Page 13
13
Assembly procedure
CAUTION!
For your own safety the bolt heads
should always point outwards,
otherwise there is a risk of injury.
In order to prevent undesired
material tension only tighten all
of the screw connections after
completing assembly.
1. Place an ash collecting tray holder
(J) and a leg support (H) over each
of the upper ends of the legs (I + O).
Attach the stands (I + O) to the fire
bowl (G) in the order illustrated. Use
M6x25 bolts and Ø6xØ20 washers.
2. Insert the front tab of the wire shelf (L) into
the lower hole on the standing leg (O).
Insert the ends of the wire shelf (L)
through the lower holes in the stand
(I). Attach the wheels (K) to the ends
of the wire shelf (L) using the Ø6xØ12
washers and M6 lock nuts.
3. Screw two of the handles (A) onto the
fire bowl (G) using the M6x10 bolts,
Ø6xØ12 washers and M6 nuts. Use
the M6x10 bolts, Ø6xØ12 plastic
washers, and M6 nuts to fasten the
hood bracket (D) to the handle (A)
from inside the hood (C).
4. Attach the ventilation discs (Q) to the
fire bowl (G) from the outside using
M4x10 bolts, Ø4xØ12 washers and
M4 nuts. Repeat this step with the
ventilation plate (B) on the hood (C).
5. Clamp the ash collecting tray (N)
into the ash collecting tray holder (J)
between the stand (I + O).
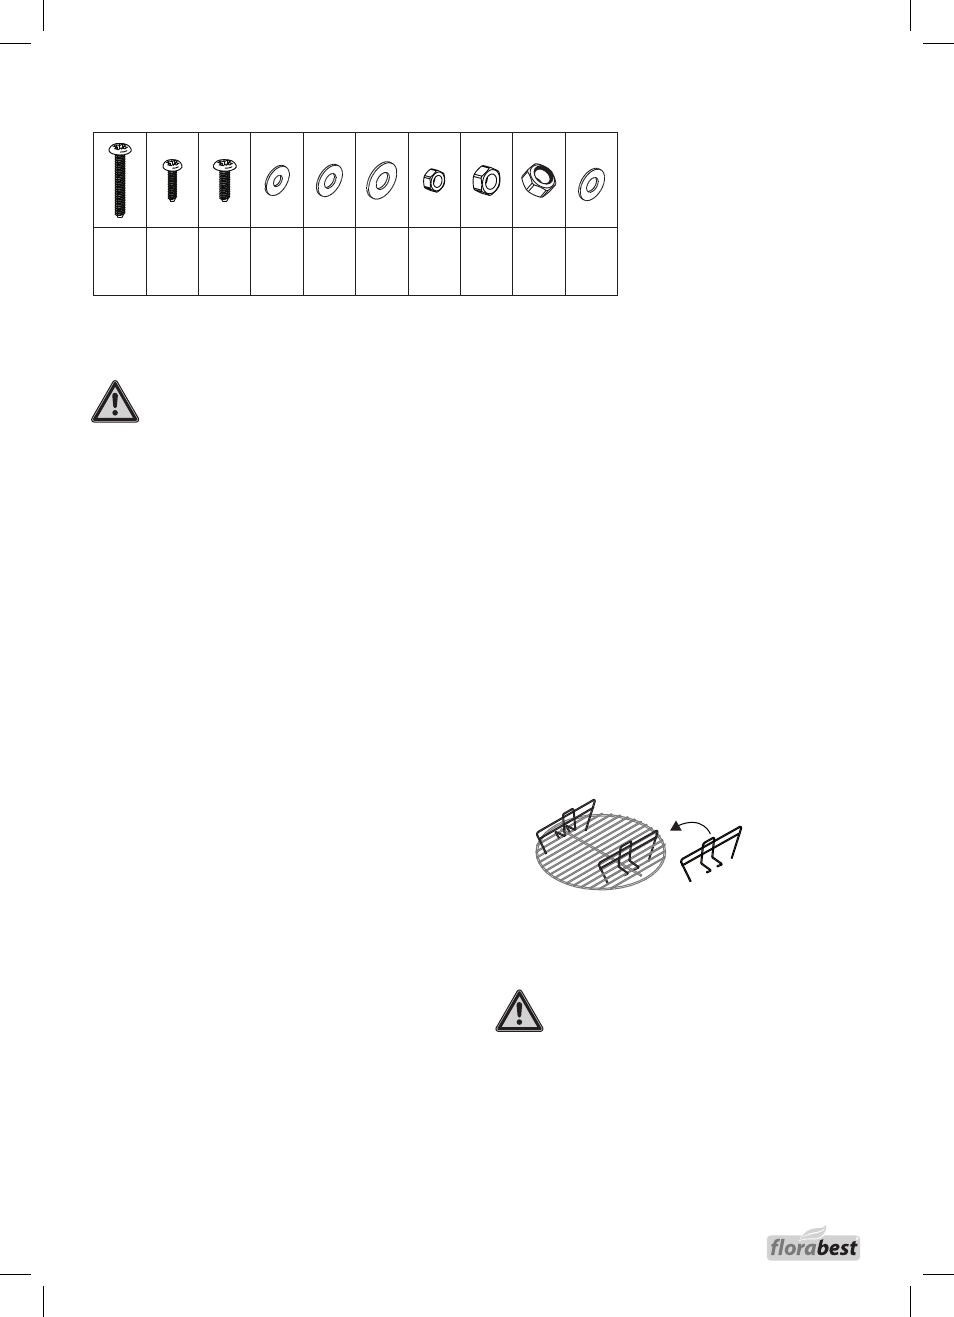
6. Insert the charcoal grid (F) and the
cooking grill (E) into the fire bowl
(G). If required, place the coal
divider (P) on the charcoal grill (F).
Also note the instructions on the
following pages.
WARNING!
The barbecue must be positioned
on a stable and secure surface
when it is in use, otherwise it may
tip over.
Connecting elements
M4x10
2x
M6x10
6x
Ø4xØ12
2x
Ø6xØ12
6x
Ø6xØ20
3x
M4
2x
M6
6x
M6x25
3x
M6
2x
Ø6xØ12
2x