3 verification using pem – Ericsson EDN312 User Manual
Page 16
Verifying the Installation
12
1/1531-HSD 101 41 Uen A 2004-01-30
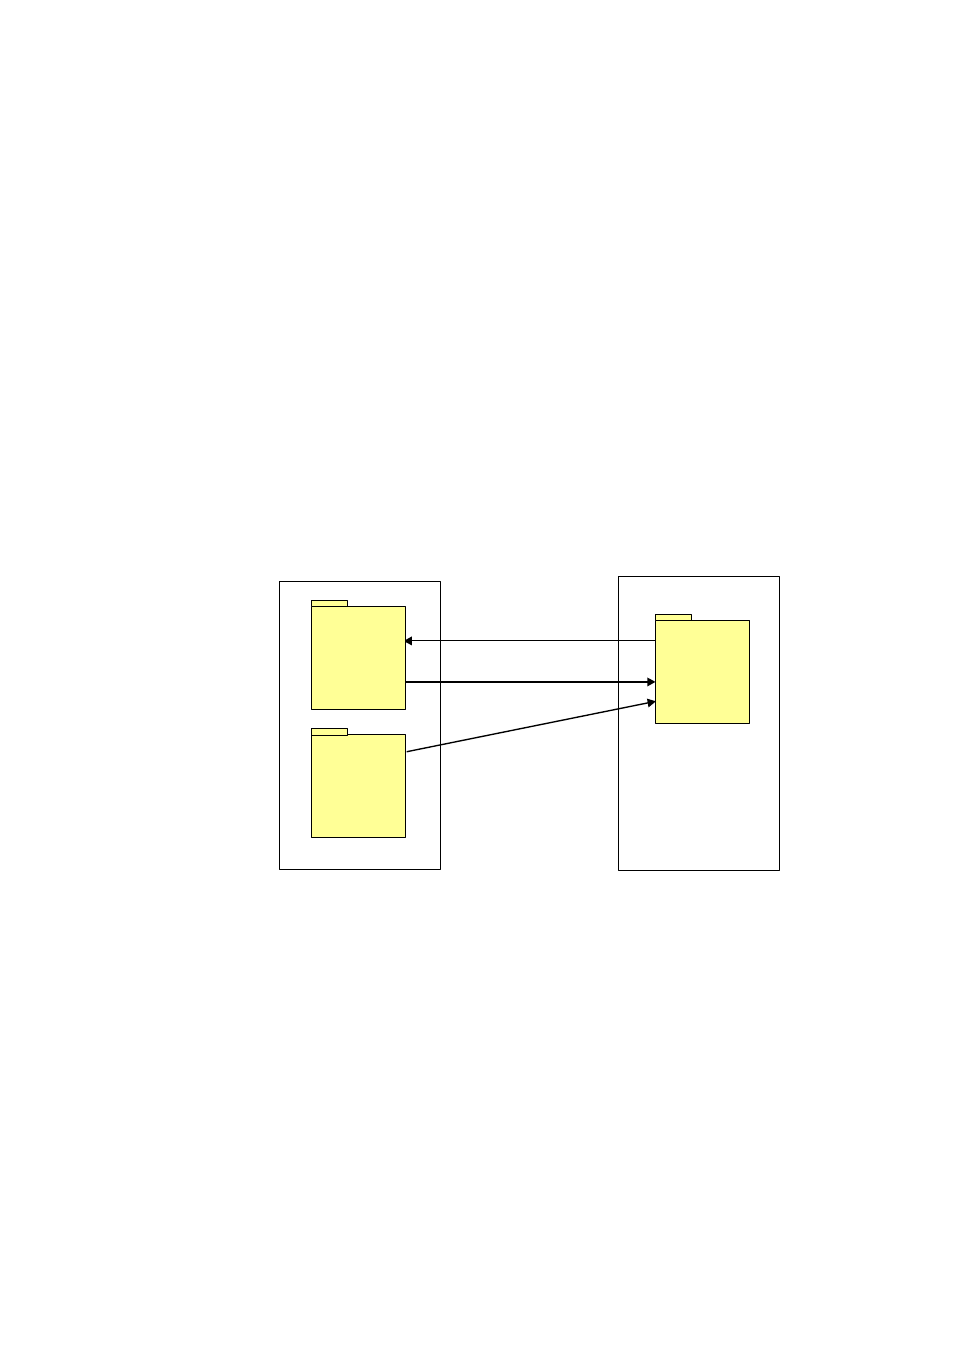
2. Copy 24 configuration files with line configurations from the LCT tool to
the ECN320 flash disk.
3. Restart the embedded IP DSLAMs by using the Command Line
Interface (CLI)
4. Test the ADSL lines by connecting a CPE modem to each line one at a
time. The LCT has an SNMP Notification Receiver, which enables the
user to receive traps from the embedded IP DSLAMs.
5. When the test is finished the initial, standard configuration files are
copied back to ECN320 flash disk.
6. Finally the embedded IP DSLAMs are restarted from the CLI.
LCT
ECN320
Step 1: Copy default cfg
files to LCT
Step 2: Copy new cfg. files
to ECN320
Step 5: Copy default cfg files
back to ECN320
..cfg_1
..cfg_2
..
..cfg_24
..cfg_1
..cfg_2
..
..cfg_24
..cfg_1
..cfg_2
..
..cfg_24
Standard Conf. Files
in Flash
Figure 9
Verfication of the ADSL Lines with the LCT
The ECN320 has by default 24 standard configuration files installed on the
flash disc. The files are “empty”, which means that they do not contain any
line configurations. The LCT has been installed with 24 configuration files
containing line configurations.
5.3
Verification Using PEM
This is the most time-consuming method, and the only method, which gives
100% verification. Verification of the ADSL connection is done by
configuring an end-user with a service in PEM for each line.