Blurring a playback image (blur effect) – Casio EX-MR1 User Manual
Page 66

66
Other Playback Functions (PLAY)
Procedure
[p] (PLAY) * Snapshot Screen * [MENU] * “PLAY” Tab *
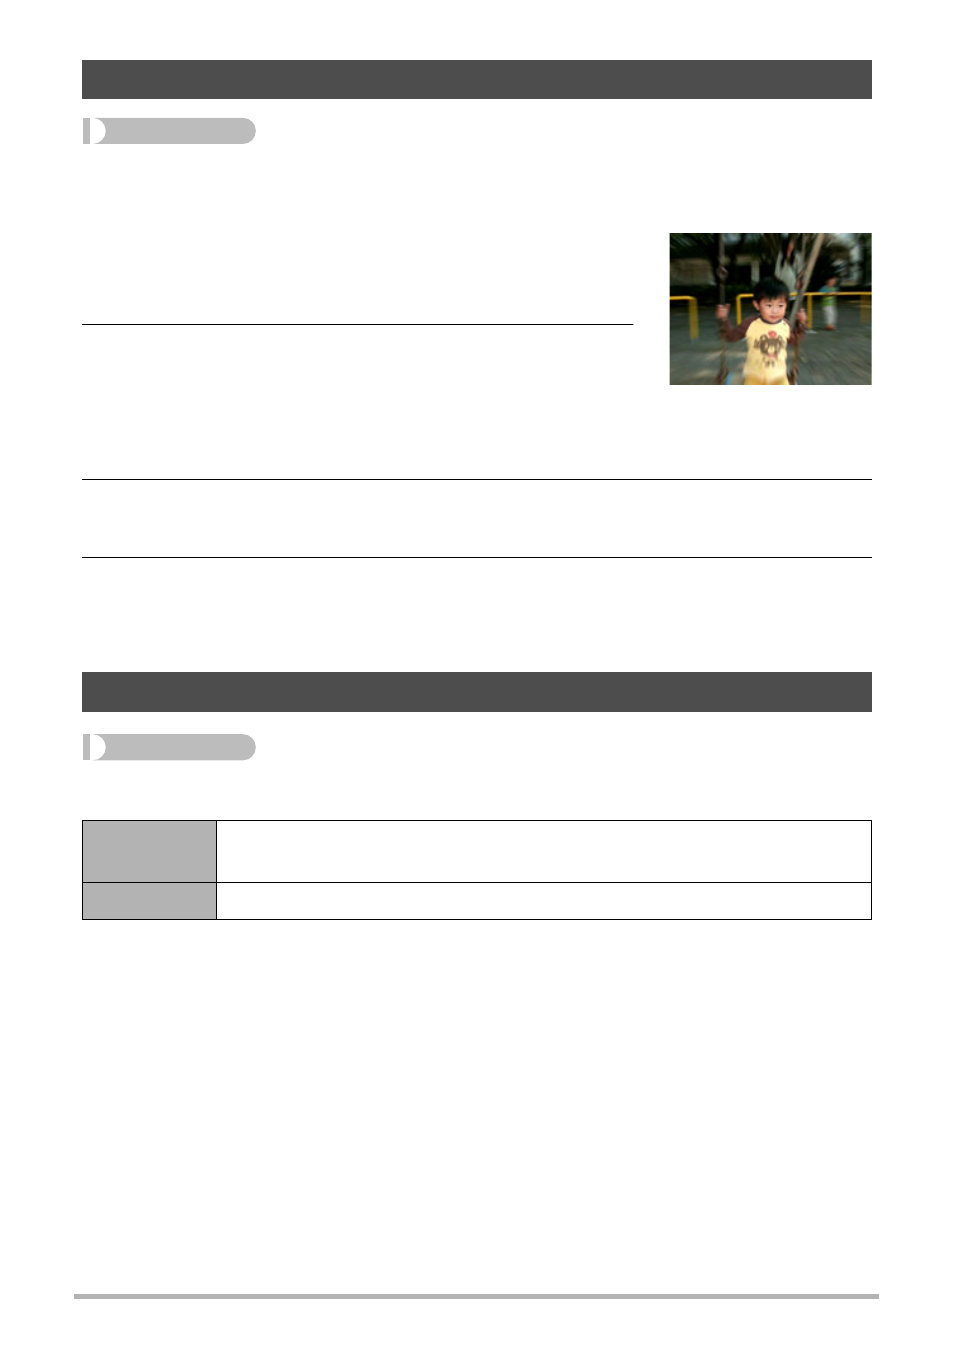
Blur Effect
1.
Use [8], [2], [4], and [6] to select the center
of the circle to define the area to be left
unblurred, and then press [MENU].
2.
Use [8] and [2] to change the size of the
circle.
• The blur effect will be applied to the part of the
image outside the circle.
• To return to step 1 and select a different center point, press [MENU] again.
3.
After selecting the center point and the size of the unblurred area,
press [SET].
4.
Use [8] and [2] to select the blur level you want, and then press
[SET].
This will apply the blur effect and save the result as a new image.
Procedure
[p] (PLAY) * [MENU] * “PLAY” Tab * Auto Rotate
This setting can be used to configure the camera to display playback images in the
same orientation as the camera when the image was shot.
• Auto image rotation will not be performed during movie playback, while the image
menu is displayed, and for some functions.
Blurring a Playback Image (Blur Effect)
Auto Image Orientation Detection and Rotation (Auto Rotate)
On
Rotates the displayed image in accordance with the camera
orientation when the image was recorded.
Off
Images not rotated automatically.
