5 attaching the conduits, 1 insert cables from the rear into the sunny tower, Attaching the conduits – SMA ST6-US User Manual
Page 18: Insert cables from the rear into the sunny tower
Attaching the conduits
SMA America, LLC
18
ST36-48US-IA-IUS112321
Installation Guide
5 Attaching the conduits
This section descibes where to insert the cables in the Sunny Tower and where to punch the holes for
the conduits.
The PV panel cables, the AC cables and the communication cables can be routed into the Sunny
Tower from the rear or from below. The two options are described below.
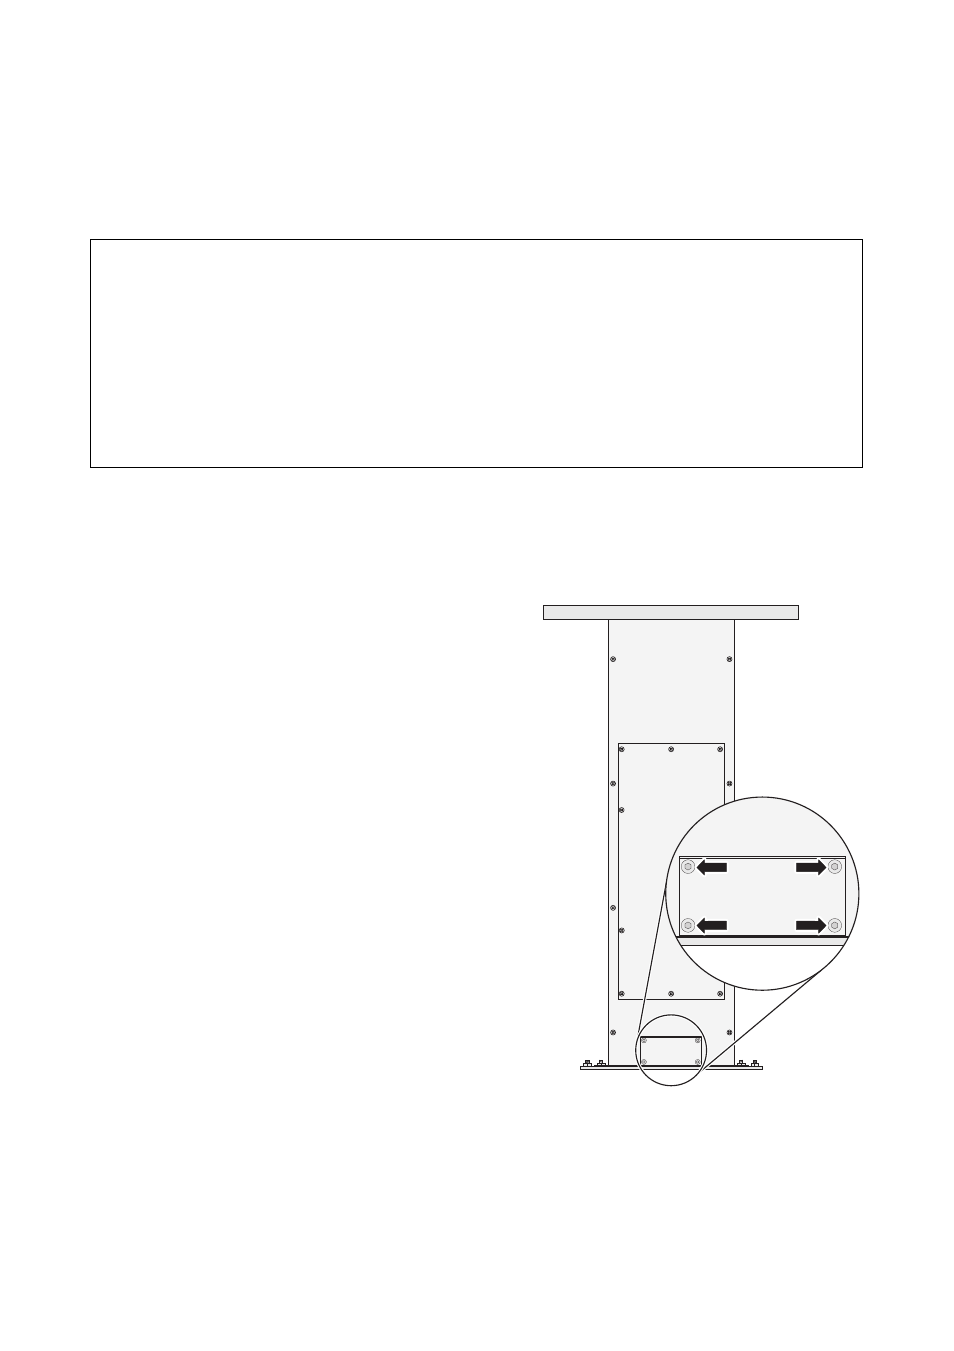
5.1 Insert cables from the rear into the Sunny Tower
1. Remove the four screws that secure the conduit
access/mounting plate to the rear of the Sunny
Tower.
2. Store the conduit access/mounting plate (3),
mounting screws and washers in a safe place while
mounting, installing or repairing the Sunny Tower.
3. Mark the holes for at least one conduit per DC
cable.
4. Mark the holes for at least one conduit per AC
cable.
5. Mark the hole for communication cable.
NOTICE
Moisture can seep through incorrectly installed conduits and conduit hubs.
Damage to the electronics of the Sunny Tower will result.
• For conduit hubs, use only UL listed rainproof, or wet location hubs complying with
UL 514B for entry into the enclosure.
• Adjust the diameter of the conduit hubs to match the diameter of the conduits.