Page: 10, Epson printing - photoshop cs2 on windows – Epson Printing - Photoshop CS2 User Manual
Page 10
ital Technology Group, Inc.
ww.DTGweb.com
ampa, FL
Epson Printing - Photoshop CS2 on Windows
Page: 10
1
2
3
4
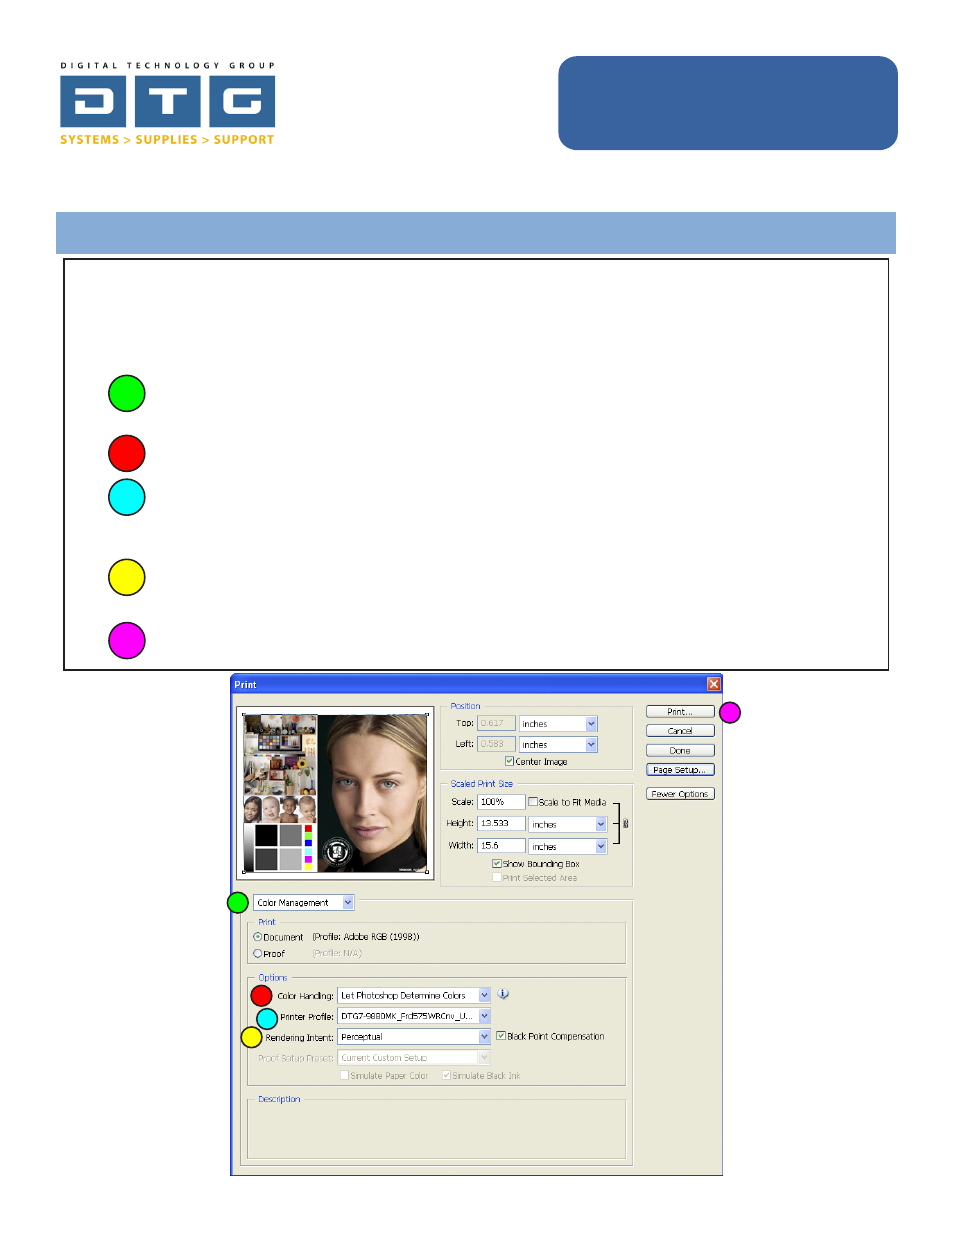
Once you click OK on the previous boxes you are back to Photoshop’s Print dialog box. Notice that
our image is not being clipped or cut off now that we’ve selected the proper page size. Now, we will
set our color management specific settings in this dialog box.
1.
Make sure you select “Color Management” from the drop list underneath the image preview.
The choices are Output and Color Management.
2.
Choose “Let Photoshop Determine Colors” from the drop list by Color Handling.
3.
Choose the appropriate ICC profile from the printer profile drop list. This profile is specific to
your printer, inkset, and the paper or media you are printing to. In the below example we will
be printing to an Epson 7880 printer with matte black ink on Fredrix 575WR Canvas.
4.
Choose a Rendering Intent: We recommend Perceptual or Relative Colorimetric. Either
choice can subtly affect the output density or colors. Check Blackpoint Compensation.
5.
Click the Print Button.
5