Step 2: prepare the camera for installation – ACTi Outdoor Dome (B8xI8x) on Tilted Wall with Gang Box Converter User Manual
Page 5
Installation Guide
2.
From this point:
When doing the Waterproof Solution with Naked Cable
, skip this step.
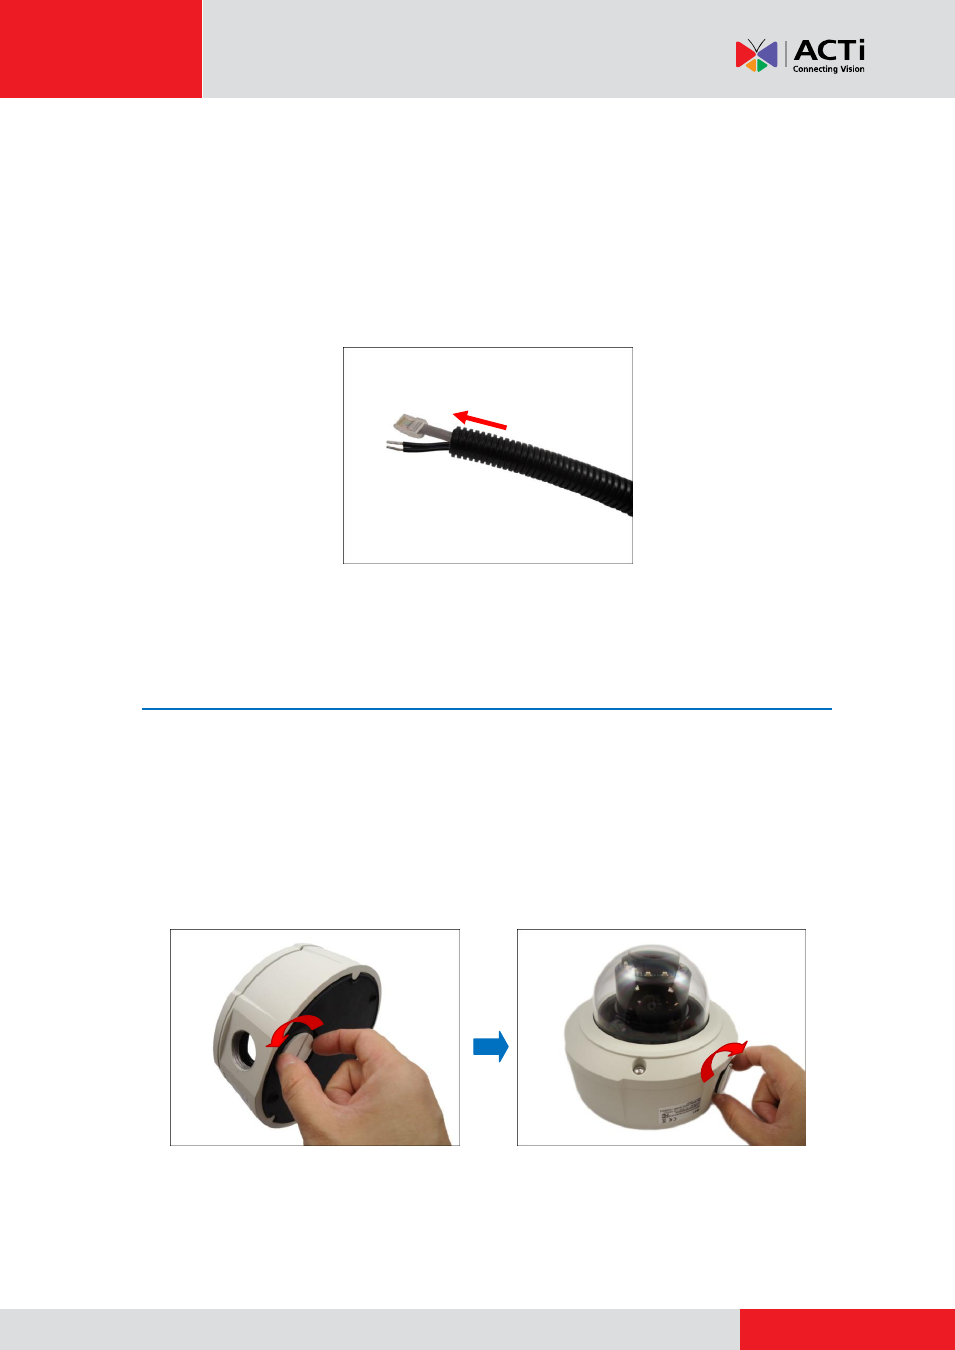
When doing the Waterproof Solution with Conduit
, pull the network cable through
the flex conduit. If connecting other input/output devices or an external power
adapter, pull the cables through the flex conduit without connectors. The terminal
blocks will be attached once the cables pass through the camera hole later.
Step 2: Prepare the Camera for Installation
NOTE:
To avoid scratches or leaving fingerprints on the dome cover, it is recommended to retain
the plastic covering the dome cover until the camera is completely installed. However, the plastic
has been removed on some of the pictures in this documentation to show clarity of the
procedures being described.
1.
Remove the metal cap covering the bottom hole of the camera, and attach the cap to the side
hole to close it. The cable will be routed to pass this hole from the gang box later.
- Outdoor Hemispheric / Fisheye Dome on Tilted Wall with Gang Box Converter Outdoor Hemispheric / Fisheye Dome on Dropped Ceiling with Gang Box Converter Outdoor Hemispheric / Fisheye Dome on Hard Ceiling with Gangbox Converter Outdoor Hemispheric / Fisheye Dome on Straight Wall with Gang Box Converter Outdoor Dome (B8xI8x) on Tilted Wall Outdoor Dome (B8xI8x) on Straight Wall Outdoor Dome (B8xI8x) on Straight Wall with Gang Box Converter Outdoor Dome (B8xI8x) on Hard Ceiling with Gang Box Converter Outdoor Dome (B8xI8x) on Dropped Ceiling with Gang Box Converter