Dubbing, See “dubbing” on, 7 – dubbing (copying) – Teac CD-200SB User Manual
Page 39
TASCAM CD-200SB
39
7 – Dubbing (copying)
Dubbing
1. Load the dubbing source CD.
If the dubbing source CD is a data CD, press the main unit
or remote MEDIA SELECT button to set the dubbing source
media to CD. (See “Selecting the playback media” on page
19.)
Set the playback area to
ALL PLAY
or
FOLDER
as necessary.
If set to
FOLDER
, use the main unit or remote FOLDER g/
t
buttons to select the folder that you want to dub. (See “5
NOTE
When dubbing an audio CD, setting the playback area is not
necessary.
2. Press the MEDIA SELECT button on the main unit or the
remote to select the dubbing destination media (SD card or
USB flash drive).
-SD-
or
-USB-
will appear on the display.
NOTE
• If only one type of media—an SD card or a USB flash drive—
is loaded, that media will be the dubbing destination
regardless of the current media setting made using the
MEDIA SELECT button on the main unit or the remote.
• If both an SD card and a USB flash drive are loaded and the
media selected using the MEDIA SELECT button on the
main unit or the remote is either SD card or CD, the CD will
be dubbed to the SD card. If the media selected is the USB
flash drive, the CD will be dubbed to the USB flash drive.
3. Press the main unit DUBBING [WAV/MP3] button while
pressing and holding the DISPLAY [SHIFT] button or press
the remote WAV/MP3 button to set the file format used
when writing to the dubbing destination.
DUB WAV
DUBMP3HQ
DUBMP3MQ
DUBMP3LQ
Cycle through dubbing destination file formats
Dubbing file format settings
Display
File format
DUB WAV
44.1kHz 16-bit stereo WAV
DUBMP3HQ
(default value) 44.1kHz 256kbps stereo MP3
DUBMP3MQ
44.1kHz 128kbps stereo MP3
DUBMP3LQ
44.1kHz 64kbps stereo MP3
When the current format setting is shown, press the main
unit DUBBING [WAV/MP3] button while pressing and
holding the DISPLAY [SHIFT] button or the remote WAV/
MP3 button again to cycle through the setting options.
NOTE
The dubbing destination file format setting is retained even
when the power is turned OFF.
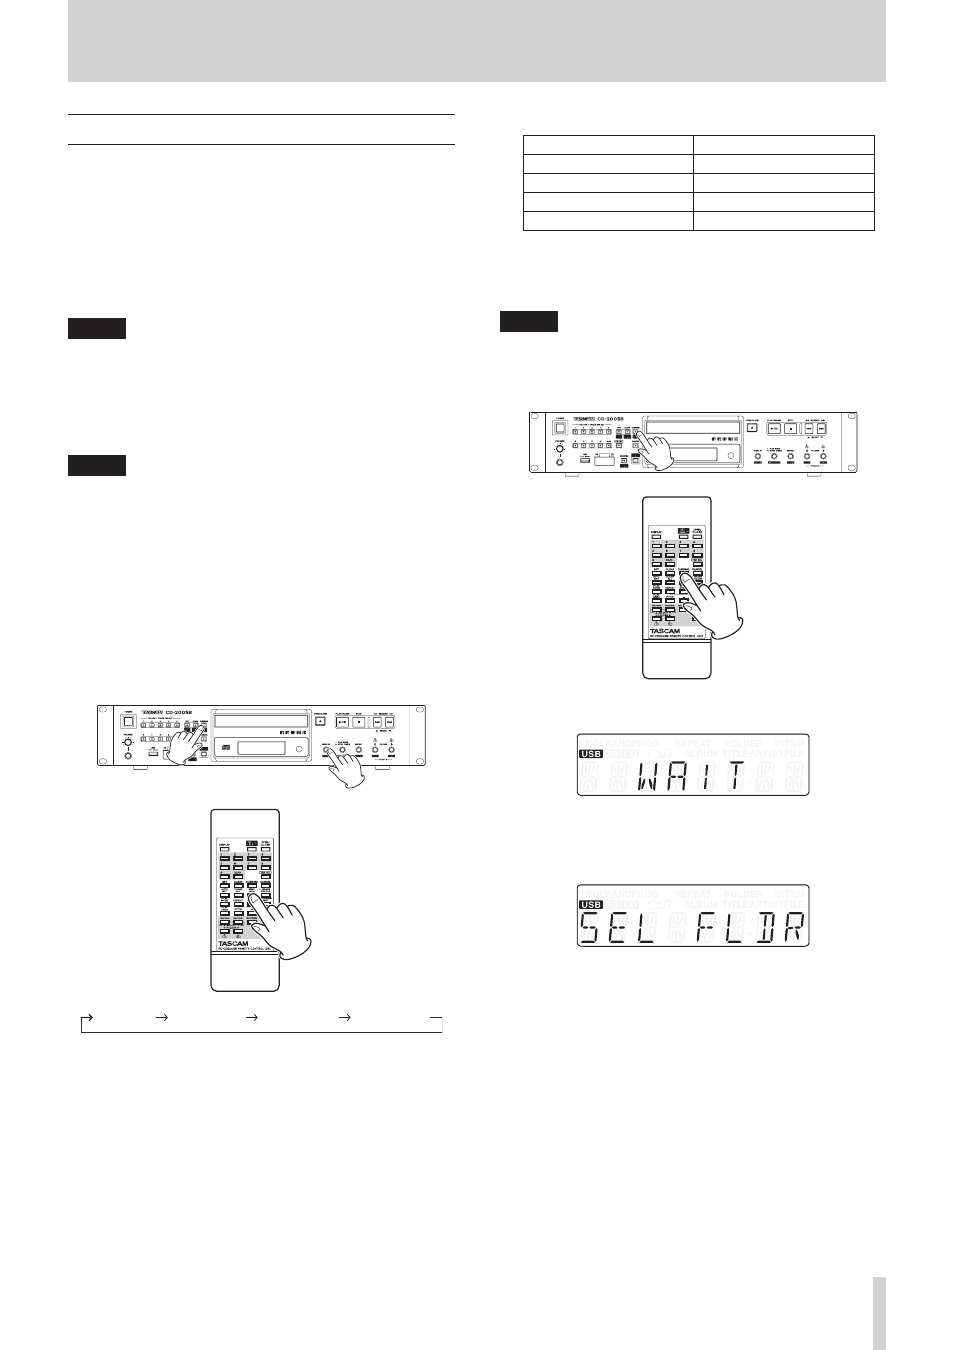
4. Press the main unit DUBBING [WAV/MP3] button or the
remote DUBBING button.
WAIT
appears on the display as the unit begins checking the
dubbing destination media.
5. After the dubbing destination media has been success-
fully confirmed,
SEL FLDR
appears on the display and the
FOLDER/TRACK SELECT (1–10/0) button indicators blink or
light.
Blinking indicators show that no direct folder has been
assigned to that button. Lit indicators show that a folder has
been assigned.