Super Systems DAQ User Manual
Page 6
Super Systems Inc. Page 6 of 34
DAQ Operations Manual
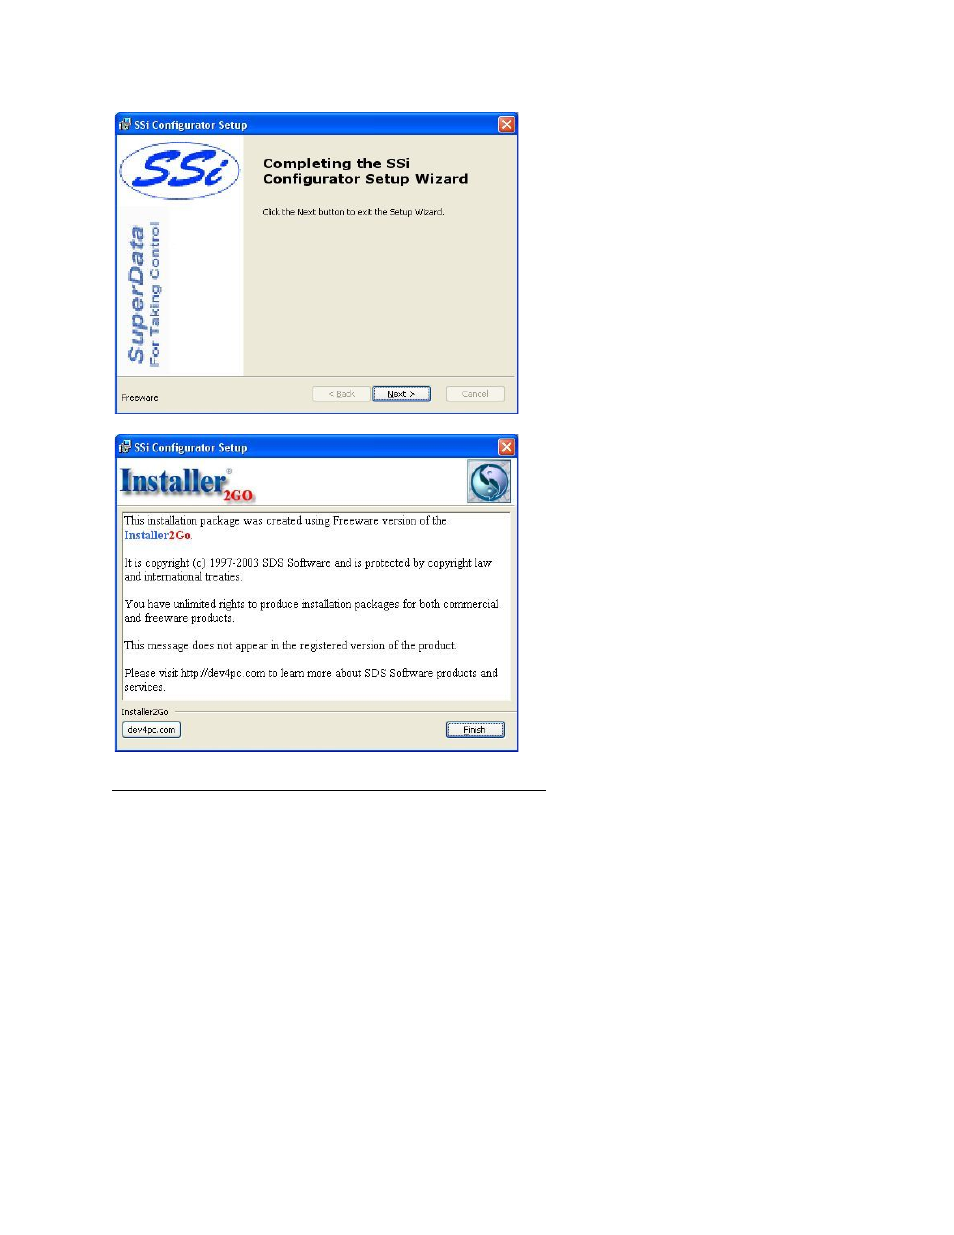
Page 6 is the finishing screen, which is
displayed after the software has been
installed. Click on the Next > button to
continue.
Page 7 is the informational screen
about the makers of the installation
software. Click on the Finish button to
close out this screen.
Step 2: Connect the DAQ to a Network or Local Computer
To connect the instrument to the network, through a wall port or switch, use a regular Ethernet
cable. To connect the instrument directly to a computer, use an Ethernet crossover cable.
Contact your IT Department for the necessary cables. Once the DAQ is connected to a network,
the Configurator 2.0 software will be able to find it during any searches. Connecting the
instrument to your network or directly to a PC is accomplished using the Ethernet port on the
instrument. If you are connecting the instrument to your network, you will need an Ethernet
cable. The cable is plugged into the instrument Ethernet plug and then other end should be
plugged into a network hub. If the IP Address of the instrument needs to be changed, this can be
done through the Configurator software (see
Step 3: Configure Configurator 2.0 on the local
below). If you are not putting the instrument on the network, you should use an
Ethernet crossover cable. Ethernet crossover cables are most often used when connecting two
Ethernet computers without a hub. An Ethernet crossover cable has its send and receive wires
crossed. When using a hub or switch, this is automatically done for you. With a crossover cable,
you are forming a network between the computer that you are directly plugged into and the
DAQ. There will be some network settings on the computer that you will have to configure for