Taking snapshots using hardware trigger, External trigger connector pinout – Sumix SMX-M7xx User Manual
Page 50
Snapshots: Taking Snapshots Using Hardware Trigger
50
SMX-M7xx Series USB2.0 Camera User Guide
2
Check the Loop box in the Snapshot section of the main window.
3
Click the Snapshot button. Snapshots will continuously appear in the Snapshot
window.
4
To stop taking snapshots, press Cancel.
Note:
It is strongly recommended not to change any of the camera’s settings when running the Snapshot Loop mode.
This may interrupt the camera operation.
Taking Snapshots Using Hardware Trigger
To take a snapshot using a hardware trigger:
1
Connect an external device (equipment).
2
Turn the video mode off (press Shift+F5 or the Stop Video button in the toolbar).
3
Set exposure, gain, viewport, etc.
4
Set Timeout (seconds to wait for external triggering pulse).
5
Check the External Trigger box.
6
Click the Snapshot button.
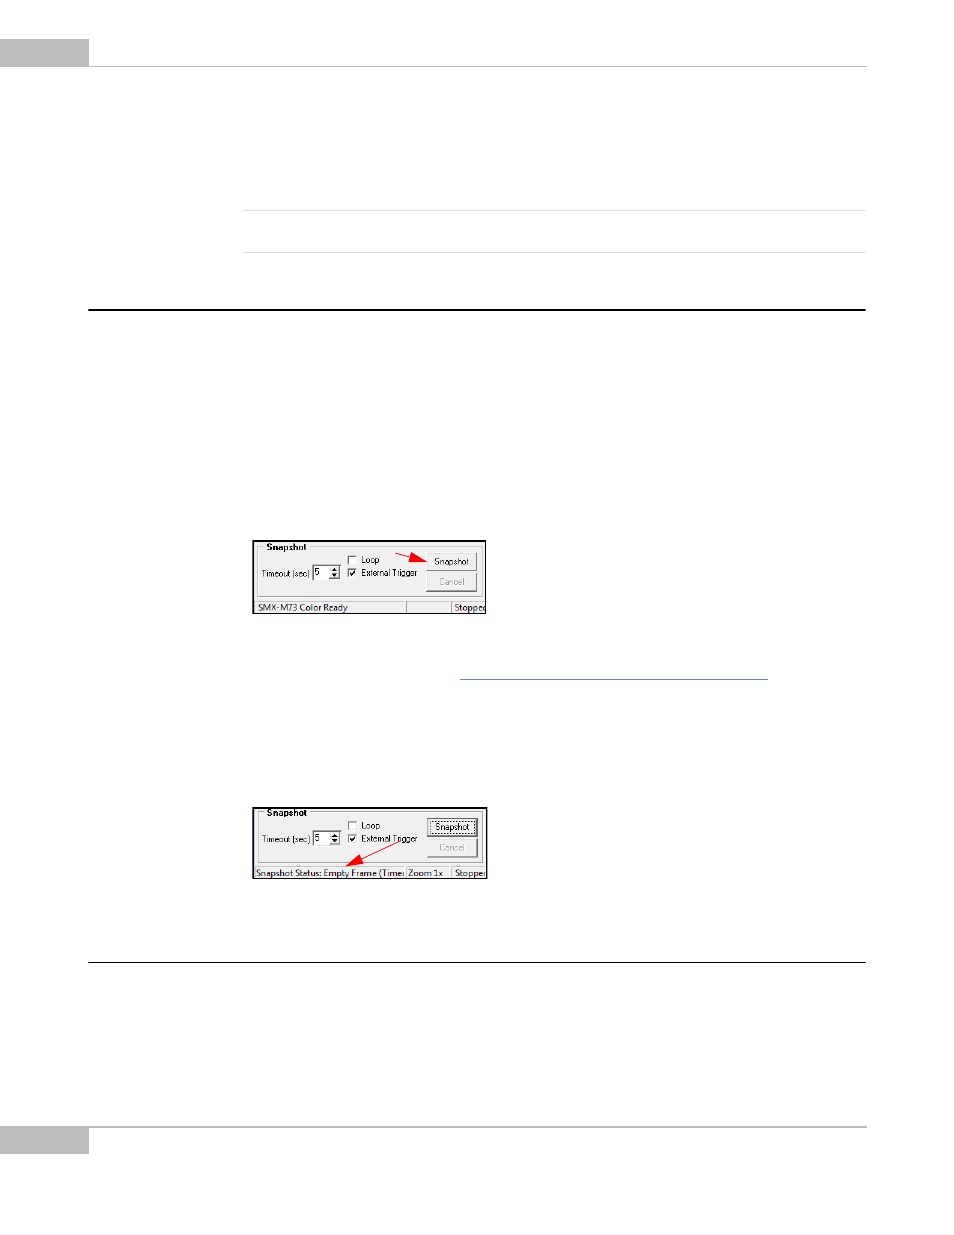
Figure 6-2 Taking a snapshot using the hardware trigger
7
Apply triggering pulse (see
“External Trigger Connector Pinout” on page 50
).
8
As a result, the Snapshot window will open if the camera has detected the external
triggering pulse.
9
If it failed to detect the external triggering pulse, the Snapshot window will not open
and a timeout message will be displayed in the application status bar).
Figure 6-3 Timeout message in the application status bar
External Trigger Connector Pinout
The following table explains layout of trigger pins..