Scn60 service – Scotsman SCN60 User Manual
Page 35
Evaporator Replacement
1
Go through all steps to remove the gear
reducer.
2
Add temporary refrigeration system access
valves to the discharge and suction sides of the
refrigeration system .
3
Recover the refrigerant.
4
Un-sweat the suction line and cap tube
connections from the evaporator.
5
Remove original dryer.
6
Attach permanent access valves to system.
7
Attach dry nitrogen to system and purge at
about 1 lb pressure while brazing all
connections, including access valves, dryer
and evaporator.
8
Remove nitrogen source, evacuate system to
300 microns or less.
9
Weigh in the nameplate charge.
Water Reservoir
1
Pull unit out to get access to top and back
panel.
2
Shut water supply off.
3
Pull drain plug and drain all water. Return plug
to its original position.
4
Loosen nut at water valve inlet and separate
inlet tube from reservoir valve.
5
Pull outlet hose off reservoir tank.
6
Remove screws holding reservoir to unit and lift
off.
7
Reverse steps to reassemble.
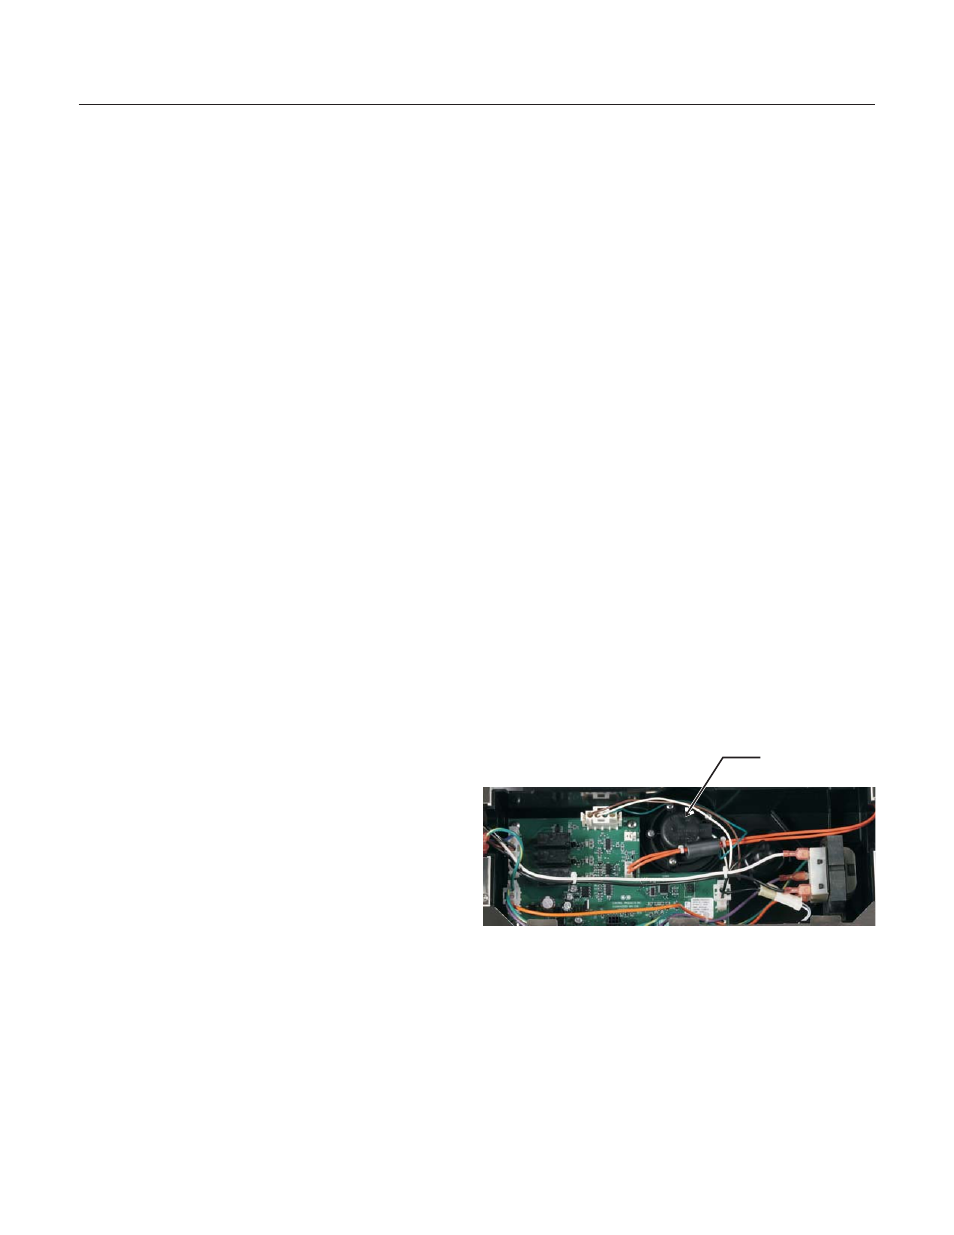
Controller
1
Pull out to get access to top panel.
2
Remove top panel.
3
Disconnect electrical power.
4
Remove control box cover
5
Unplug all wires.
6
Remove screws holding controller to box.
7
Remove controller.
8
Before touching replacement controller, touch a
metal surface of the cabinet to discharge any
static electricity.
9
Place new controller in control box, connect all
wires previously removed.
10 Reverse remaining steps to reassemble.
Ice level sensor
1
Pull out to get access to top panel.
2
Remove top panel.
3
Disconnect electrical power.
4
Remove control box cover
5
Unplug wire at J9.
6
Remove 5 screws and lift sensor from control
box.
7
Replace with new part.
8
Reverse remaining steps to reassemble.
May 2011
Page 18
SCN60
Service
Ice Level
Sensor