Remko, Way switching valve dn32, Installation – REMKO DN 32 User Manual
Page 6
6
REMKO
3-WAY SWITCHING VALVE DN32
Mounting
The installation is basically independent
of the position. However, the actuator
should not be installed "face-down", as
far as possible.
■
The 3-way switching valve and the
actuator are loosely fit together in the
condition as supplied. At first, leave
the actuator in the package and begin
with the hydraulic installation of the
4-way switching valve.
Installation
Installation may only be performed
by authorised specialists.
NOTE
ATTENTION
Pay attention to the flow direction before
installation. (Correct position of the axis
and installation position in accordance
with the REMKO hydraulic diagram.)
Do not use any boiler accessories,
soldering material or wet materials
of a mineral oil basis, mineral oil
or hydrocarbon.
NOTE
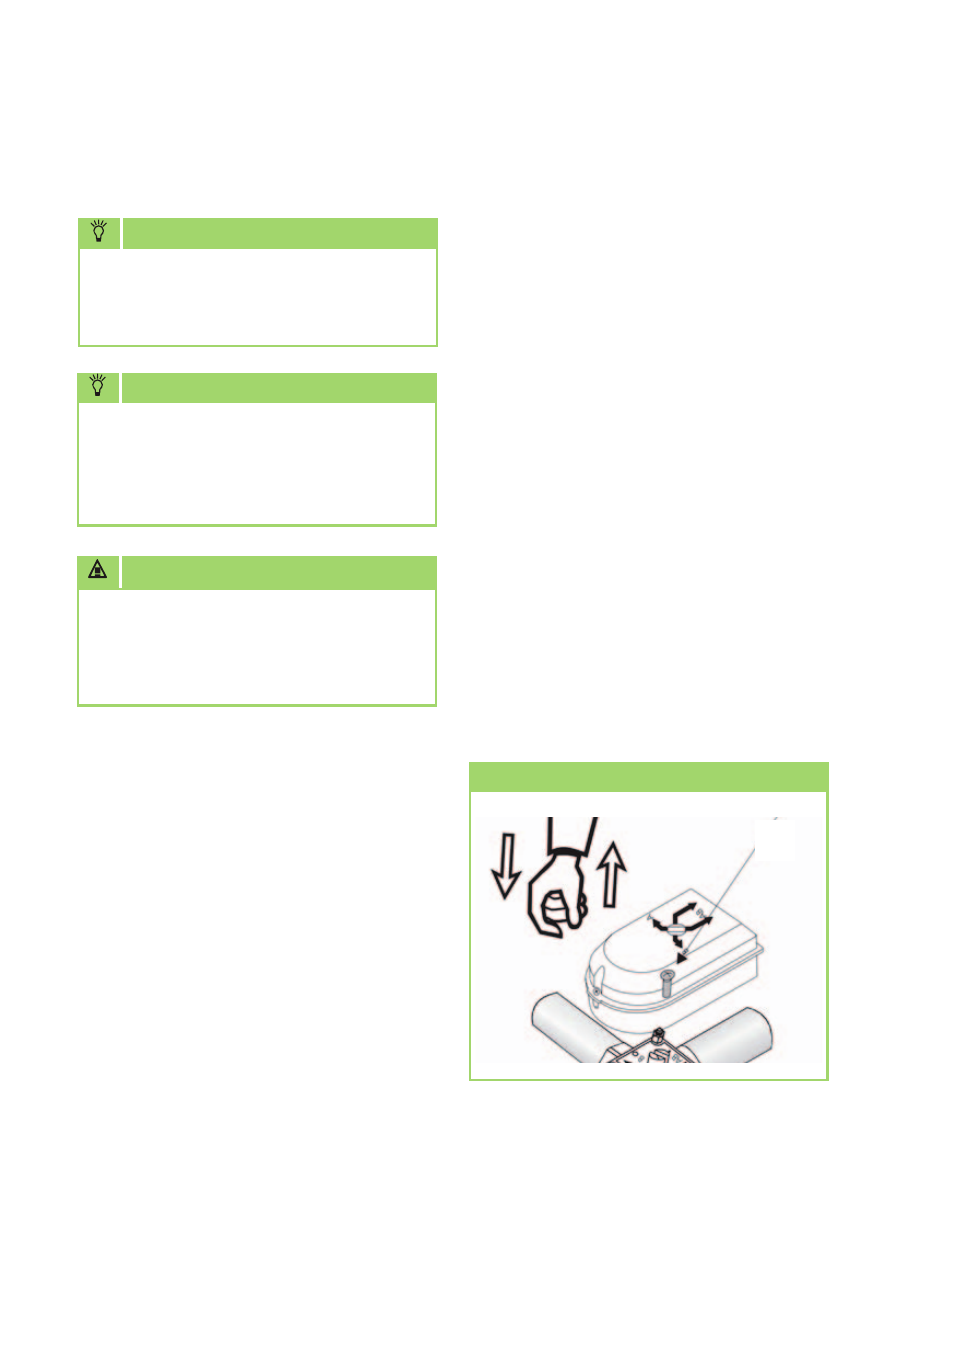
Mounting the actuator
2
■
Pay attention to the installation
position and the correct position of
the axis of the 4-way switching valve.
■
Only fit the actuator and make
electrical connection to the heat
pump manager after completion of
all hydraulic installation work and
successful leak test.
■
Allow for sufficient space for the
3-way switching valve. In the process,
also plan for sufficient space for the
pipe insulation. That is important on
the one hand for the problem-free
fitting of the actuator and on the
other hand for any later maintenance
work.