Ii. operating instructions – Metro TC90S/B Insulated Cabinet User Manual
Page 3
2
B. FEATURES — BOTH MODELS
In order to utilize your cabinet to its full potential, take
a minute to identify the following features which have
been provided for your convenience.
• Cabinet is shipped in one carton.
• Temperature range is 120°F to 180°F.
• Analog type thermometer to allow temperature
monitoring when unit is disconnected from power
source.
• 15 amp service.
• 3 - 300 watt heating elements.
• Totally insulated with high temp rigid board
fi berglass insulation.
• Kick latch for “hands-off” opening.
• Magnetic door latch.
• Adjustable hinges and strike.
• Removable slide racks.
• Stainless steel internal liner.
• Closed loop thermal break to reduce heat transfer.
• Outside shell brushed aluminum.
• Non-marking 5" neoprene casters (two with brakes).
• Side mounted lift handles.
• Adjustable door mounted vent.
II. OPERATING INSTRUCTIONS
A.
SLIDE
RACKS
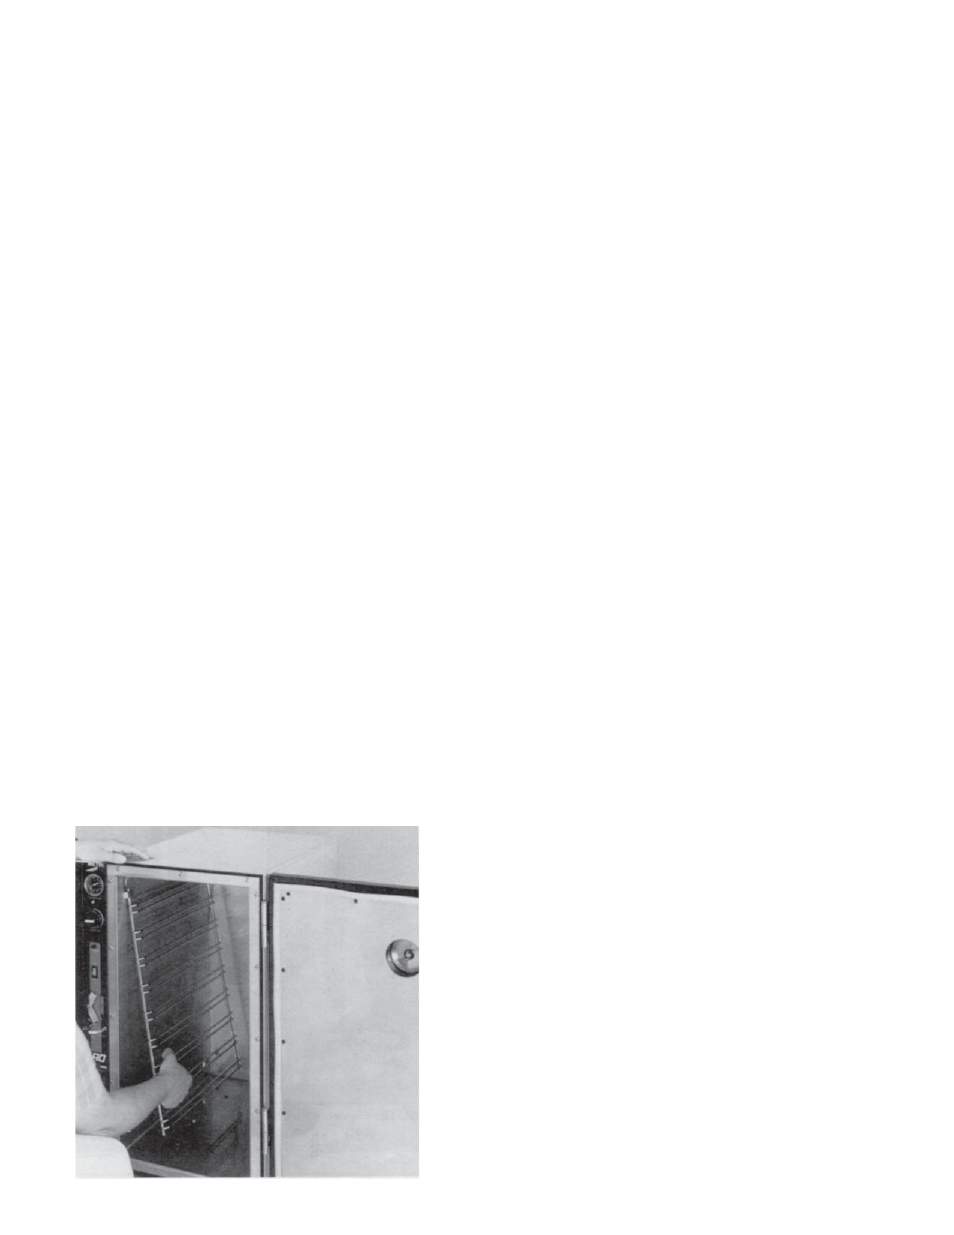
The slide racks provided with your cabinet
are nickel chrome-plated to insure years of
corrosion-free service. The racks are already
in place when the cabinet is shipped to you.
They can be removed for cleaning by fi rst lifting
up on the rack and then swinging the bottom
towards the center of the cabinet.
The slide spacing is 2
5
/
8
" to accommodate lip
loaded pans for TC90S; bottom loaded pans
for TC90B. The following pans may be used:
9 pans — 12" x 20" x 2
1
/
4
" (TC90S)
9 pans — 12" x 20" x 2
5
/
8
" (TC90S)
9 pans — 18" x 26" x 1"
(TC90B)
B.
CABINET
START-UP
1. A nine-foot, three-wire grounded lead cord is
supplied fi xed to the cabinet. The cord cannot
be separated from the cabinet.
NOTE: Before operating your cabinet be sure to
unwrap the lead cord completely from bracket.
CAUTION: With the POWER switch OFF, plug
the lead cord into a standard grounded 15-amp,
125-VAC receptacle.
2. Set the thermostat dial to setting 10 = HIGH.
3. Snap the POWER switch to ON. The red
POWER light will now glow as will the yellow
indicator light indicating that power is on and
that the heating elements are activated and
heating up.
4. Allow the cabinet to PREHEAT FOR
APPROXIMATELY 45 MINUTES. After that time,
the thermostat can be lowered to a setting of
6 or 7. In a room of average temperature
(72°F), this should provide 150°F to 170°F.
Adjustments to the temperature may be made
as necessary.
NOTE:
The POWER (red) light will glow as
soon as the POWER switch is switched ON
and will continue to glow until switched OFF.
The yellow indicator light will go on and off as
the thermostat cycles. If the yellow light is not
illuminated, this indicates that the cabinet has
achieved the preset TEMPERATURE level,
NOT that the unit has been switched OFF.
It is not necessary at the end of the operating
day to disrupt the temperature setting in order
to turn the unit OFF. By switching the POWER
switch to OFF, the unit is no longer operating.
By switching the POWER switch to ON when
resuming operations, the cabinet will attain the
preset level.