5 installing filler wire – Kemppi Evo 300 User Manual
Page 8
FitWeld Evo 300
6
EN
2.4.4 Welding gun
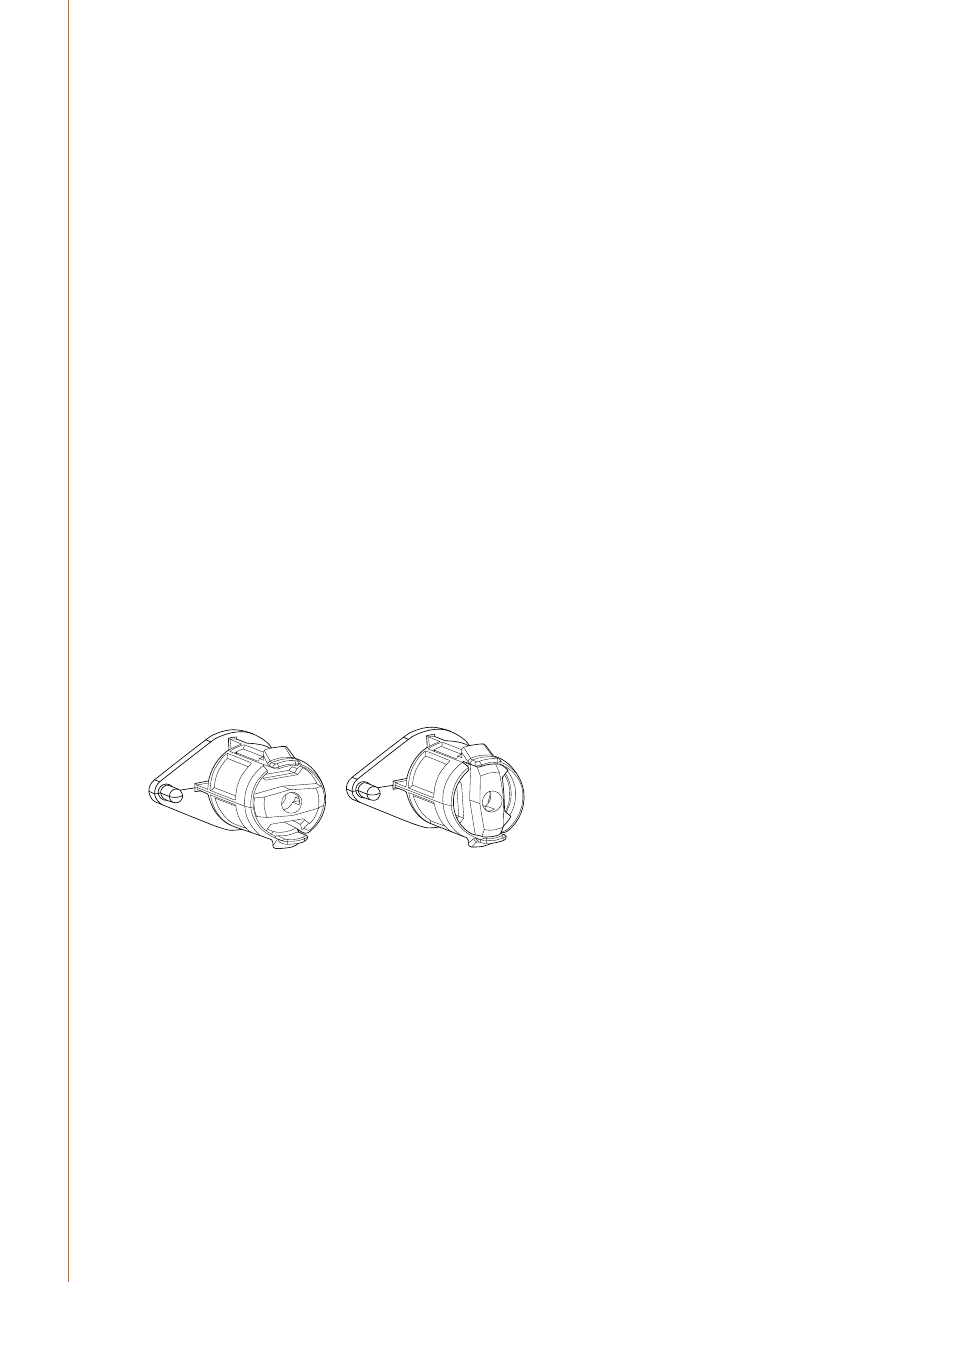
Connect the welding gun cable to the Euro adapter socket located on the front panel and
hand tighten only. Do not over tighten the collar.
The welding gun leads the filler wire, shielding gas and electric current to the weld piece.
When you press the welding gun trigger, shielding gas will flow and filler wire will begin to
feed.
The arc will ignite when the filler wire touches the weld piece. If no ignition, check that the
earth return cable is connected and the clamp has good contact to the work piece.
2.5 installing filler wire
With FitWeld Evo 300 you can use up to 200 mm diameter wire spools and the following filler
wire types:
• solid wires
• flux-cored wires
• self-shielded flux-cored wires
• stainless steel wires
• aluminium wires.
When choosing the filler wire, remember that the wire must have approximately the same
melting point as the base material to be welded.
NOTE!
When changing the filler wire, always check that the feed rolls, their groove shape and size
and the wire liner inside the welding cable are suitable for the wire you are using. Also check that
you are using right polarity for the filler wire.
2.5.1 mounting the wire spool
NOTE!
The liner and the feed rolls are colour-coded. See that you are using feed rolls that match the
colour of the wire liner inside the welding gun cable. See the table of feed rolls and wire liners later
in this chapter.
With FitWeld Evo 300 you can use wire spools with a diameter of 200 mm maximum.
1.
2.
to mount the wire spool:
1.
Turn the locking knob of the spool holder so that the locking clips are opened (1).
2.
Check the rotating direction of the wire spool and push the spool into its place so that it
rotates in the right direction.
3.
Turn the locking knob of the spool holder to close the locking clips (2).