Testing and setting procedure – Groth 2000A User Manual
Page 17
17
TESTING AND SETTING PROCEDURE
SETUP
After final assembly, mount the valve on a tank vent test stand or on a blind flange with instrument tap. Use appropriate gaskets
and bolt using at least half of the available flange holes. Tighten fasteners alternately in a crossing pattern to ensure that the
ERV body is not distorted or warped. If clamping is used, reduce hydraulic or pneumatic pressure to minimum.
TESTING FOR SET PRESSURE AND SEAT LEAKAGE
Slowly increase the vessel pressure by flowing at 20 SCFH through a flowmeter. Record peak pressure attained, this pressure
is the seat leakage pressure (as recorded on the original test report supplied by Groth Corporation at the time of order). Next
increase the flow to the test tank (increasing the pressure) until an increase in flow to the test tank does not cause an increase in
pressure in the tank. This pressure is the set pressure of the valve. At this pressure the pallet assembly will typically appear to
float above seat. Conduct two additional seat leakage and set pressure tests.
TESTING FOR SET VACUUM AND SEAT LEAKAGE
Conduct the same tests as previously described to determine the set vacuum and seat leakage.
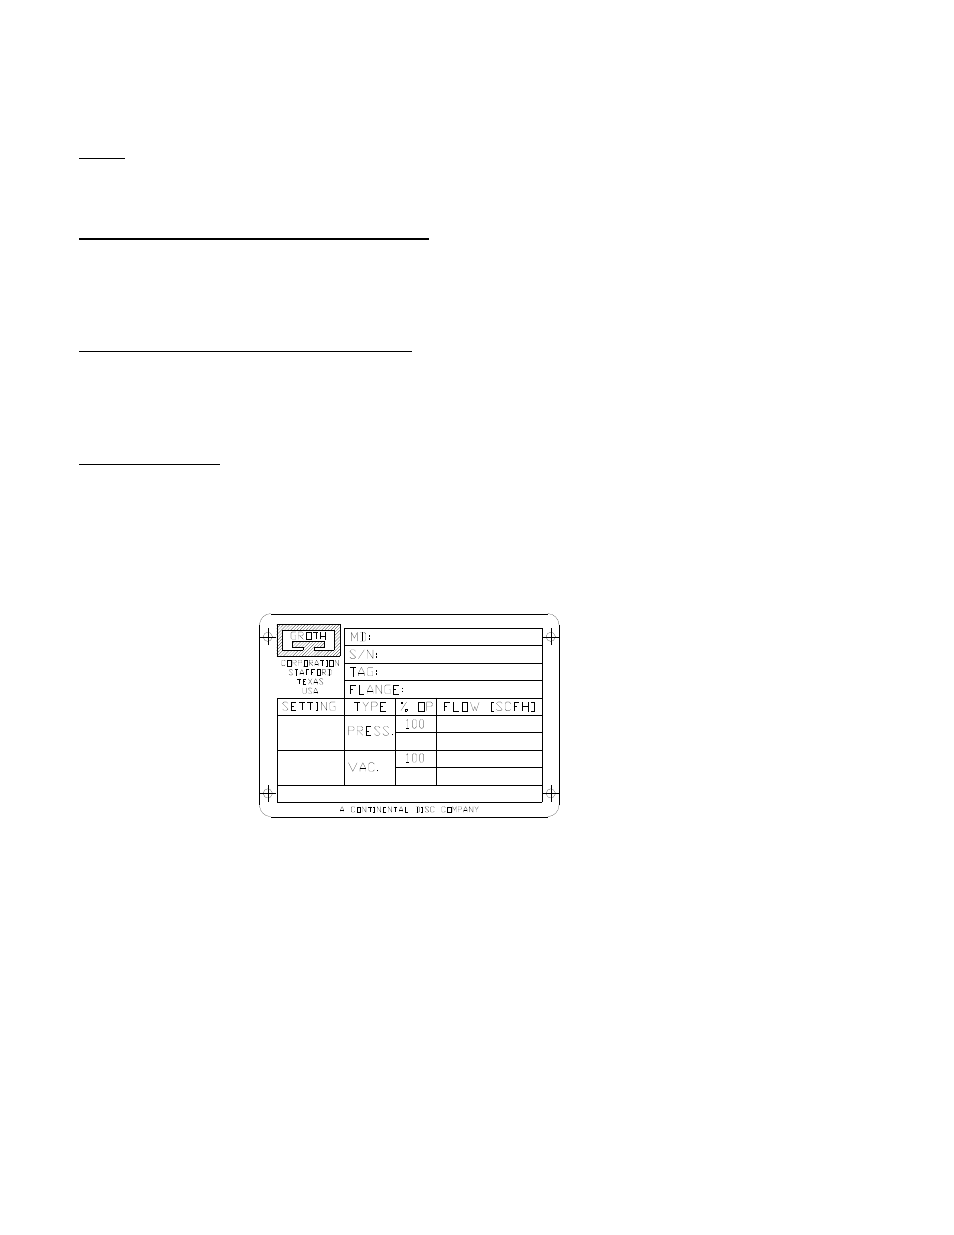
Complete a test report indicating the actual pallet assembly weight and the peak pressure / vacuum achieved at the specified
test flow rate. Maintain a copy of the test report.
TROUBLESHOOTING
If there is excessive leakage, inspect the following:
- Inspect seat on body (Be aware of nicks, scratches and flatness.)
- Inspect diaphragm
- Inspect flatness of pallet
- Verify weight of assembly (doesn’t affect vacuum operation)
In order to maintain a tight seal, components have to be clean and have a smooth surface at the contact areas.