Genee World GV-8100 User Manual
Page 14
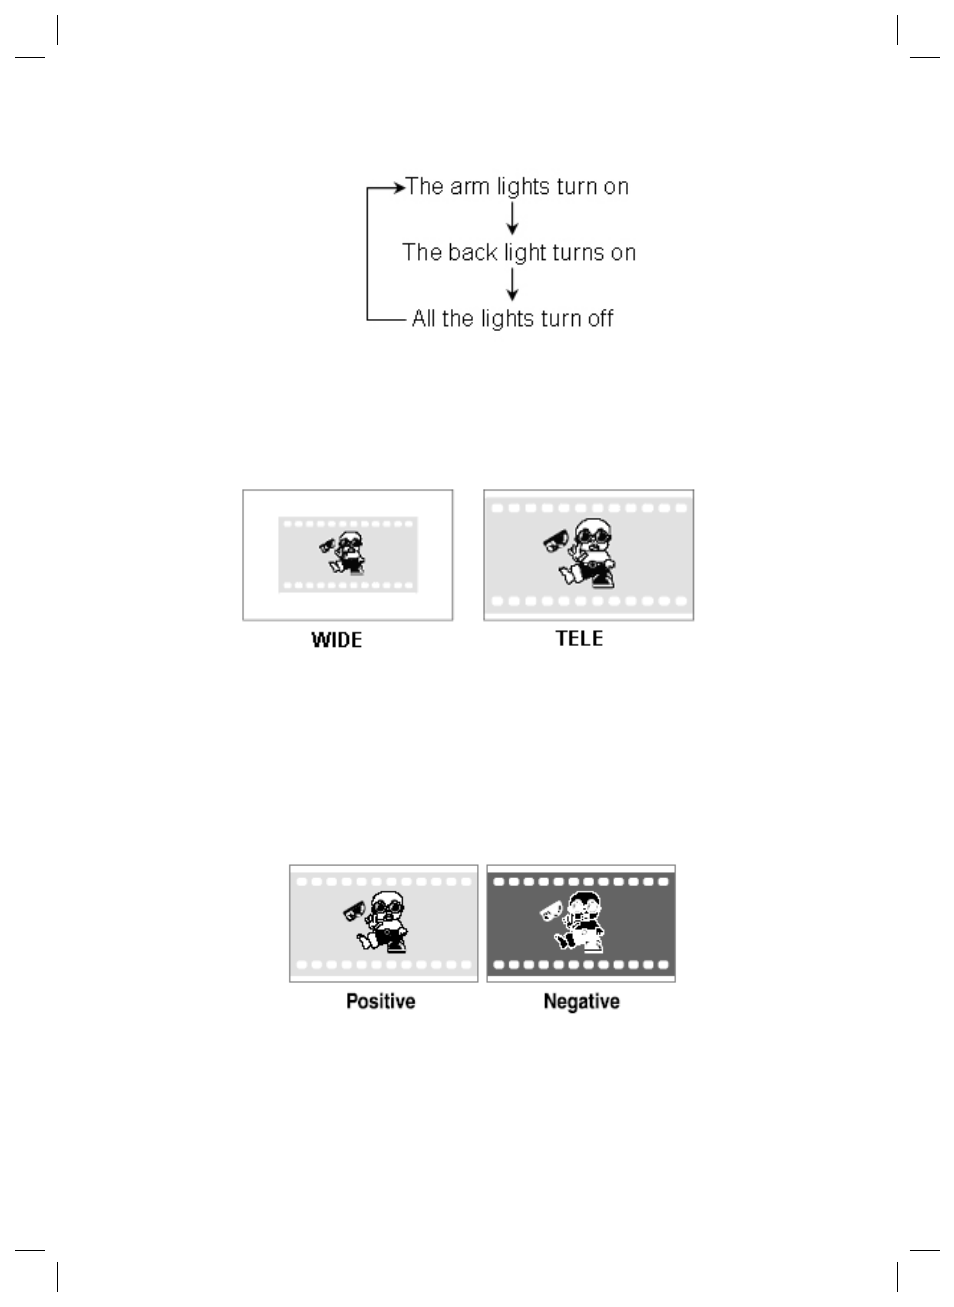
ADJUSTING IMAGE SIZE
In order to reduce or enlarge the image size displayed on the screen, press
the “ T” or “W” button.
WORKING WITH NEGATIVES
The visualiser is automatically set to display normal materials on the screen
when the power is on. To display negatives, turn on the backlight by pressing
the “LAMP” key, and then press the “Neg” button to display the film nega-
tives. Press the “Neg” button again to display normal materials in the colour
mode.
FOCUSING
When the visualiser is turned on the focus automatically adjusts to
the stage, it is not necessary to readjust the focus if you are only working with
flat materials (text, photos, etc.). Only 3D objects require a focus adjustment.
Press the “AUTO” button to auto focus. Press the “FAR” or “NEAR” button once to
focus manually.
FREEZING IMAGE
Press the “Frz” button to freeze the image. When the output signal is RGB, in
order to show a still image on the screen, press the “Frz” button. The frozen
image can’t be adjusted (Zoom in/out, colour adjustment, etc.).
Note: This function is not available on S-Video and Video output.
BRIGHTNESS ADJUSTMENT
If the image effect is not satisfactory, you can adjust the brightness to get a
better image effect. Use the “BRIGHT +” or “BRIGHT -” button to adjust the
brightness. To increase the brightness, press the “BRIGHT +” button. To decrease
it, press the “BRIGHT -” button. To go back to the initial brightness press the
“AUTO” button.
WHITE BALANCE ADJUSTMENT
Each time the lighting condition changes, the user should adjust the white
balance of the CCD. Press the “AUTO” button to adjust the white balance
automatically.
AUTO ADJUSTMENT
Press the “AUTO” button to auto adjust the white balance and the focus. The
whole process takes about 10 seconds.
TEXT/IMAGE MODE
Press the “TEXT” button to switch between image/text modes. To display a text
file, switch to the text mode to get a clearer text effect.
(On the remote control)