Genee World GV-6100 User Manual
Page 12
USB CAPTURE FOR MAC COMPUTER
Copy the folder “Mac Driver” into Mac hard disk, open the folder and double-click Empia 1.0.0b2.
zip, the “setup” file appears. Follow dialog-box messages, click “next” and finish installation.
Note: 1. Please connect Mac computer and visualiser when installing
2. Please use USB2.0 from visualiser accessories.
WORKING ON THE STAGE
1. Place your material on the working surface.
2. Select the enlargement required with the “ T” and “W” keys.
3. Adjust the focus with the “Near” and “Far” keys or “AUTO” key.
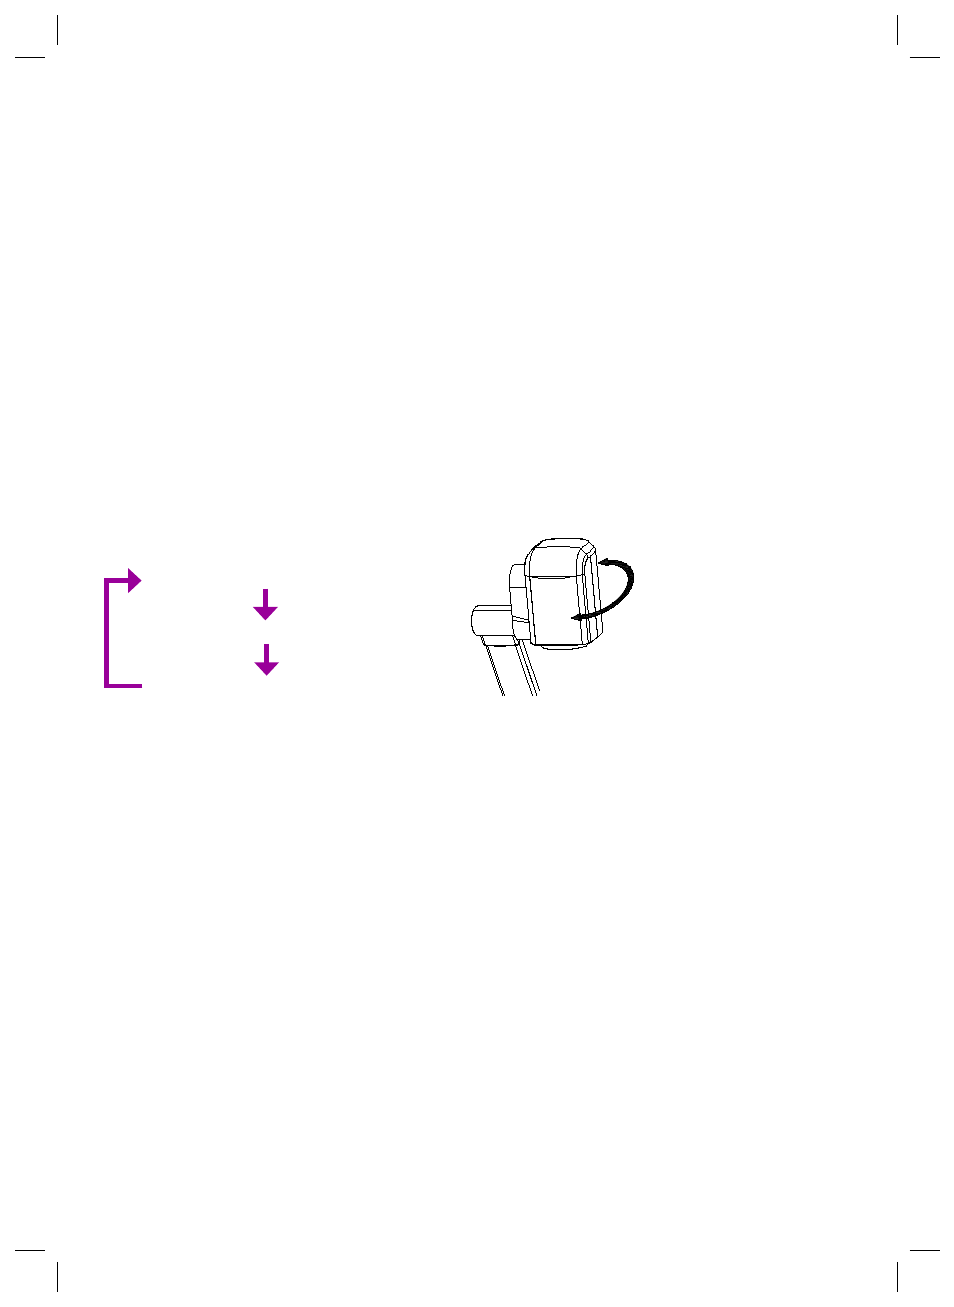
WORKING OUTSIDE THE STAGE
For showing 3-dimensional objects, just place them on the working surface and adjust the “ T” or
“W” and “AUTO” keys. If the object is too big for the stage or you want to show it from the side,
just place it behind or in front of the unit and tilt the camera by hand (please take off the
close-up lens first).
LIGHT
The arm lights are on when the power is on. Each time you press the “LAMP” buttons, the lighting
changes as below.
ADJUSTING IMAGE SIZE
In order to reduce or enlarge the image size displayed on the screen, press the “ T” or “W” button.
WORKING WITH NEGATIVES
The visualiser is automatically set to display normal materials on the screen when the power is on.
To display negatives, turn on the backlight by pressing the “LAMP” key, and then press the “Neg”
button to display the film negatives. Press the “Neg” button again to display normal materials in the
colour mode.
Rotate 330 degrees
vertically
The arm lights turn on
The back light turns on
All the lights turn off
PROJECTOR INPUTS SELECTION
When the projector is connected to several input sources, use the “Pin” button to switch signal
inputs of the projector. (On the remote control, press the “PROJECTOR INPUT” button) Note: Please
connect the projector RS232 cable between the projector and the visualiser first. If you cannot switch
projector inputs by pressing this button, you need to manually program the RS232 code into the
visualiser. See the section “Controlling Projector with Visualiser” for detailed instruction.
IMAGE REVERSION
Press the “Mir” button once to V-reverse the image and the vertically mirrored image will be
displayed. Press the “Mir” button again to exit. (On the remote control, please press the “MIRROR”
button)
IMAGE SPLIT
Press “SPLIT”, the image will be split into two images. One is the current captured image the other
is a frozen image of the last image, Press the “SPLIT” button again to exit. Note: This function is not
available on S-Video and Video output.
DYNAMIC/STATIC MODE SWITCH
To display dynamic images, Press the “D./S.” button to switch to the Dynamic mode, the image will
be clear and has no choppy strobe effect. To display still images, press the “D. / S.” button switch to
the Static mode.Note: This function is not available on S-Video and Video output.
TITLE FUNCTION
Press the “Title” button once, the image split into two parts, the upper 1/8 part of the image will
freeze and stay on top 1/8 of the screen. Press “Title” button again to exit the Title mode. Note: This
function is not available on S-Video and Video output.
IMAGE SAVE AND RECALL
Press the “SAVE” button once to save one captured images, it can save up to 7 images. After 7
images are saved, the 8th image will replace the previous 1st image and will become the new 1st
saved image.(On the remote control) Press the “RECALL” button once to display the saved images,
then press the numerical button to show the corresponding image. For example: Press “2” to
display the second image. At this status, the function under each numeric key is not available. Press
“RECALL” again to exit this mode. (On the remote control)
INFRARED REMOTE CONTROL
The visualiser’s remote control can control the camera from different angels. Please note that an
infrared remote control can only be used up to a certain distance to the unit. Objects situated
between the visualiser and the infrared remote control and a weak battery may interfere with the
reception.
On the left side of the visualiser stage, there is a built-in remote control storage compartment where
you can store the remote control when you not use it.
IMAGE SCROLLING (Optional)
Press the “ ” button to scroll the image down to display the upper part of the image. Press the “
button to scroll the image up to display the lower part of the image.
USB PORT (Optional)
The USB port can be used to transfer still images from the visualiser to a computer. No additional
computer hardware is required. In this way, the visualiser can be used as a 3-D scanner for your
computer.
Connect the visualiser to your computer with the supplied USB cable. The Visualiser Software is
available on the supplied CD-ROM.