GAI-Tronics 12562-105 Auxiliary Powered Emergency Telephone PCBA Replacement Kit User Manual
Page 4
Pub. 42003-212A
M
ODEL
12562-105
E
MERGENCY
T
ELEPHONE
PCBA
R
EPLACEMENT
K
IT
Page:
4 of 4
\\s_eng\gtcproddocs\standard ioms - current release\42003 kit manuals\42003-212a.doc
05/05
Installing the New PCBA
1. Align the holes in the four corners of the new PCBA with the standoffs in the telephone, maintaining
proper orientation. See Figure 2.
2. Use the screws (from step 4 in the previous section) to secure the PCBA.
3. Reconnect the red (ring) and green (tip) telephone wires to the PCBA.
4. Reconnect the microphone, speaker, switches, LED indicator, external power supply connector, and
keypad cable (Model 298-101 only) to the board.
5. Use the Model 233-001 Tamper-Resistant Screwdriver to tighten the six front panel screws.
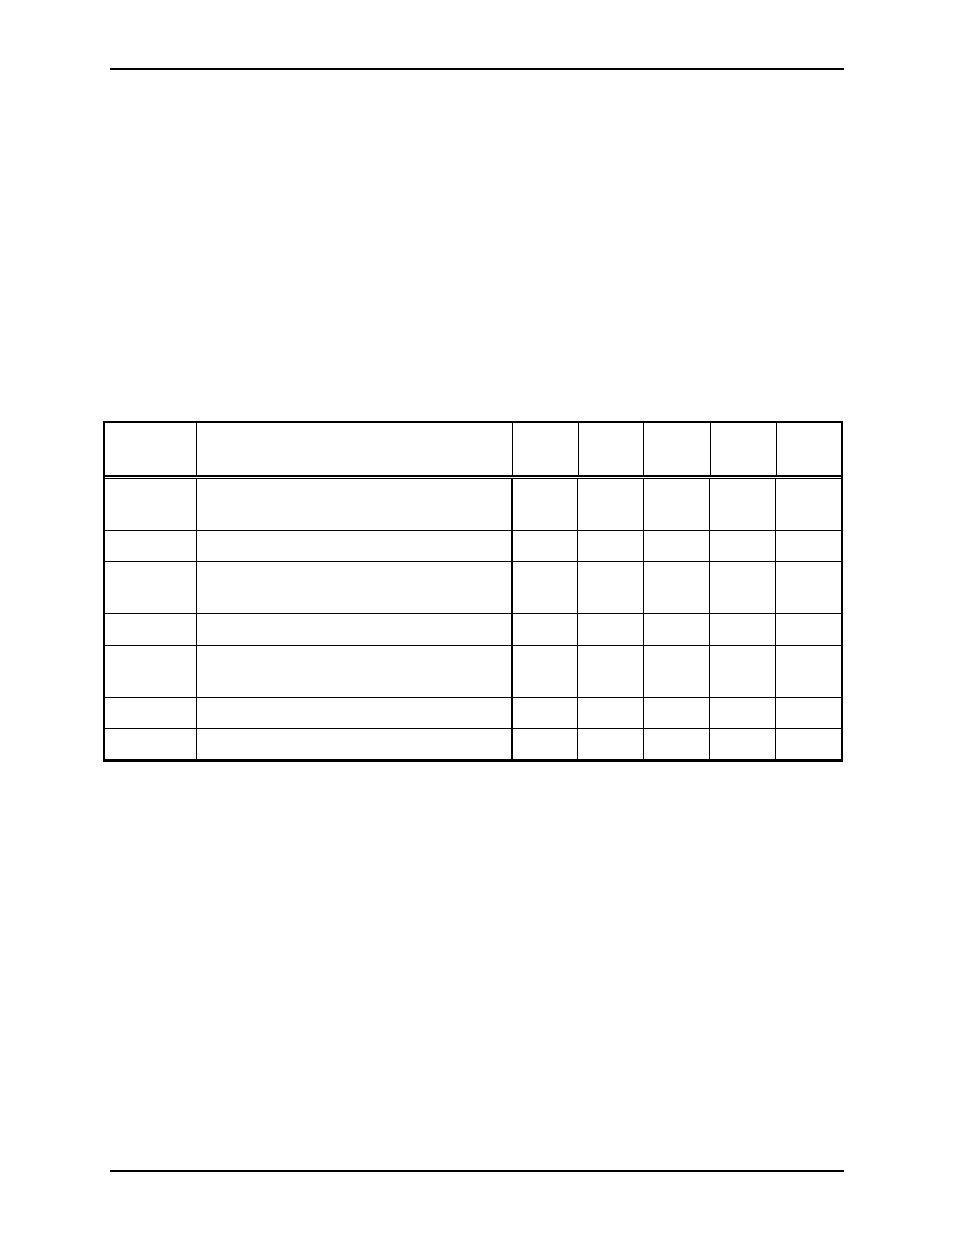
Additional Emergency Phone Replacement Parts
Part No.
Description
293-
101
293-
101AL
294-
101AL
297-
101
298-
101
233-001
Model 233-001 Tamper-Resistant
Screwdriver
51035-005 PCBA,
Keypad
28299-007 Tamperproof
Screws
(Flush-mount models)
28229-004 Tamperproof Screws, 1-1/8 inch
51002-106 Push Button Replacement Kit
(1.5-inch, Red)
13507-005 Microphone Replacement Kit
12522-003 Speaker Replacement Kit