Flowserve VF User Manual
Page 16
VF USER INSTRUCTIONS ENGLISH 71561233 - 11/09
Page 16 de 32
f) Couple both shafts: engage the 2 coupling
stop half-rings, then fasten the 2 coupling half-
shells (thrust them against the jacket below
the liner).
g) Remove collar C. Apply a sealing compound
onto the flange and fasten it onto collar C1
mounted on the pipe.
h) Successively install the following driveshaft
elements under the same conditions, the last
pipe to be installed being that which carries
the last bearing.
i)
As the pipes are being fastened, do not forget
to install the auxiliary spraying pipes for the
liners.
4.2.1.3 Drive head installation
a) Coat the assembly faces of the last
intermediate bearing and of the discharge
elbow with sealing compound.
b) Insert the intermediate bearing onto the
bottom shaft and put it in place.
c) Install the sleeve, the jacket under the packing,
with its o-ring, onto the driveshaft.
d) Sling it up vertically and couple it to the bottom
shaft.
e) Coat the assembly faces of the upper flange of
the connection cuff and the support cage with
sealing compound.
f) Assemble these parts and perform the
following operations:
1) Position the support, insert it onto the
driveshaft and fasten it to the discharge
elbow or the last tube.
2) Lift the assembly by slinging the support,
remove collar C1 below the last tube.
Allow the support to rest onto the rests
provided for this purpose.
g) Lift the stop box assembly.
h) Axial adjustment of the rotor, while operating
the axial adjusting nut of the rotor [2915]
located at the top of the thrust bearing :
1) Move the rotor until the contact with the
casing
2) To measure the position of the shaft end
compared to the cover of the thrust
bearing.
3) Then reassemble the rotor until the
contact with the casing and again measure
the position of the shaft end.
4) Move again the rotor of half of the
difference of the measured dimensions.
5) Mount the fastening screws of the nut and
mount the coupling of the pump.
i)
Install the motor, fitted with its coupling half-
sleeve. Check the alignment pump-motor
according to the procedure § 4.4.
j)
Connect the liner spraying lines and the stack
filling lines.
k)
Check that the rotor is free to
rotate manually.
l)
Check the rotation direction of
the motor before the coupling operation which
completes the erection procedure.
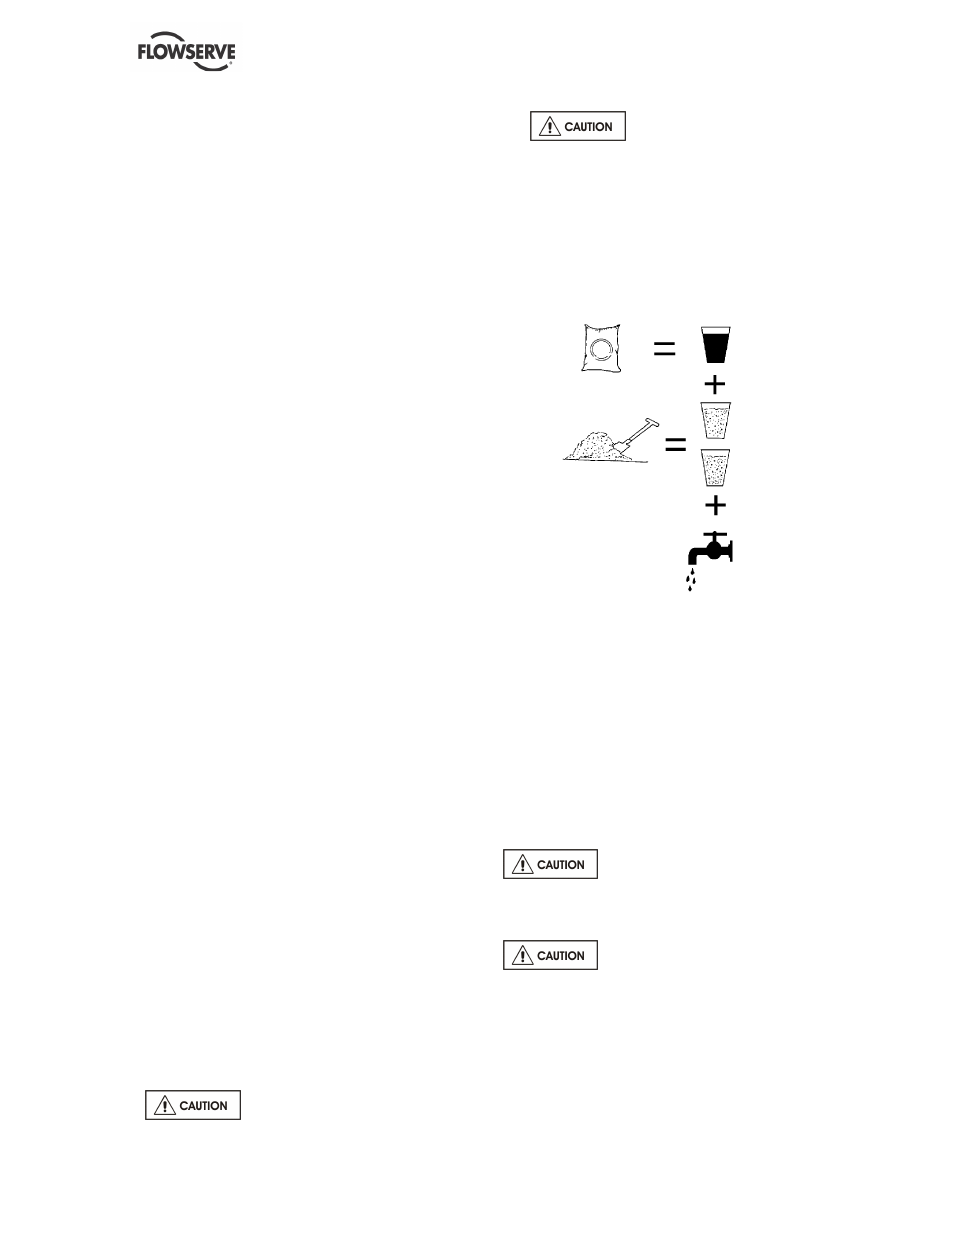
4.3 Grouting
If anchor bolts have been pre-cast in the
foundation slightly tighten the anchor bolts.
Otherwise let them hang in the foundation holes.
a) Use grouting products with anti-shrinking
components.
b) To grout up to the required level. Polish
surfaces. Take necessary precautions to avoid
air bubbles.
c) Lay-down the barrier, break external angles,
polish the different surfaces.
d) After grout starts to cure, definitively tighten
anchor bolts.
e) Control the alignment such as described
below.
4.4 Initial alignment
Before connecting the couplings
verify the motor rotation direction.
4.4.1 Thermal expansion
The pump and motor will normally
have to be aligned at ambient temperature and
should be corrected to allow for thermal expansion
at operating temperature. In pump installations
involving high liquid temperatures, the unit should
be run at the actual operating temperature, shut
down and the alignment checked immediately.