Dnp50 im v002 20140106 p5, Configuring the dnp50 / dnp50 avw media player – Drake DNP50/DNP50 AVW Network Media Player User Manual
Page 5
3
2. Configuring the DNP50 / DNP50 AVW Media Player
2.1.
System connections
1
Attach an HDMI cable to your monitor
When using an HDMI connection, audio is sent along with video over the HDMI cable, so no additional cables are
required.
2
Attach the AC power adapter to power on the unit. After approximately 40 seconds booting animation will
be displayed on screen as shown below :
3
Player boot process takes approximately 75 seconds to complete.
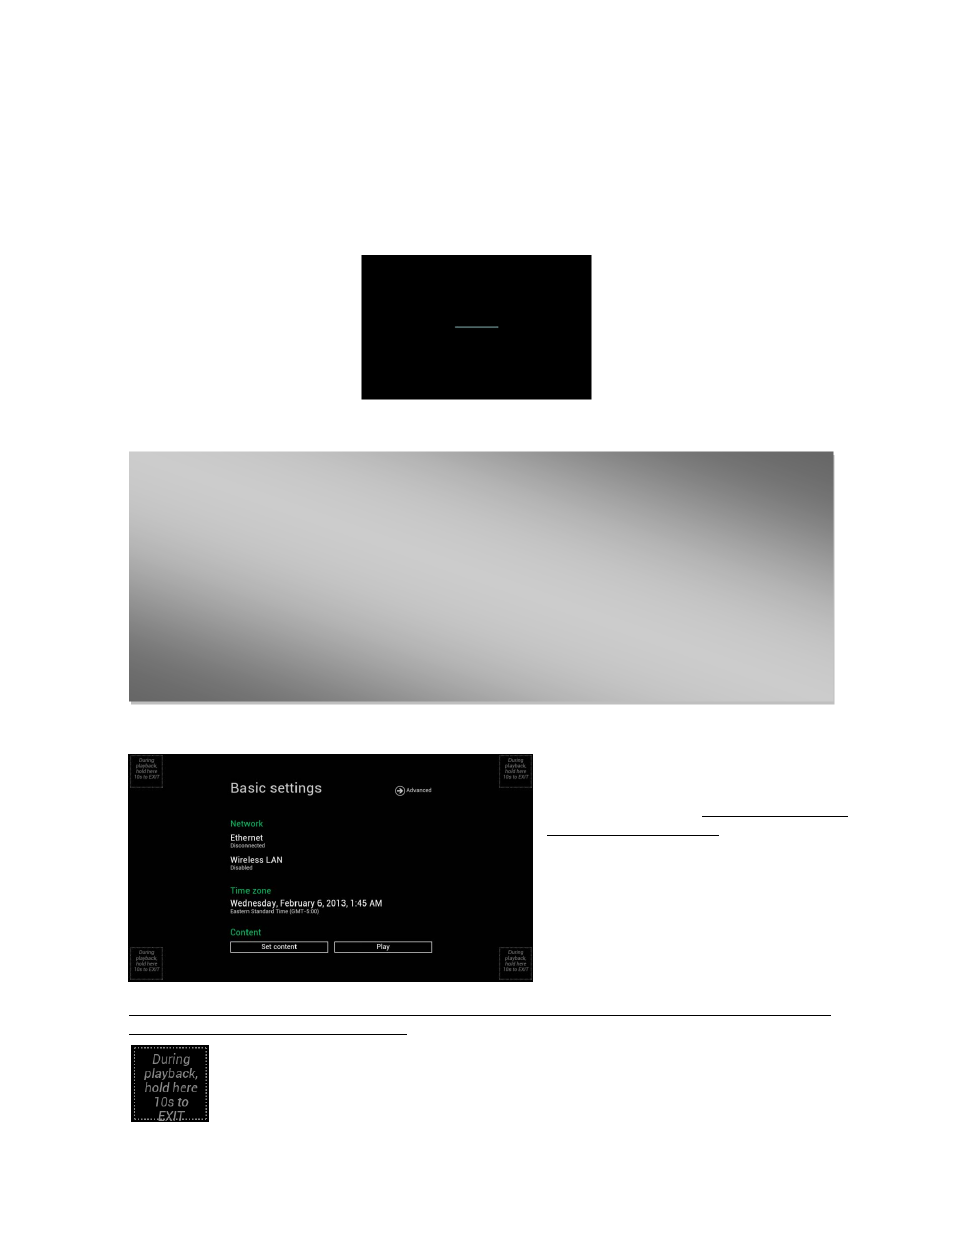
After boot up complete, player will stay in basic
settings menu if no content service has been
configured (i.e. first boot up for brand new unit
or after a factory reset). Plug in a USB mouse to
start configuring the player.
If you have already set content into the player,
contents will play back automatically after 15
seconds after boot up.
To enter the menu system at any time during playback, plug in a USB mouse and hold the left mouse key in the
corner area as shown below for 10 seconds.
*Player will ask for password if password has been configured.
Troubleshooting Tips
1
The operation indicators light up, but no video is displayed on screen
Ensure that your video cable (HDMI) is securely connected. When using an HDMI connection,
choose high quality, certified HDMI cables or try using shorter length cables
Check if your monitor is turned on and the correct video input source is selected
2
No sound is heard
Check volume (mute) settings on monitor
If using VGA connection, you also need to connect RCA audio cables (DNP50 AVW only)