Basic snowplowing practices and tips, Operating instructions – DR Power Redi-Plow Plus (Sept. 2013 - Present) User Manual
Page 12
12
DR
®
REDI-PLOW™ PLUS
The design of your plow is for pushing snow. Do not use it for any other purpose as it could cause damage to the plow or
machine.
Before performing any adjustments to the plow or any other procedure or inspection, stop the vehicles engine, set the parking
brake and remove the key.
Chapter 3: Operating The DR
®
REDI-PLOW™ PLUS
Basic Snowplowing Practices and Tips
The REDI-PLOW is designed to make moving snow convenient and easy. By following these simple practices, snow removal can
be safe and enjoyable.
If blade is kept in warm storage, set blade outside and allow to cool-this prevents snow from freezing to blade when plowing.
Setting the blade straight forward is the most efficient way to move snow.
Always keep current with fresh snowfall, it’s easier to plow fresh snow. Wet snow can compact and freeze which requires
chipping to break it loose before attempting to move it.
From the start of the season, push the snow far enough out to allow for future snowfalls.
Avoid overloading your equipment-push only enough snow with each pass to get the job done.
When pushing snow onto a pile, always do so with blade in the straight forward position. Piling snow with blade angled may
cause damage to plow or vehicle components.
When pushing new snow to stack up against hardened piles, start a new pile first and then push it up on to hard pile.
Use caution when plowing next to a building wall. Make first pass about 3 feet away, make second pass about 2 feet away and
third pass about 1 foot away.
When transporting blade, secure it to hanger brackets with pins or locks.
On 4WD select low range, if equipped.
Always know the terrain before plowing.
Operating instructions
Read and understand all safety warnings listed in Chapter 2 “General Safety
Rules” before using your REDI-PLOW.
Note: If blade is kept in warm storage, set blade outside and allow to cool - this
prevents snow from freezing to blade when plowing.
LOWERING THE BLADE FOR PUSHING SNOW:
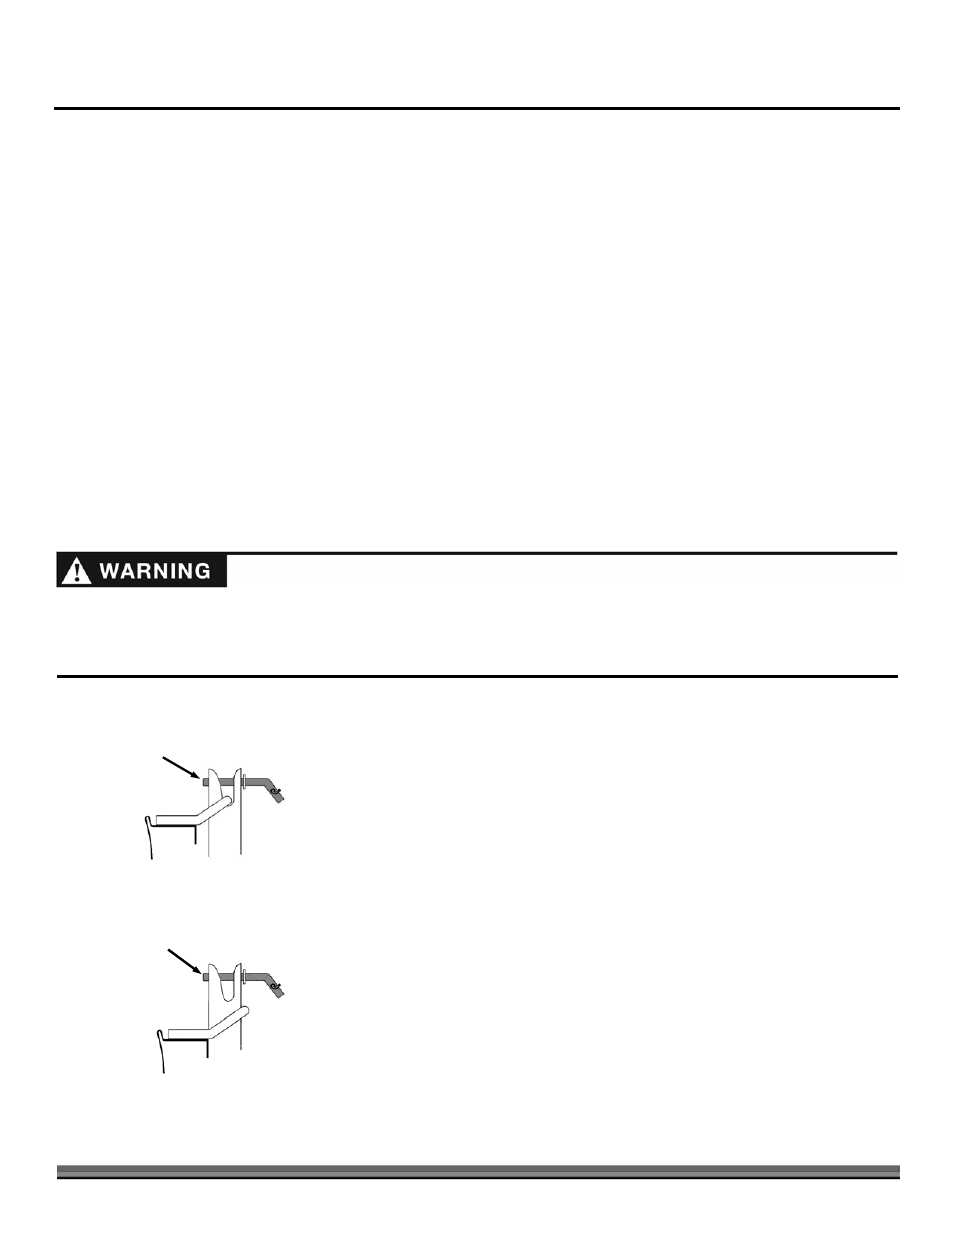
1. Step behind the Plow and remove the keyhole pin (Figure 28).
2. Lift one side of the blade out of retainer until the slide hinge fits over the
push bar, then lower blade to ground.
3. Re-insert keyhole pin (Figure 29). Repeat same procedure for other side of
blade.
TO PUSH SNOW:
Follow vehicle manufacturers’ specifications for snowplowing.
Note: Do not exceed 10 MPH when plowing.
Use lowest transmission gear, on 4WD select low range if equipped.
Keyhole Pins Secure Blade
During Transporting
Figure 28
Keyhole Pins Reinstalled To
Secure Blade During Plowing
Figure 29