Removing a 16 ot module behind a termination panel – Daktronics Valo Digital Billboard User Manual
Page 20
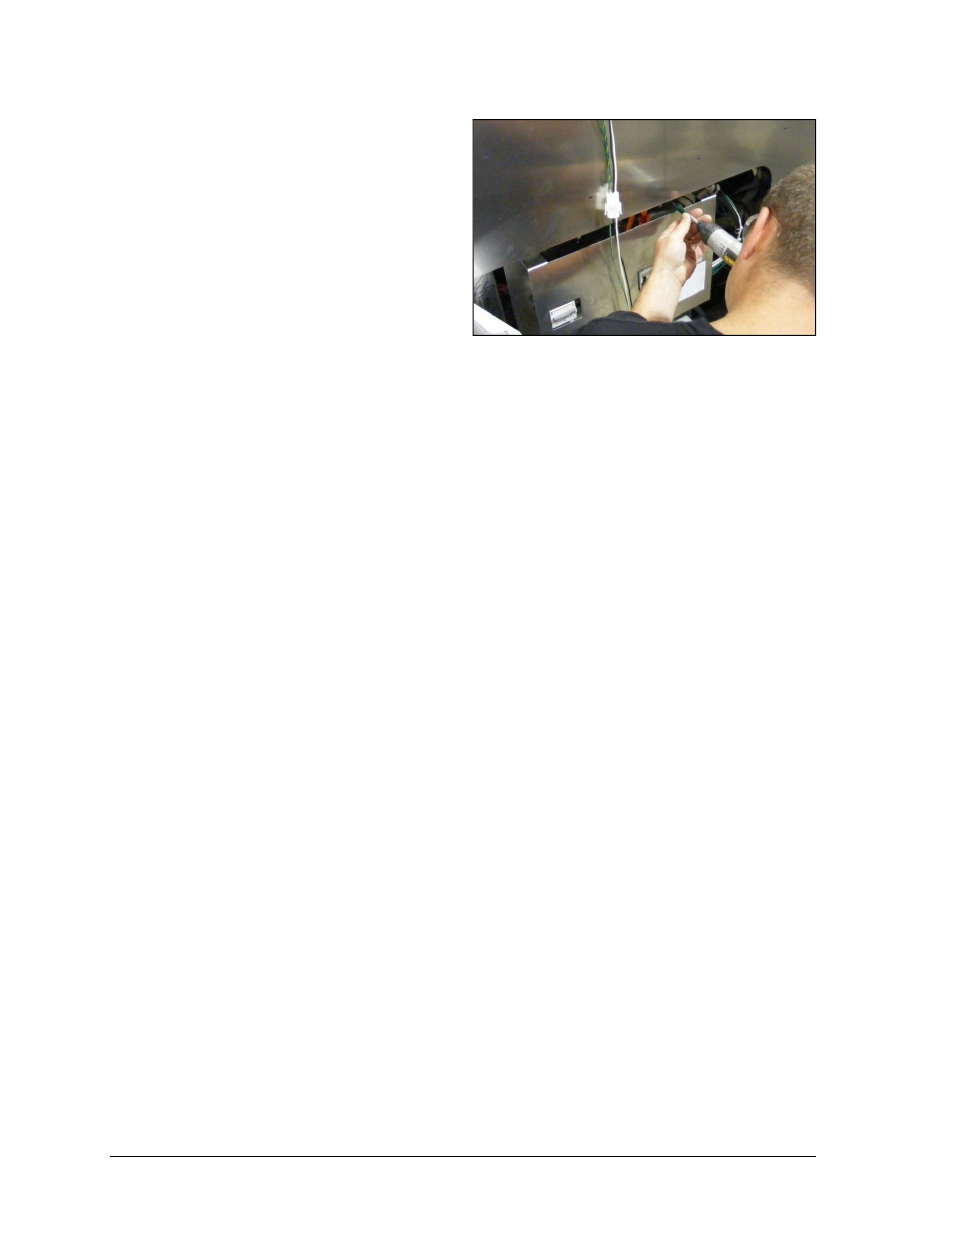
5. Disconnect power and signal cables
from the module. Refer to Figure 7.
Figure 9: Removing Term Panel Support Screws
6. Attach one end of the safety lanyard
to a lanyard attachment ring on the
module. Attach the other end of the
safety lanyard to a nearby upright or
wire rod. Use the safety lanyard in
this way to prevent module damage.
7. Use a T-handle Allen wrench to
disengage module latches.
8. Carefully push the module out of the
display face.
9. Pivot the module to pull it through the back of the display.
10. Reverse Steps 1-8 to reinstall the module.
Removing a 16 OT Module Behind a Multi-Line Controller
1. Pull the finger tab to disengage the multi-line controller.
2. Lift the multi-line controller off the hook mount.
3. Gently set the multi-line controller assembly down.
4. Disconnect the module power and signal cables. Refer to Figure 7.
5. Attach one end of the safety lanyard to a lanyard attachment ring on the module. Attach
the other end of the safety lanyard to a nearby upright or wire rod. Use the safety
lanyard in this way to prevent module damage.
6. Use a T-handle Allen wrench to disengage the module latches.
7. Carefully push the module out of the display face.
8. Pivot the module to pull it through the back of the display. Refer to Figure 8.
9. Reverse Steps 1-8 to reinstall the module.
Removing a 16 OT Module behind a Termination Panel
1. Remove the two support screws from the top of the termination panel.
2. Pull the finger tab to disengage the termination panel.
3. Lift the termination panel off the hook mount.
4. Gently set the termination panel assembly down.
Removing Modules from the Display
12