Daktronics 4000 Series Digital Billboard User Manual
Page 18
12
R emoving Modules from the Dis play
Figure 14: Front Access
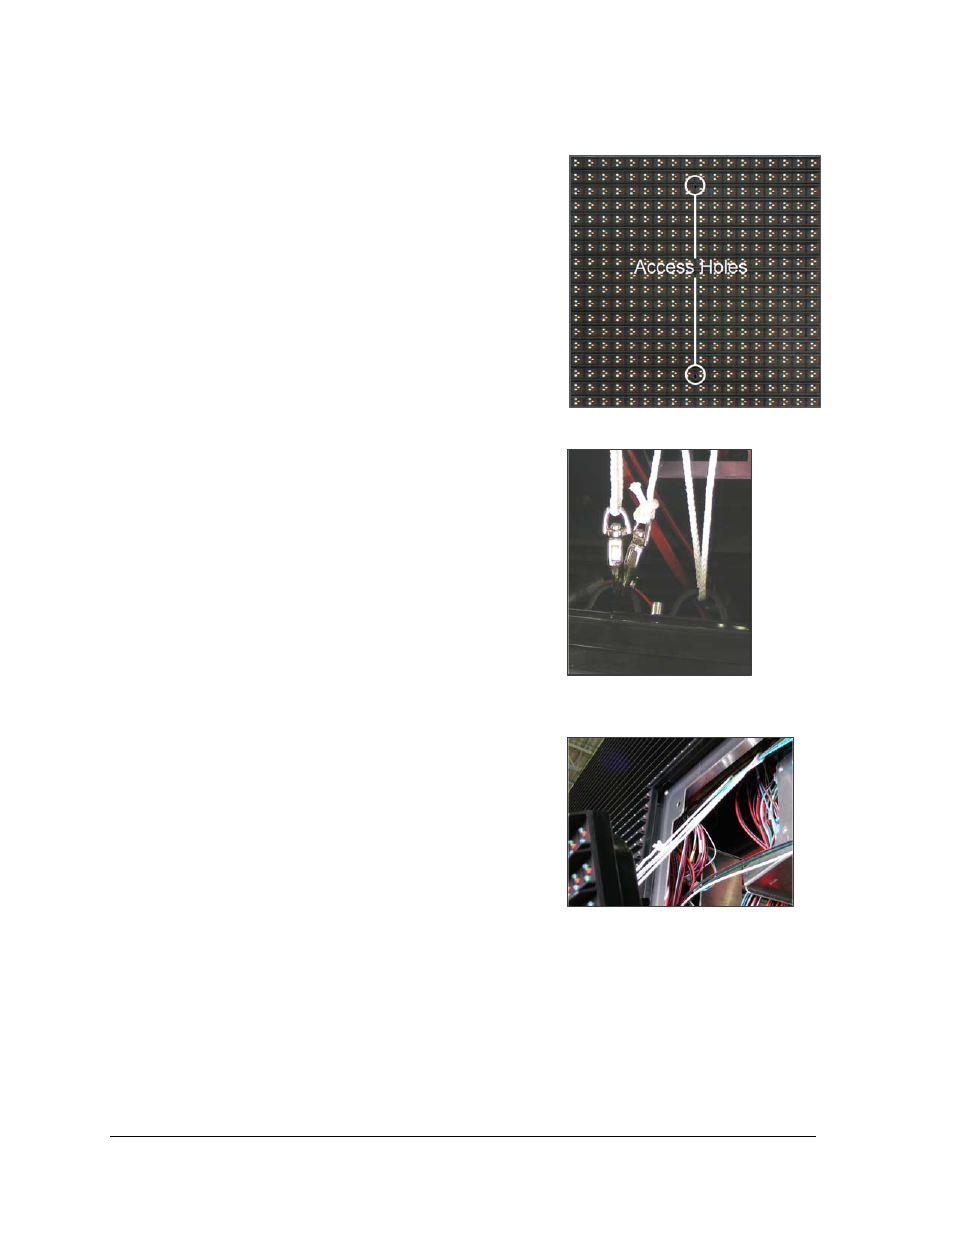
Figure 15: Safety Lanyard Attached to
Module Lanyard Attachment Rings
Figure 16: Safety Lanyard Secured to
nearby Wire Rod in Display
2. Turn the two wing nuts at the top of the panel to unlatch the term panel. Refer to Figure
3. Pull back on the top of the term panel. If
necessary, you can pull the term panel off the
lower hinges, similar to the hinged doors.
4. Follow the Module Removal procedure above to
remove and replace a module.
5. Once the module is replaced, return the term
panel to its upright position and tighten the
quarter-turn wing nuts.
6. Turn on power to the display.
3.5 R emove and R eins tall a Module
from the Front of the Dis play
Required tools:
1
/
8
" hex wrench, safety lanyard (if
necessary)
4000 series digital billboards are designed to be
accessed from the rear. However, some situations
may require removal of modules or components from
the front. If this is the case, a lift or bucket truck will
be needed to access the display from the front.
1. With one hand on the module face, insert the
1
/
8
" hex wrench in the access holes. Refer to
Figure 16 for the location of the access holes.
2. Turn the top and bottom latch releases
approximately a quarter turn counter-
clockwise.
3. Pull the module from the display just far
enough to reach around to the back of the
module. Disconnect the power and signal
cables from the back of the module.
4. Gently set the module down on a clean and
dry surface.
a. If there is no place to set the module down, use a safety lanyard to hang the
module from the display. Attach the safety lanyard in a way that takes up slack
on the lanyard. Refer to Figure 17, Figure 18, and Figure 19 for examples.
Note: When resting the module against the display face, ensure the gravity load
pegs do not damage LEDs on the display face.