Time, Intensity, Horn – Daktronics PC-2001 Pace Clock System User Manual
Page 19: Mode #1: breakout
Controls & Timing Functions
13
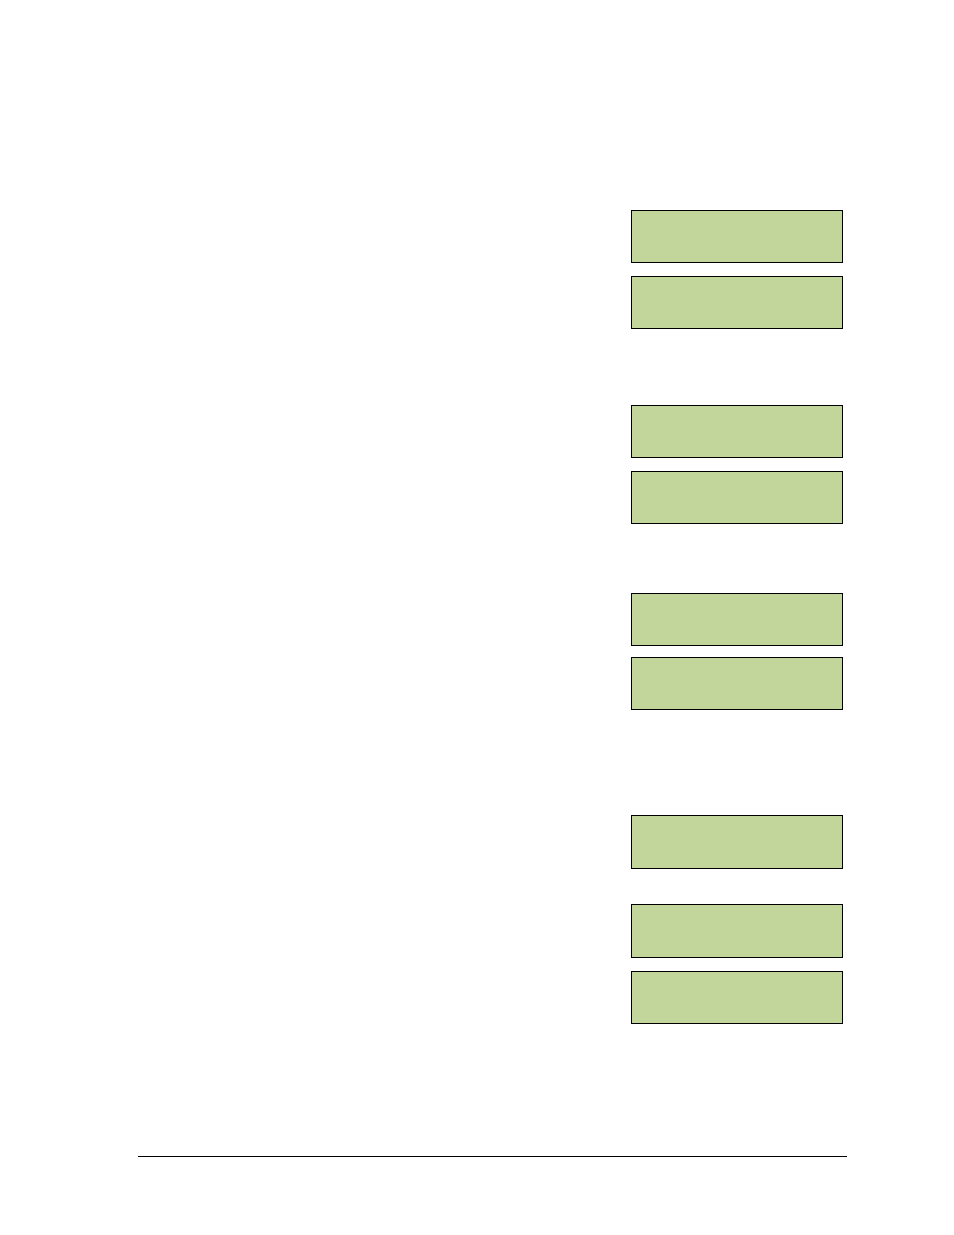
MENU-SETTI NGS
1-TI ME {}
ENTER TI ME
00:00 *
MENU-SETTI NGS
1-I NTENSI TY {}
I NTENSI TY(1-16)
=16 *
MENU-SETTI NGS
3-HORN {}
HORN CONFI G
(AUTO)*
MENU-(CURR MODE)
2-CHANGE MODE {}
MENU-CHANGE MODE
1-BREAKOUT {}
PRESET= 00:00
0.0
The settings will need to be changed to fit the user‟s specific needs, but once the program has
the desired settings, the console will remember those settings for next use. The available
settings and menu numbers will vary by the current mode.
Time
The Time setting lets users enter desired timing options for
the mode. To change the preset time, press <MENU>, and
then press <ENTER>. Press <ENTER>, input the desired
time using the keypad, and then press <ENTER> once more.
Note: For 12 Hour Time of Day (mode 8), users must also
select whether the time is AM or PM using the arrow keys.
Intensity
The Intensity setting lets users manipulate the brightness of
the LED digits. The settings for intensity range from 1 to 16,
with 16 being the brightest (default). To change the display‟s
intensity, press <MENU>, and then press <ENTER>. Scroll
down to 2-INTENSITY and press <ENTER>. Use the up and
down arrows or the keypad to adjust the intensity. When
finished, press <ENTER>.
Horn
The Horn setting lets users switch between an automatic
horn and a manual horn. To change the Horn settings, press
<MENU>, and then press <ENTER>. Scroll down to 3-
HORN and press <ENTER>. Press <ENTER> again to allow
the selection of the Horn option. Use the up and down
arrows to select between the AUTO (default) and MANUAL,
and then press <ENTER>.
After selecting the desired settings, refer to the sections below for operation instructions of
specific modes.
To select a mode, press <MENU> and go to the 2-CHANGE
MODE option. Use the arrow keys or press the number keys
to select a particular mode, and then press <ENTER>.
Mode #1: Breakout
Press the <START> key to start the clock counting up.
Pressing the <START> key again will display an individual
lap time and will allow the total time to continue running.
The laps will be numbered up to 99 and then start over at 1.
Pressing the <STOP> key stops the clock and shows the lap time. After pressing the
<START> key again, the clock will resume counting up from the stopped time. These
procedures can be followed as many times as allowed before the preset time is reached. If
there is no preset time, the procedure may be used as many times as desired. Press the
<RESET> key to start the program over.