Chapter 3 osd menu setup – CREATOR SC-PIP202 User Manual
Page 11
CREATOR CORPORATION (CHINA)
2010-06 WWW.CREATOR1997.COM
5
Users Manual of Multi-signal PIP Upscaling Switcher
Chapter 3 OSD Menu Setup
Press the MENU button on the panel, the main
output connecting to Multi-signal PIP Upscaling
Switcher will disappear the OSD menu of the
product.
Note: Under the output resolution of
800x600@60Hz, OSD menu control is not for
access.
1. When the big screen is displaying the signal
from CV 、 YC 、 YPBPR or DVI, PICTURE,
ADVANCE, OSD are for you to set up.
After accessing to the screen, move the ADJUST
button left or right to set up the needed value,
while the monitor will display the status in
real-time.
After finishing the setup, press the ENTER button
on the panel to access to the lower tier menu, and
then conduct relevant setup.
For example: OSD H-POSITION option should be
set as 50.
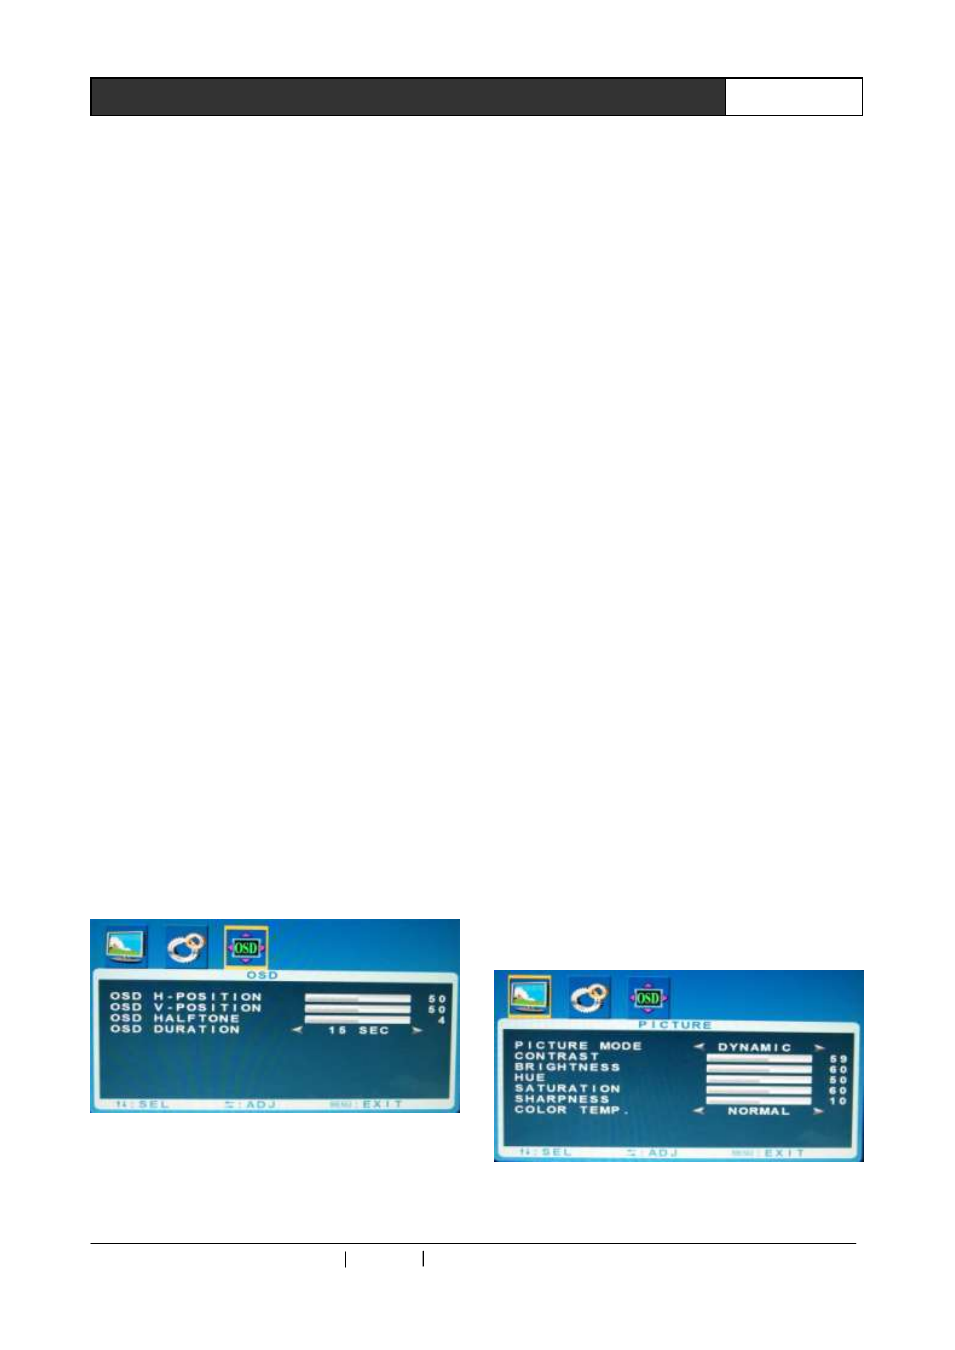
Step 1: After accessing to setup screen, turn
the ADJUST knob and move the cursor to OSD
setup options. With yellow frame, it indicates
successful selection. Press ENTER button to
confirm it and access to OSD setup. See 3-1
Picture 3-1
Step 2: After accessing to the setup screen,
the cursor will stay on OSD H-POSITION, the first
setup option with the font of OSD H-POSITION
turning into yellow, indicating the value is ready
for setup. Press ENTER button to confirm it.
Step 3: After confirming it, the current
status of OSD H-POSITION option will turn to
yellow. Turn the ADJUST knob on the panel to 50,
press ENTER to confirm it, then the job is done.
If not accessing to the setup sub-screen, turn
the ADJUST knob to access to next setup option
with the operation as above.
After finishing setup, press ENTER to return
to upper tier menu.
If no need to conduct setup, wait for a few
seconds ( adjustable time frame), OSD menu
setup will automatically exit.
A: PICTURE Setup Options
See 3-2. From top to bottom, they are:
PICTURE MODE:Select picture display
modes including STANDARD, Dynamic, Sofe and
Personal
CONTRAST:Contrast adjustment
BRIGHTNESS: Brightness adjustment
HUE:Hue adjustment
SATURATION:Saturation adjustment
SHARPNESS:Sharpness adjustment
COLOR TEMP:Color temperature selections
include normal, warm, cold and user.
Picture 3-2