Zilog ZUSBOPTS User Manual
Page 25
UM025503-0814
The Zilog Educational Platform as a Development Board
Zilog Educational Platform
User Manual
19
The following procedure describes how to get ZDS II – ZNEO up and running.
Do not apply power to the Zilog Educational Platform until you have established all
hardware connections.
1. Download the latest version of the ZDS II – ZNEO software from the
Free Software
category of the
install it on your development
PC. A ZDS II – ZNEO icon will appear on your desktop.
2. Locate the USB Smart Debug Cable that shipped with your Kit. Insert the cable’s USB
A connector into a USB port on the PC, and insert the 6-pin connector on the other end
of the cable to the Base Board P1 (Console) connector.
The A to Mini-B USB cable is not required for this function.
3. After the USB Smart Debug Cable is connected, apply power to the Platform and dou-
ble-click the ZDS II – ZNEO icon to launch the ZDS II Development Environment.
4. In ZDS II, navigate via the
File
menu to the
Samples
folder on your Kit’s USB drive,
and open a project file labelled
LightMeUp.zdsproj
.
5. If your system does not recognize the USB Smart Cable, you will be prompted for the
location of the USB Smart Cable driver. If your system does recognize the USB Smart
Cable, proceed to
.
The USB Smart Cable driver can be found in the Drivers folder of the USB Flash Drive
that shipped with your Kit. It is also located in the ZDS II – ZNEO directory that you just
installed on your PC, and it can also be found in the
able free for download from the Zilog website.
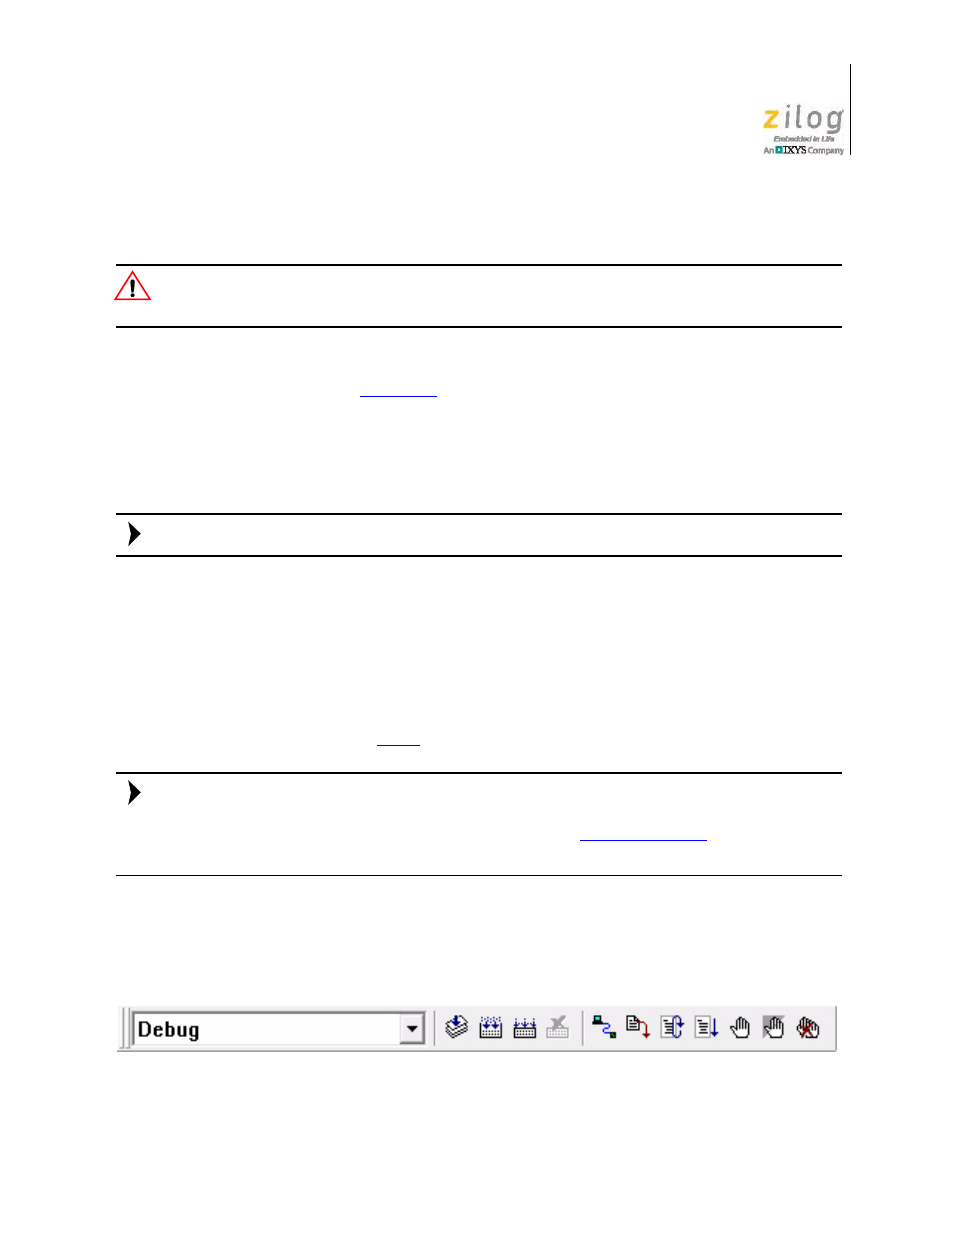
6. From the
Project
menu in ZDS II, select
Settings
to open the Project Settings dialog.
From the
Configuration:
drop-down menu located at the top of this dialog, select
Debug
, as shown in Figure 12.
Figure 12. Selecting the Debug Tool from the ZDS II Taskbar
Caution:
Note:
Note: