3 starting a measurement run, Figure 13, Figure 14 – Casella CEL CEL-35X dBadge User Manual
Page 16
Casella CEL-35X dBadge Users Handbook – Page 16
Figure 13
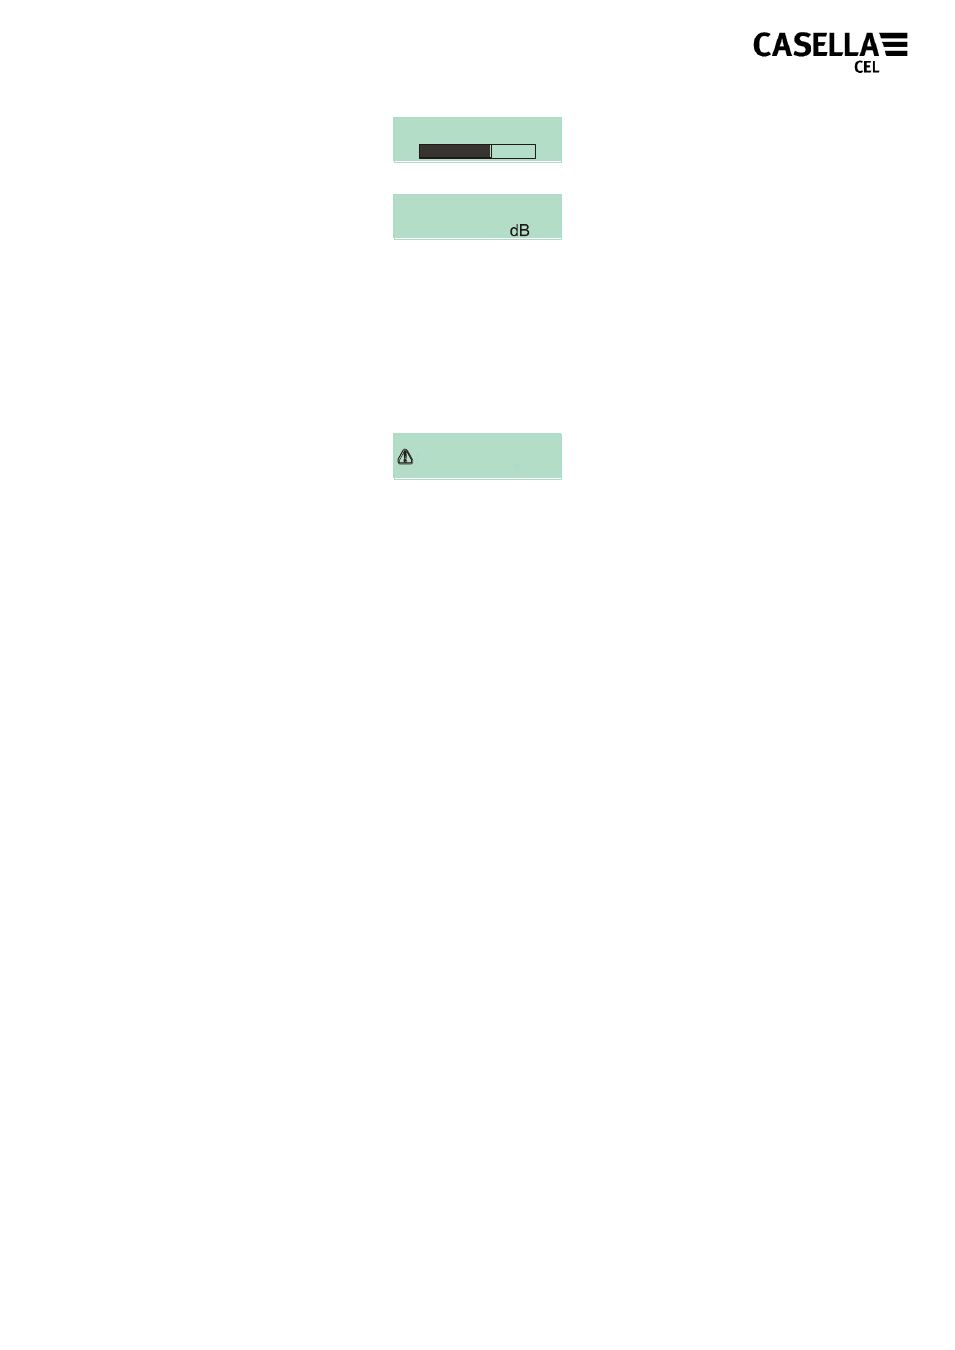
Once th
e unit has successfully calibrated the „Cal OK‟ message will
appear. In the unlikely event an error message is displayed as shown
in Figure 14, please refer to „Troubleshooting‟ section.
Figure 14
The CEL-35X is ready to take a measurement once the calibrator has
been removed.
NOTE: The CEL-120/2 must only be used to calibrate the CEL-35X/IS
in a non-hazardous atmosphere.
5.3 Starting A Measurement Run
Ensure the windshield is fitted according to section 3.4. The
windshield protects the microphone from any potential erroneous
results from wind, but also helps to protect from any dust ingress,
moisture or impact damage. Before taking a measurement run,
ensure there is sufficient battery life and memory by looking at the
screen shown in Figure 9. If necessary charge the dBadge as
described in section 4.1 and clear the memory as described in section
5.6, or download the dBadge to Casella insight data management
software.
Regardless of which display mode is selected (ISO or OSHA) ALL
parameters are stored simultaneously and can be viewed via Casella
insight data management software.
To start the measurement run, press and hold both the „L‟ and the „R‟
keys down together for 3 seconds as shown in Figure 15.
CALIBRATING
CAL. ERROR
CAL. OK
114.0