Troubleshooting – Nexen Smart Valve 964508 User Manual
Page 11
8
FORM NO. L-20353-C-0302
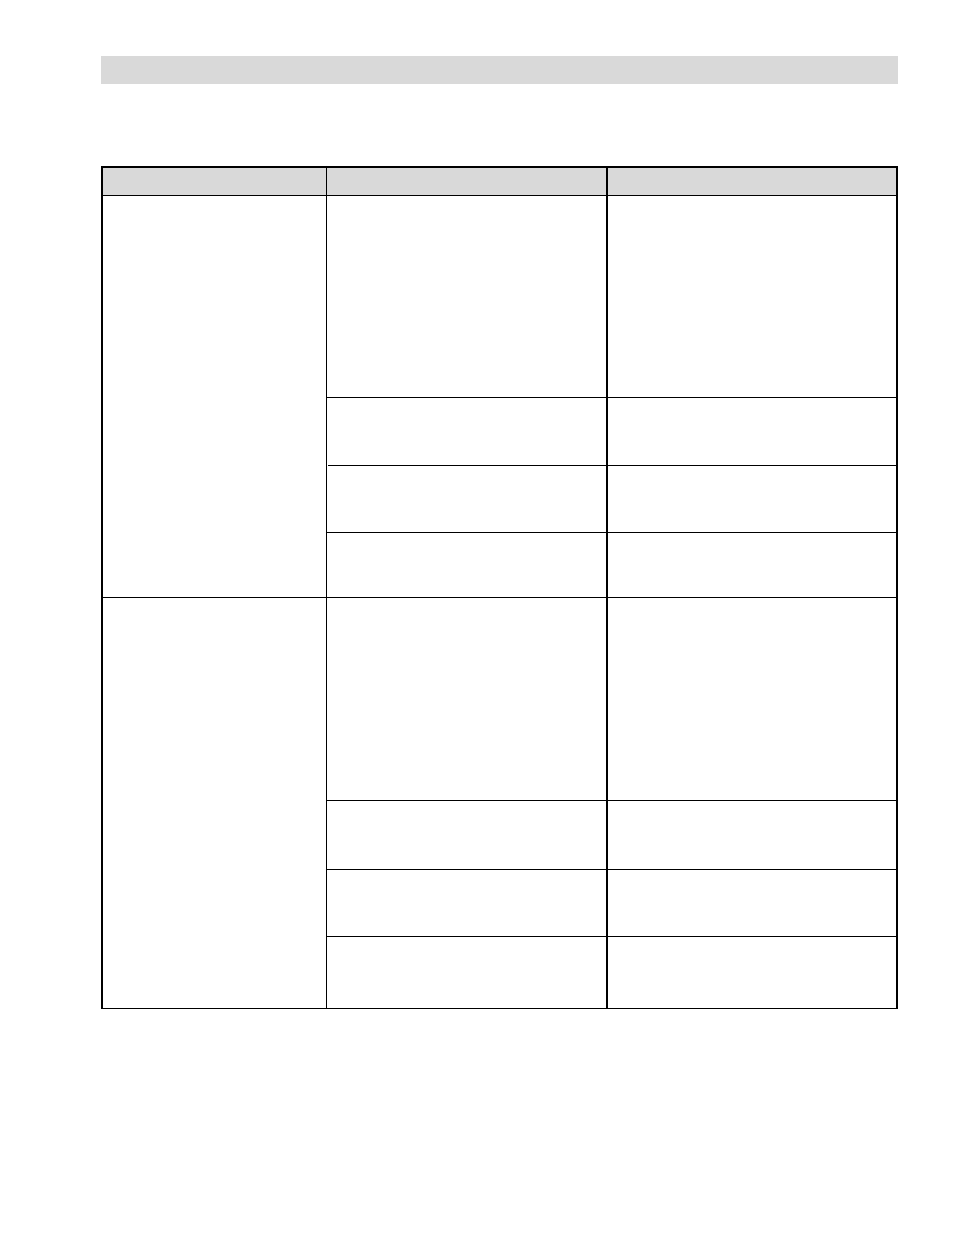
TROUBLESHOOTING
Refer to Figure 6 and Table 2 for identification and locations of components.
PROBLEM
PROBABLE CAUSE
SOLUTION
Selecting different pressures with
the digital inputs has no effect on
the output pressure.
Selecting different pressures with
the analog input has no effect on
the output pressure.
No power to the SmartValve.
Pressure Select Inputs not wired properly.
Mode switch or Jumper W2 set improperly.
Inadequate or no air pressure to the
SmartValve.
No power to the SmartValve.
Analog Pressure Select Input not wired
properly.
Mode switch or Jumper W2 set improperly.
Inadequate or no air pressure to the
SmartValve.
Check that the green power LED, D3, is on. If
not, then there is no power to the SmartValve.
Next, check to see if there is +24VDC across
terminals A and B of the six pin connector. If
not, then suspect the power supply or the
wiring between this connector and the power
supply. If voltage is present, then look for pin
damage in the SmartValve connector housing
and return the SmartValve to Nexen, for re
pair, if no damage is found.
Review ELECTRICAL CONNECTIONS
section Figure 4 for proper wiring example and
change wiring if necessary.
Review the switch and jumper settings for
digital pressure selection in the SETUP
section and make changes if necessary.
Check to see if 85-150 [5.9 to 10.3 BAR] psig
is available at the SmartValve’s pressure input,
refer to Figure 2.
Check that the green power LED, D3, is on. If
not, then there is no power to the SmartValve.
Next, check to see if there is +24 VDC across
terminals A and B of the six pin connector. If
not, then suspect the power supply or the
wiring between this connector and the power
supply. If voltage is present, then look for pin
damage in the SmartValve connector housing
and return the SmartValve to Nexen, for re
pair, if no damage is found.
Review ELECTRICAL CONNECTIONS
section Figure 5 for proper wiring example and
change wiring if necessary.
Review the switch and jumper settings for ana
log pressure selection in the SETUP section
and make changes if necessary.
Check to see if 85-150 [5.9 to 10.3 BAR] psig
is available at the SmartValve’s pressure input,
refer to Figure
2.
Continued