Vortech 1997-2004 C5 Corvette User Manual
Page 18
P/N: 4GR020-010 v1.7, 2009-11-25
©2009 Vortech Engineering, LLC
All Rights Reserved, Intl. Copr. Secured
6
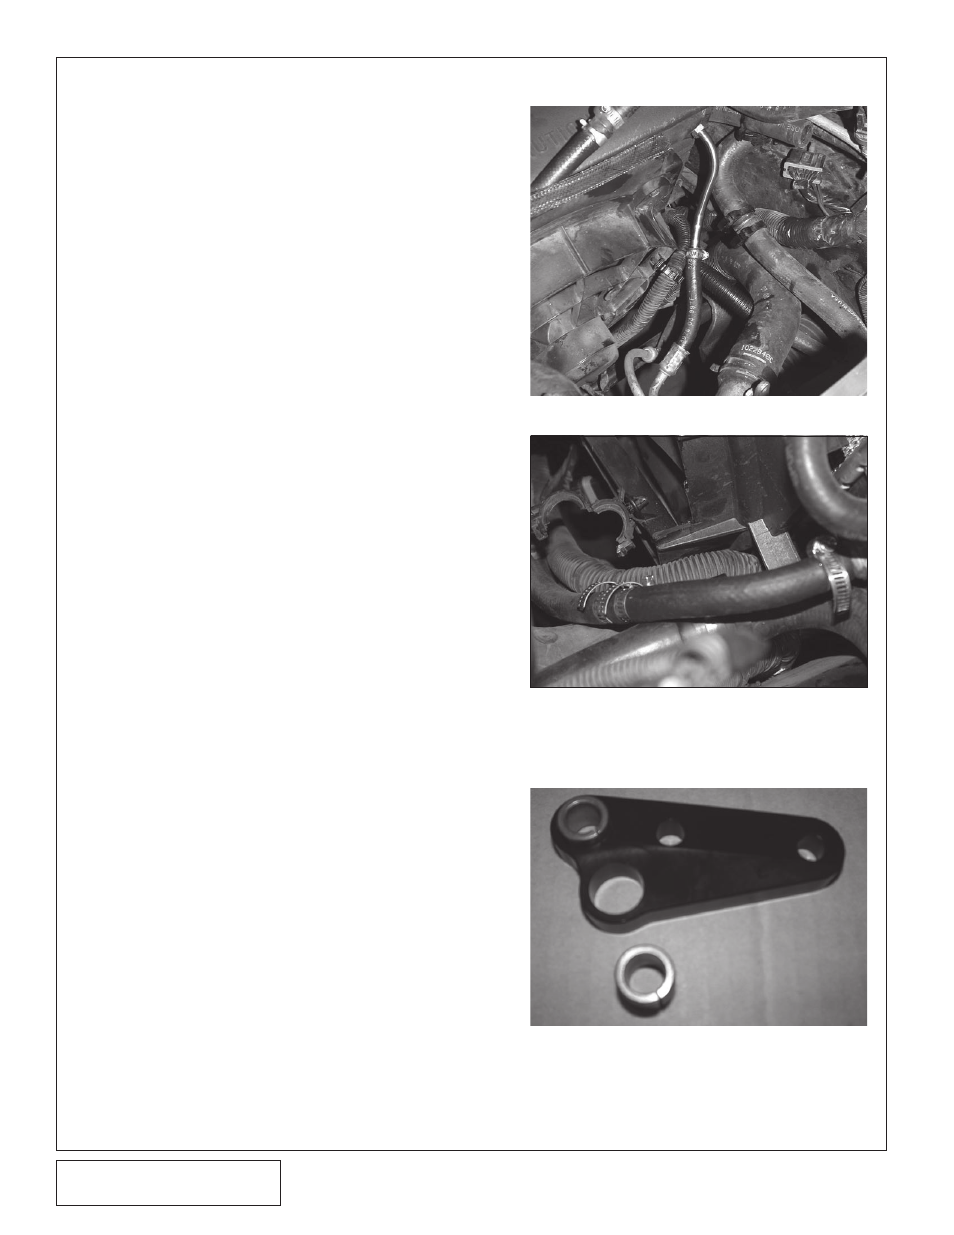
A. Disconnect the upper automatic transmission
cooler line from the top passenger side of the
radiator.
B. Cut the hard line off of the radiator side of the
transmission line. Leave the amount of hose
attached to the transmission line as long as
possible.
C1. 1997-2000 M.Y. Vehicles: Install the supplied
tube so that it points downward. Connect the
rubber hose on the transmission line to the
tube and tighten using the supplied hose
clamp. (See Fig. 6-a.) Skip the following
steps and proceed with Section 7.
C2. 2001 & Newer Vehicles: Cut the metal tube
so that it protrudes about 3/4" from the fitting
that was removed from the radiator. Clean
and re-install the fitting into the radiator and
use the supplied hose and hose mender to
connect it to the transmission hose. Tighten a
clamp on each connection. (See Fig. 6-b.)
Fig. 6-a / 1997-2000 M.Y. Vehicles
Fig. 6-b / 2001-2004 M.Y. Vehicles
A. Using the appropriately sized socket or tube,
gently tap the bushings out of the factory
alternator mounting bracket and install them
into the supplied alternator plate. (See Fig.
7-a.)
B. Modify the alternator tab (if equipped) as
shown in Fig.
7-b.
C. Install the large primary alternator plate onto
the passenger side head using the three sup-
plied .7" thick spacers and M10 x 45mm bolts
with washers. (See Fig. 7-c.)
D. Cut the factory alternator plug off of the vehi-
cle harness leaving sufficient wire near the
plug to install the supplied butt connectors.
Splice the supplied wires into the harness
making sure that the larger 18 gage wire con-
nects to the correct larger wire in the factory
wiring harness. Cut the ring terminal connec-
Fig. 7-a
(Vehicles Equipped With Automatic
Transmissions Only)
7. ALTERNATOR RELOCATION
6. AUTOMATIC TRANSMISSION COOLING LINE MODIFICATION