UVP TB-101 Selector Switch User Manual
UVP Health and hygiene
TB-101 Rev STD
T
T
e
e
c
c
h
h
n
n
i
i
c
c
a
a
l
l
B
B
u
u
l
l
l
l
e
e
t
t
i
i
n
n
T
T
B
B
-
-
1
1
0
0
1
1
Transilluminator Selector Switch Replacement
Overview
The purpose of this Technical Bulletin is to explain the process of uninstalling a faulty selector
switch and installing a replacement switch on a UVP transilluminator. This instruction applies to
transilluminator selector switches used either for wavelength or intensity selection.
To complete this procedure, the following tools will be required:
•
Phillips-head screwdriver
•
1/16" Allen wrench
•
Pliers
•
Flat-head screwdriver
Caution: This procedure requires a moderate level of technical competence. If you are not
comfortable working with electronics, tools and/or related components, contact UVP for
information on returning your transilluminator for repair or replacement.
Note: For information on replacing the transilluminator power switch, see TB-100, “Power Switch
Replacement Instructions”.
Removal Procedure
When performing the following procedure, place all components (screws, nuts, etc.) in a secure
location as they will be reused for installation.
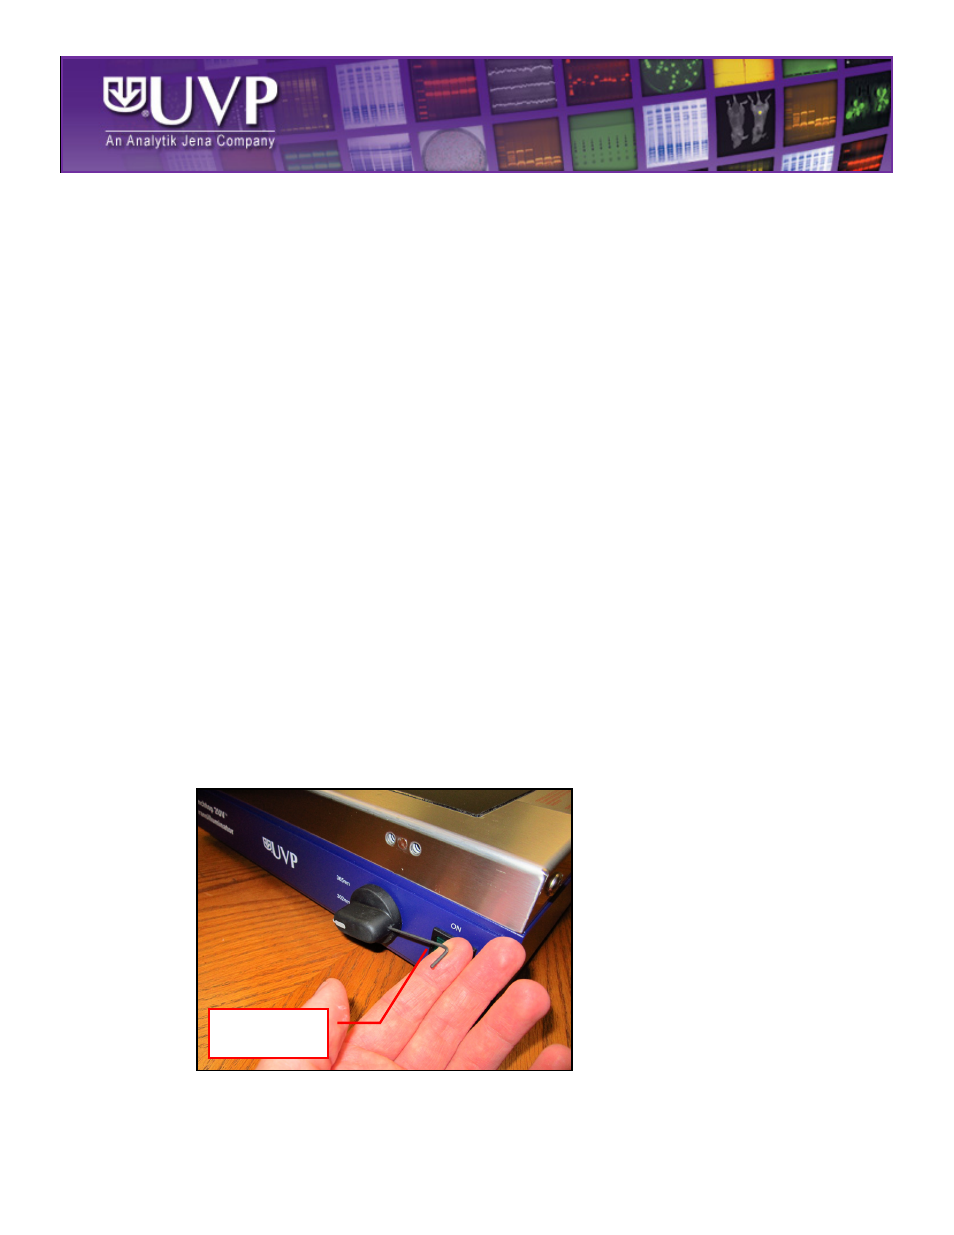
1. Turn off the transilluminator by placing the power switch on the front of the unit in the OFF
position. Then, unplug the unit from the wall power.
2. Using a
1/16” Allen wrench, loosen the set screw securing the selector switch knob to the
selector switch shank.
3. While firmly holding the transilluminator housing, pull forward on the knob to remove it from
the selector switch shank. Note: This process may require a fair amount of force as the knob
fits snugly over the shank.
1/16” Allen
Wrench