Installation, Installing the drive(s) into the ds100, Removing the ds100 cover – StorCase Technology DS100 User Manual
Page 15
6
Installation
StorCase Technology, Inc.
DS100 User's Guide - Rev. F02
INSTALLATION
Installing the Drive(s) into the DS100
While performing the steps in this section, work on a soft surface to prevent excessive shock
to the drive(s) being installed. Also refer to the manufacturer's documentation provided with
the drive(s).
A #2 Phillips and a flat blade screwdriver will be required.
Removing the DS100 Cover
WARNING: Remove all power from the Data Silo before removing the cover. The Data Silo
contains NO USER SERVICEABLE PARTS inside the unit.
1. Unplug the DS100 and verify that ALL cables have been disconnected.
2. Turn the DS100 over and place it on a soft clean surface, so that the bottom is facing
upward.
3. Loosen the two (2) screws located on the bottom of the unit. The DS100 4-bay cover
uses a third, center screw. Remove it completely from the bottom of the chassis.
4. Place the DS100 in an upright position so that it rests on its four rubber feet.
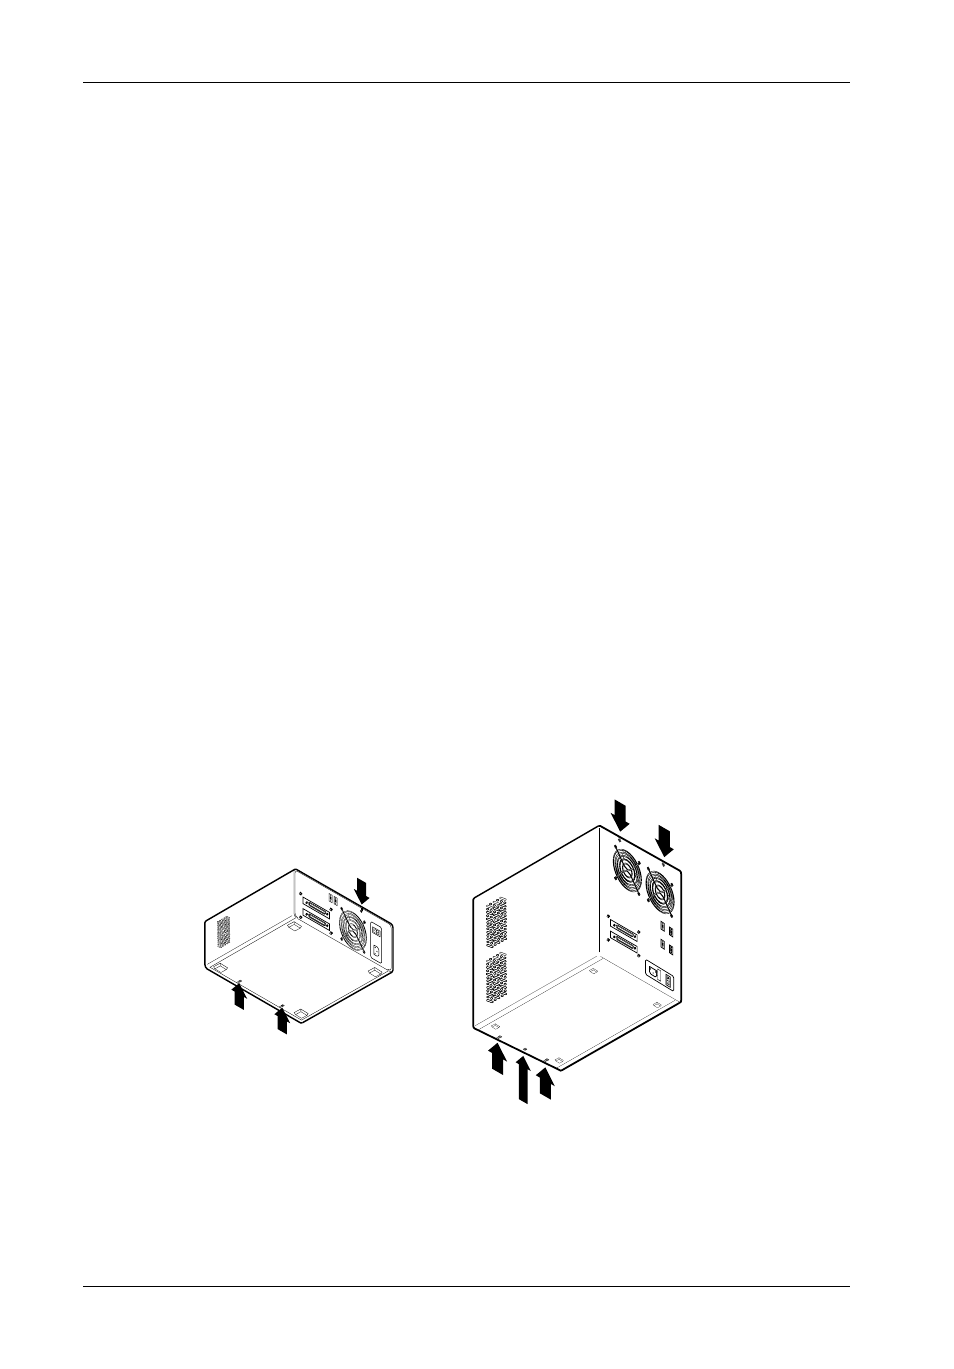
5. Remove the screw(s) located on the rear panel of the chassis as shown in Figure 5.
6. Carefully slide the top cover forward and off the chassis (Figure 6).
3
S3
4
S4
1
S1
2
S2
1
2
S1
S2
0532
Remove
Center Screw
Figure 5: Cover Screw Location
(2-Bay and 4-Bay Models Shown)